
“What are the odds?” Blissey in Unbroken Bonds Standard
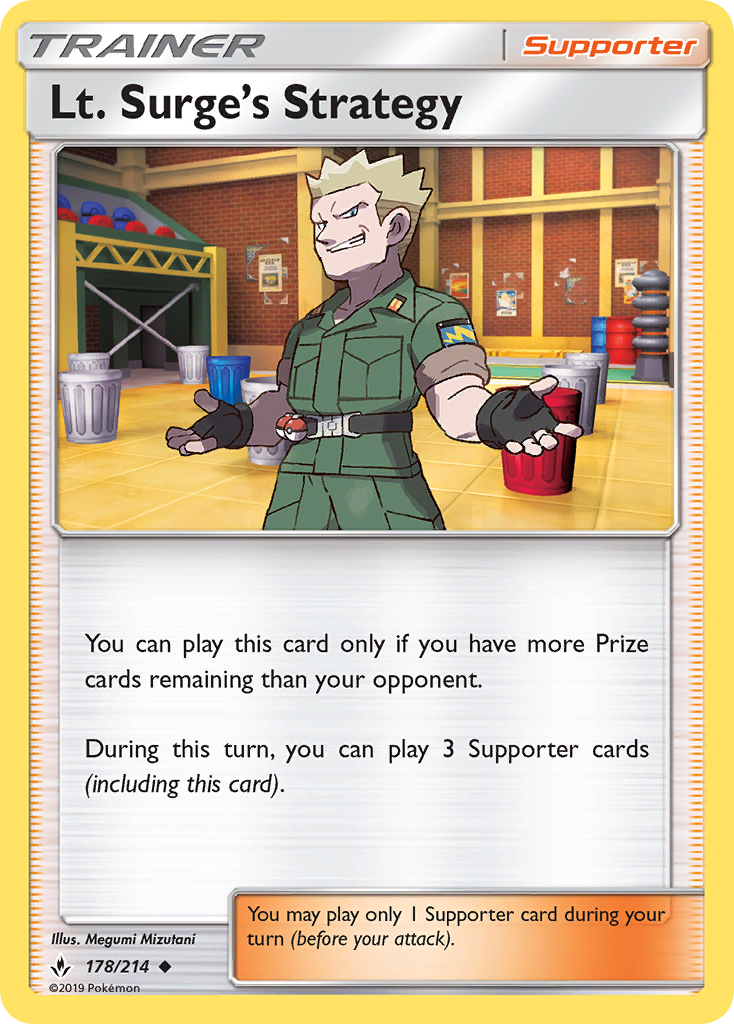
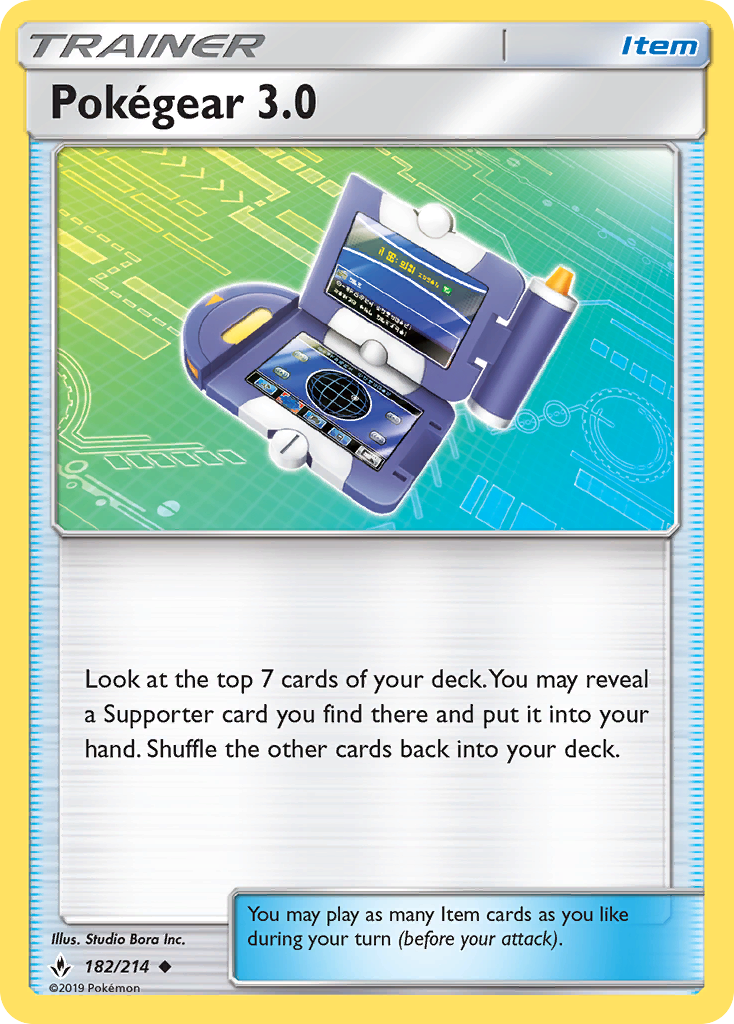
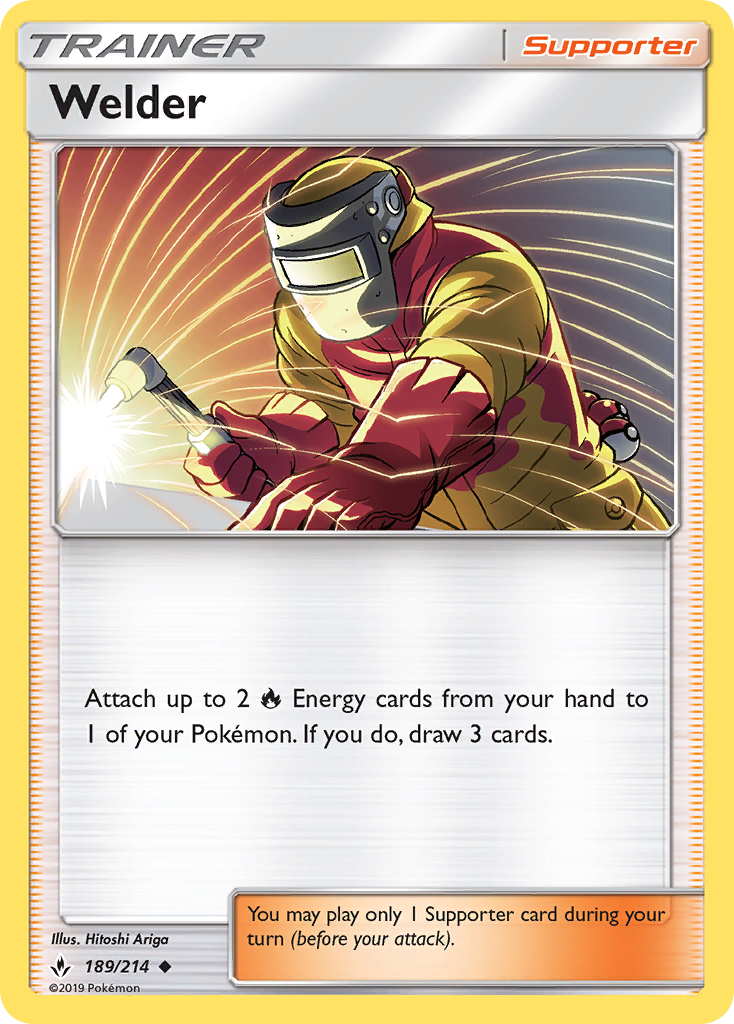
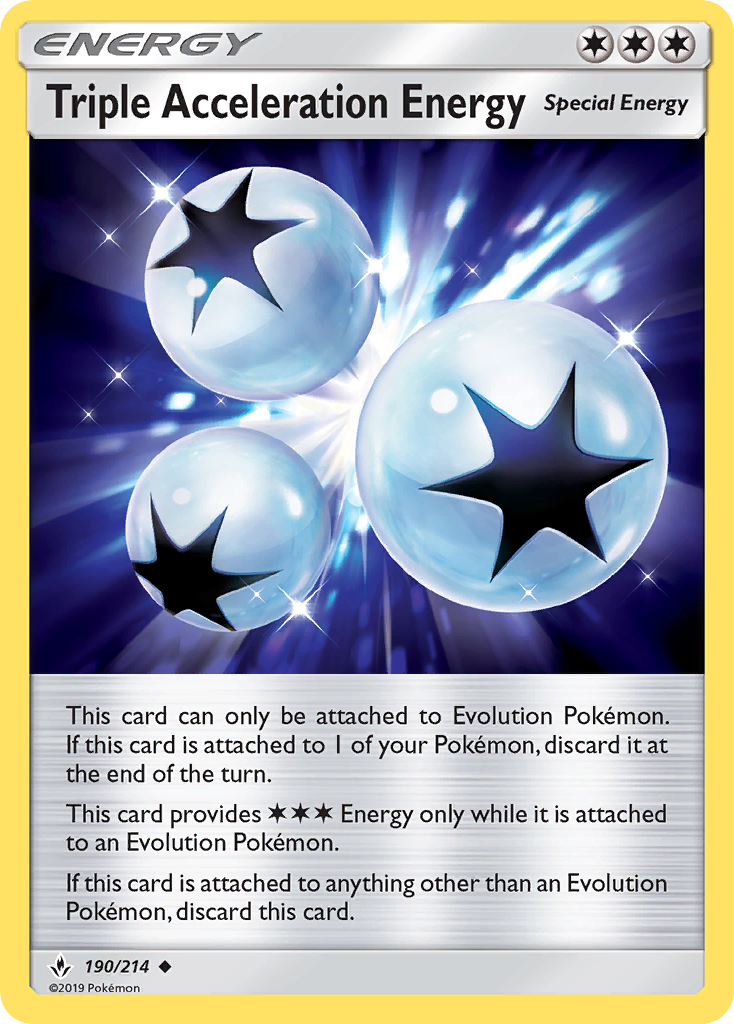
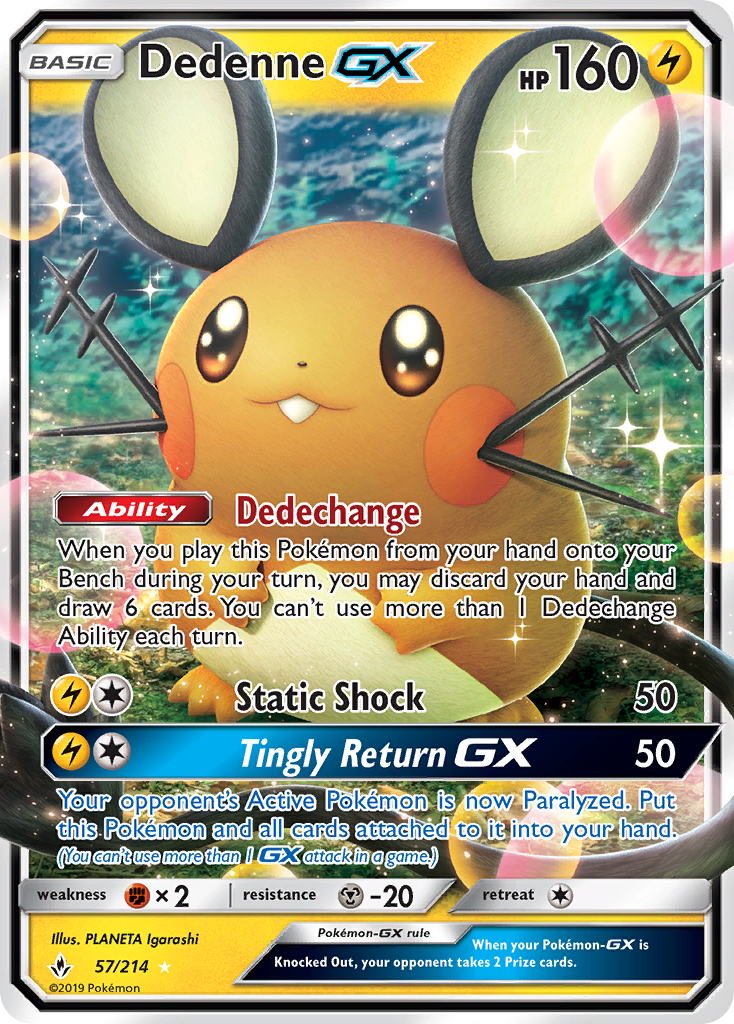
Hello everyone! We're right around the corner from our first Regional Championship with Unbroken Bonds, and while I may not personally be competing there, I'm excited nonetheless to see what innovative decks and decklists we get from the results. Unbroken Bonds is an incredibly complex set -- there’s so much that you can do with it! There are so many cards in the set that have incredible versatility in their usefulness, even outside the obvious ways to play them. Green's Exploration, Lt. Surge's Strategy, and Pokégear 3.0 can each act as centerpieces for completely different Trainer engines than what we have. Welder gives us a new Supporter-based form of Energy acceleration. Triple Acceleration Energy provides new life to a number of Evolution decks. Dedenne-GX bumps turbo decks up to yet another level. And that’s before we get into the many new Pokemon archetypes!
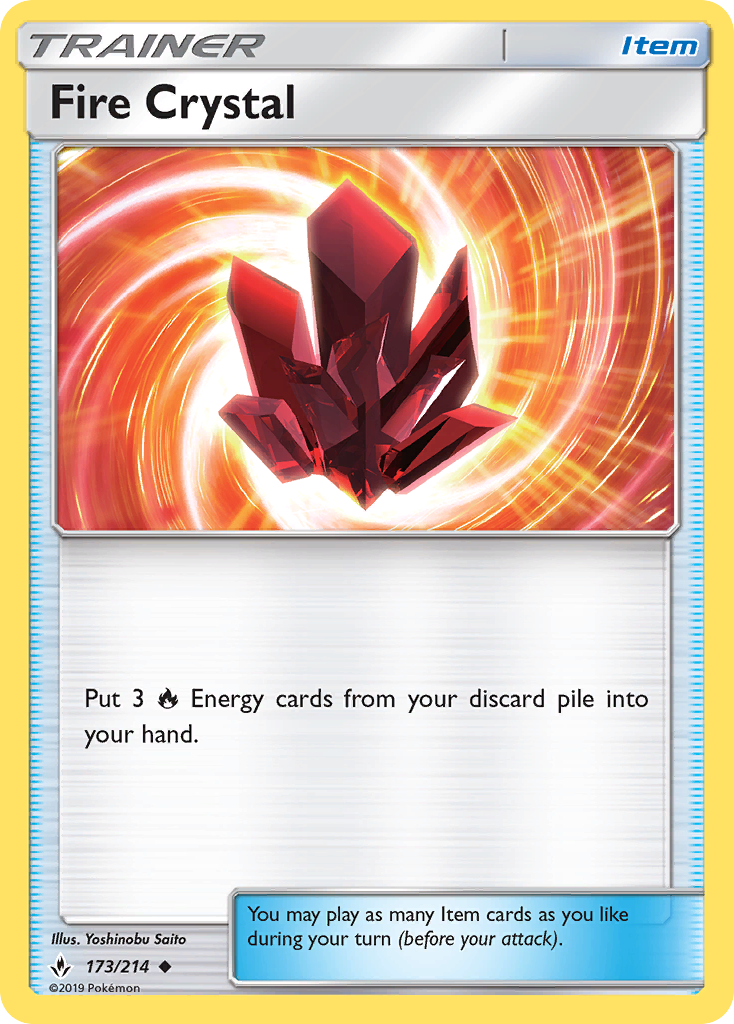
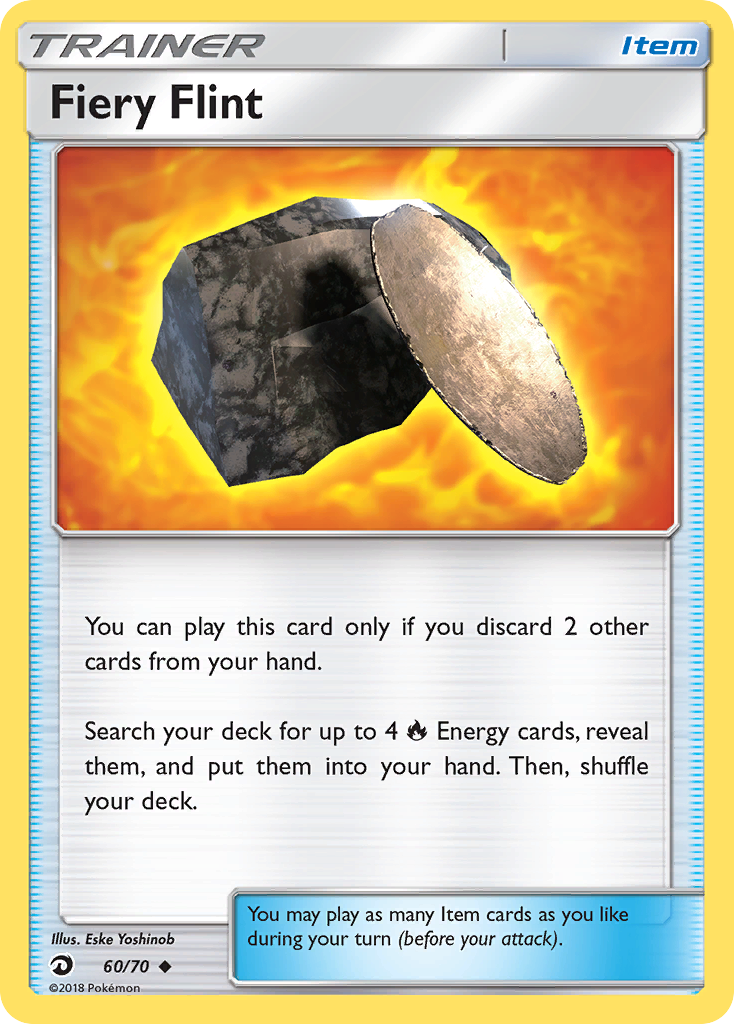
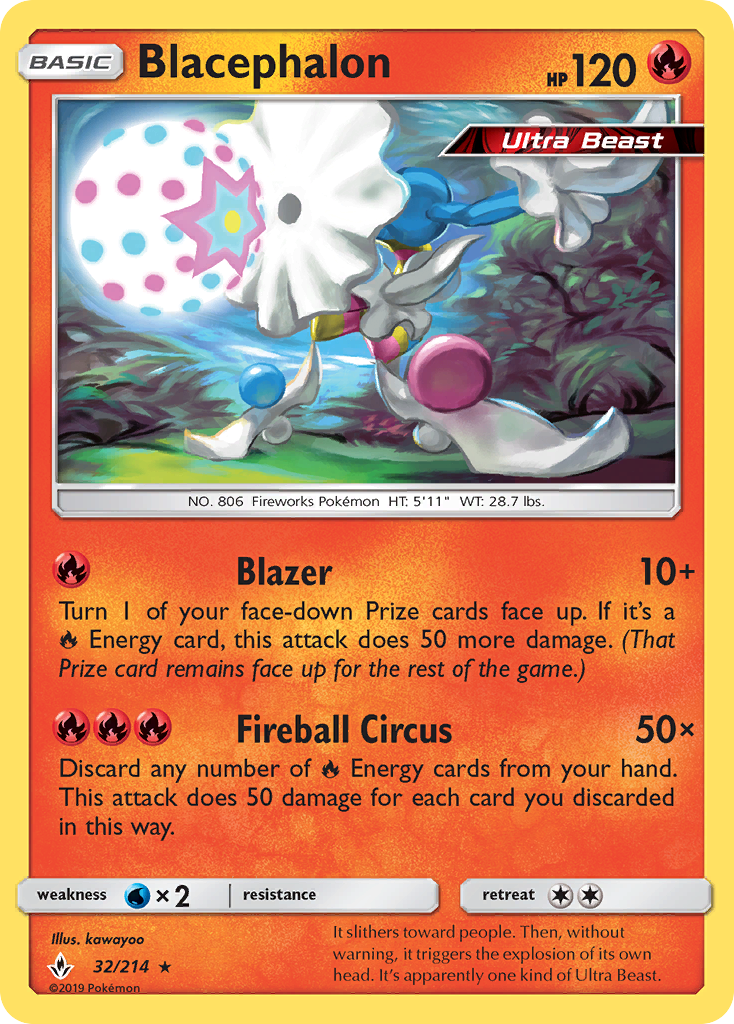
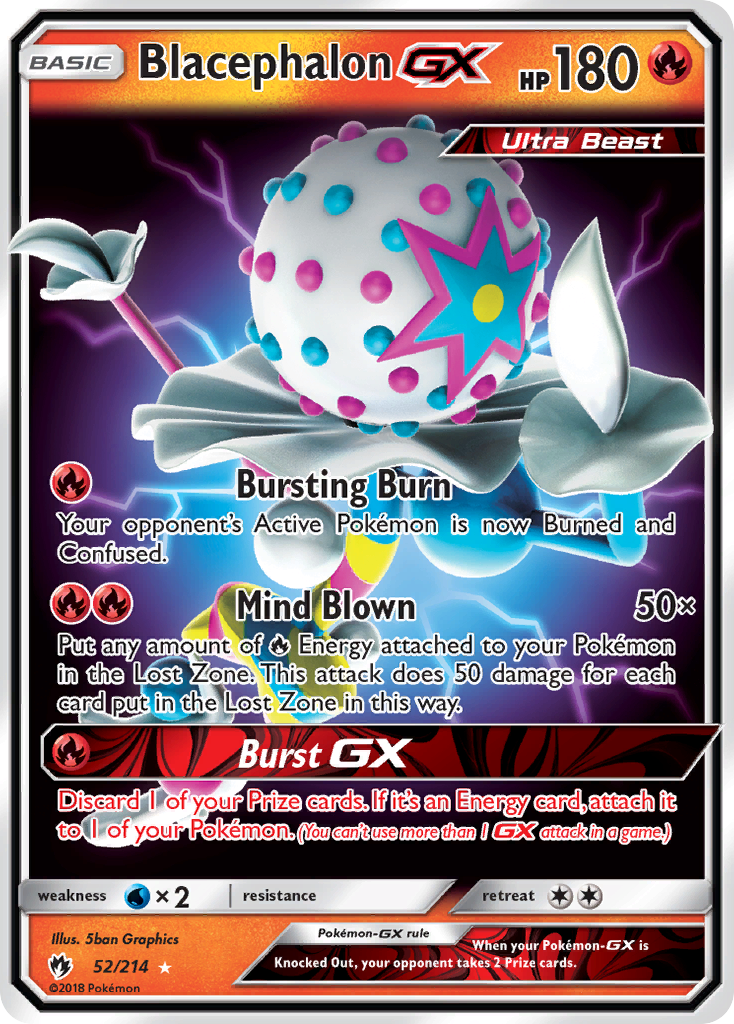
Of these new archetypes, perhaps none have gotten as much hype as the new Fire decks. The hype is certainly warranted. Welder is an excellent means of Energy acceleration, while Fire Crystal and Fiery Flint provide any deck with an easy way to get those Fire Energy in hand to be attached. On top of that, Unbroken Bonds comes along with two incredible new Fire-type attackers in Blacephalon and Reshiram and Charizard-GX.
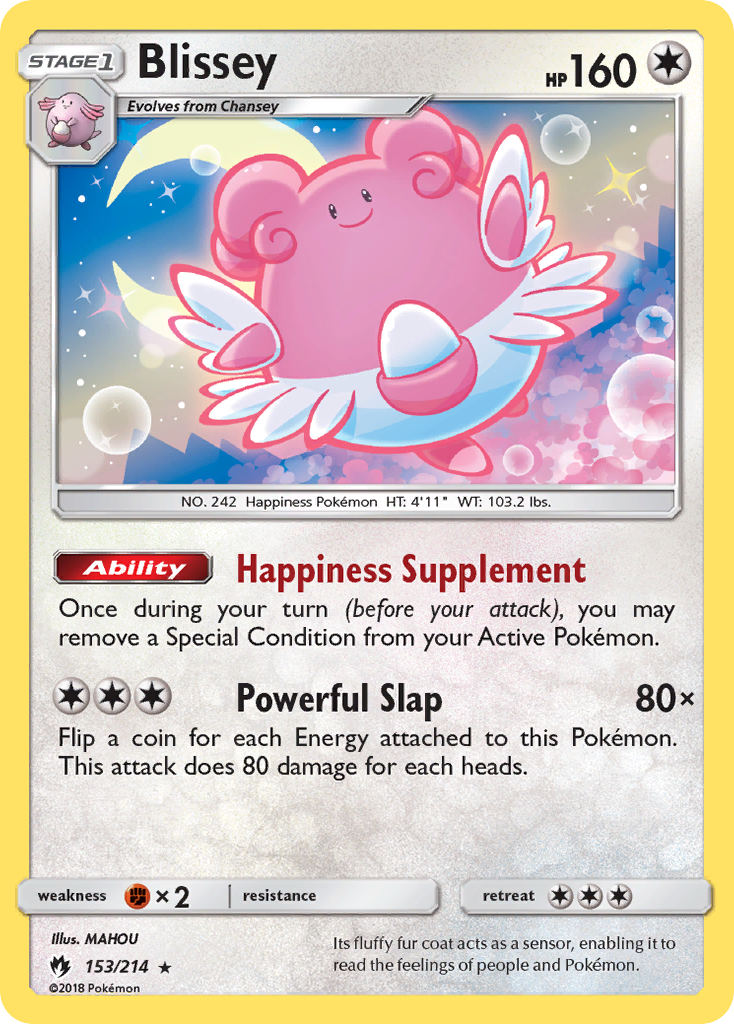
Both of these are certainly strong, but there is a better, though less obvious, attacker that can utilize this new Fire acceleration engine: Blissey!
Yes, Blissey. When I’ve revealed this deck to some people, their initial reaction has typically been either excitement or skepticism -- and I can certainly understand the skepticism toward this deck. After all, Blissey is a Stage 1, not a Basic like Blacephalon or Reshiram and Charizard-GX. It hasn’t had any prior success, like, say, Blacephalon-GX. Worst of all, Blissey’s attack relies on coin flips, an attribute which has rarely led to success in the Pokemon TCG.
Despite all of these potential issues, let me assure you, Blissey is a deck that can compete with any of the best decks you might see in Unbroken Bonds Standard. Better yet, let me show you why this deck is a legitimate contender for tier one status! In this article, I’ll be going over the math behind Blissey, and how we can use that math to show why this deck can -- and will -- succeed. Naturally, I’ll also have for you the decklist I’ve been using, as well as a thorough look at the deck’s matchups and gameplay strategies.
Deck Overview
This deck is all about attacking with Blissey, though the playstyle ends up being rather similar to the new Fire decks. Like those decks, the goal of this one is to attach plenty of Energy quickly before attacking for large amounts of damage.
What separates this deck from those is that Blissey utilizes bulky non-GXs for its attacks, at roughly the same speed and with approximately the same average damage output as Reshiram and Charizard-GX decks. Blissey is incredibly fast and quite consistent, with damage output that is unmatched for a non-GX deck with those attributes. Powerful Slap is no doubt a powerful attack (it's even in the name!), capable of hitting effectively unlimited amounts of damage, so long as you flip enough heads.
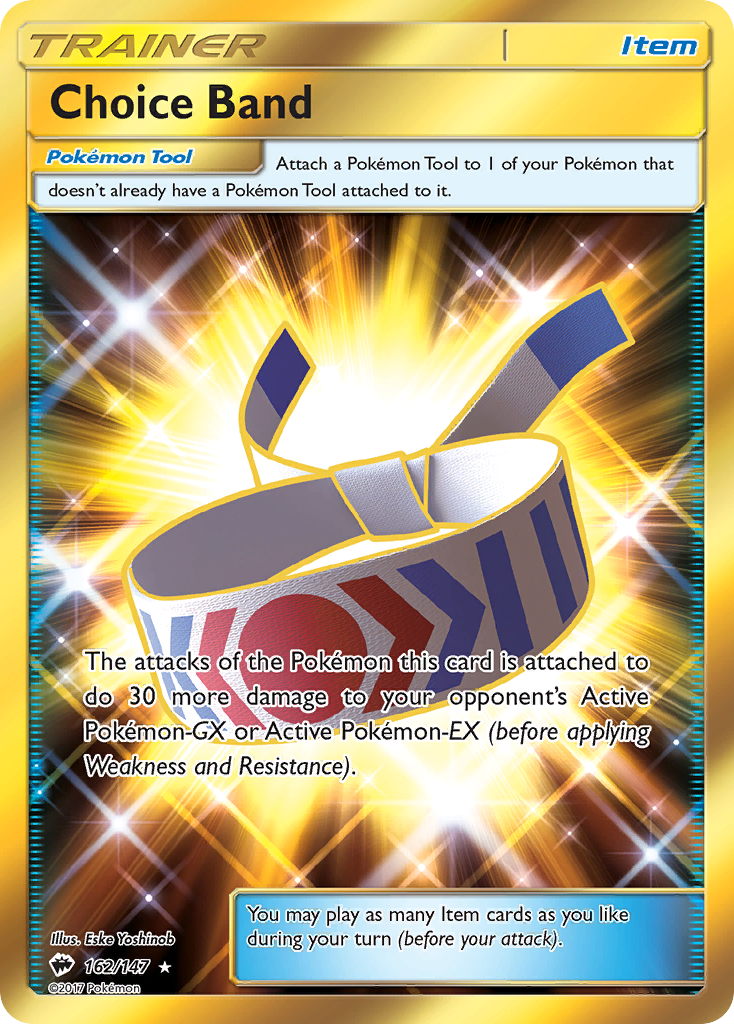
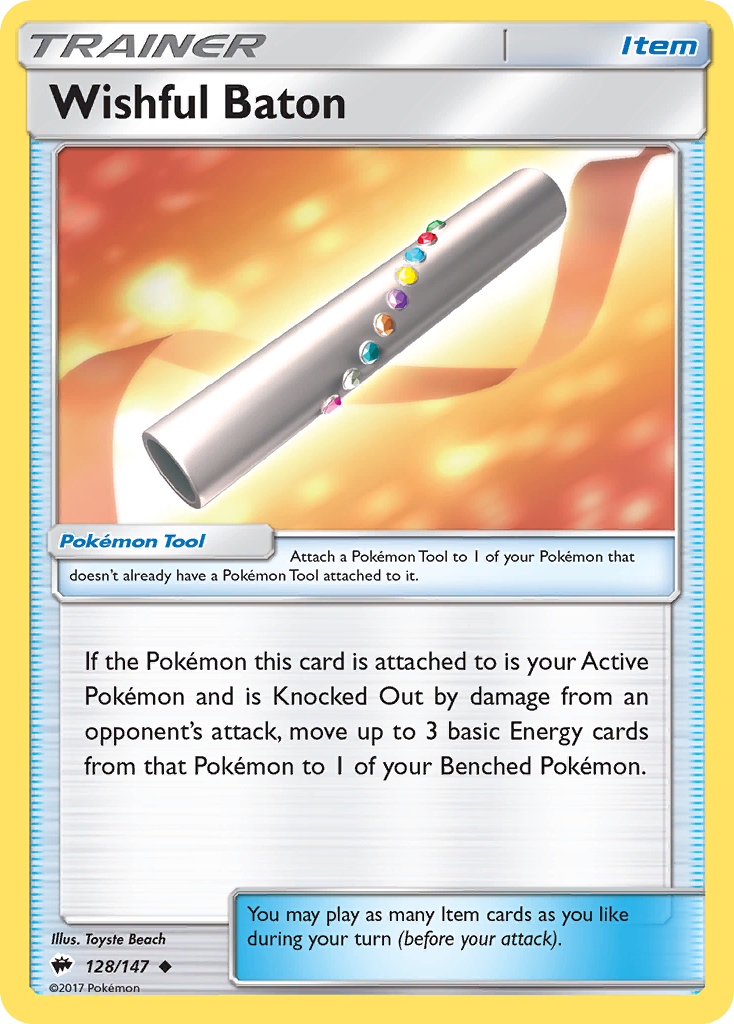
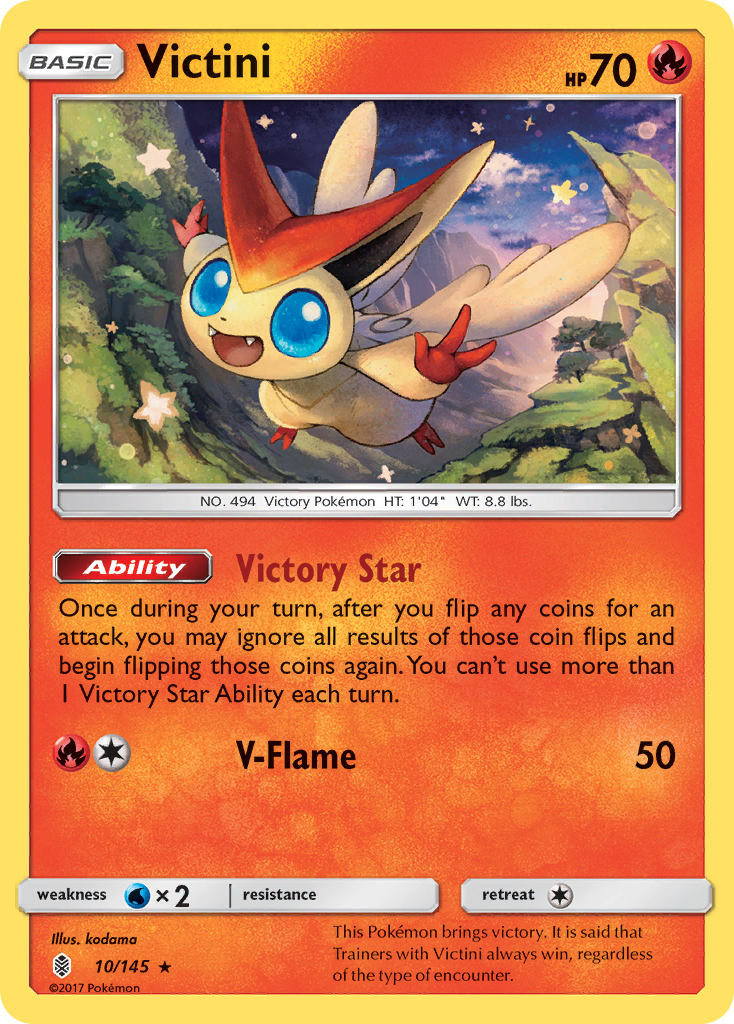
In order to power up and flip a bunch of coins, Blissey utilizes two new cards from Unbroken Bonds: Triple Acceleration Energy and Welder. Triple Acceleration Energy is an obvious addition, as it gives Blissey a one-turn boost to its attack, and gives the deck a way to attack even from a board without any existing Energy. For more permanent Energy attachments, Blissey utilizes the new Fire engine of Fire Crystal, Fiery Flint, and Welder to obtain and attach plenty of basic Fire Energy -- this is another way that Blissey can go from zero Energy to attacking in a single turn! Combine the two, and you can attach up to five Energy in a single turn, and then deliver an attack that will average 200 damage -- not bad for a non-GX! With Choice Band, Wishful Baton, and Victini, that damage can grow even higher; with Victini, that five-Energy Powerful Slap has an average damage output of 240, enough to OHKO any GX that the deck might encounter.
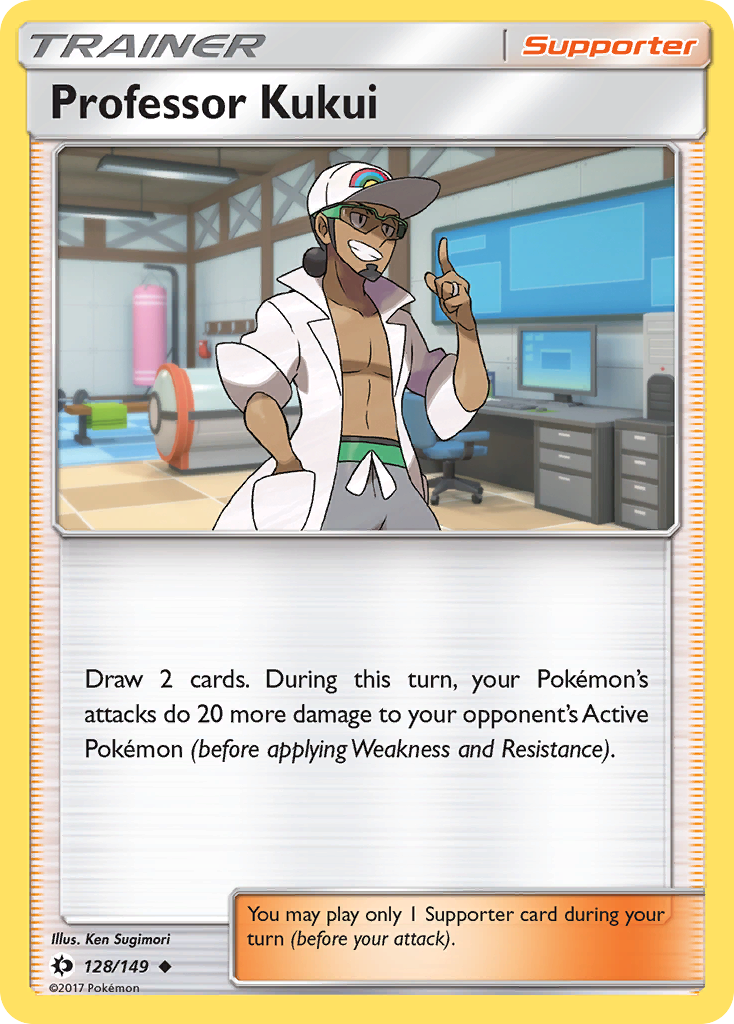
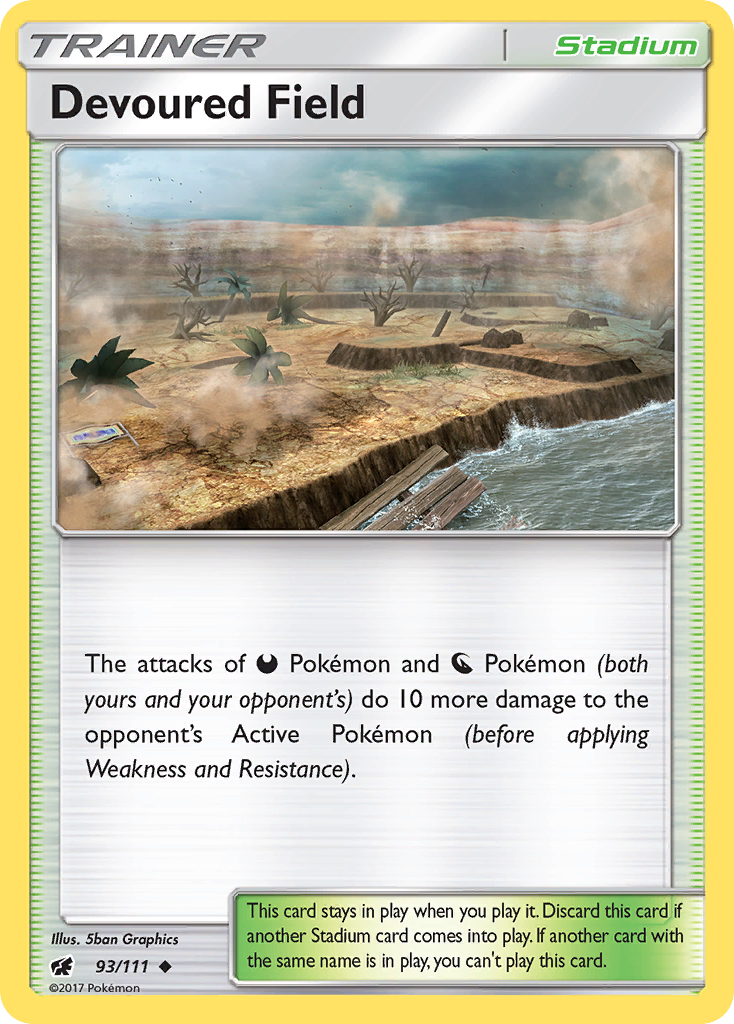
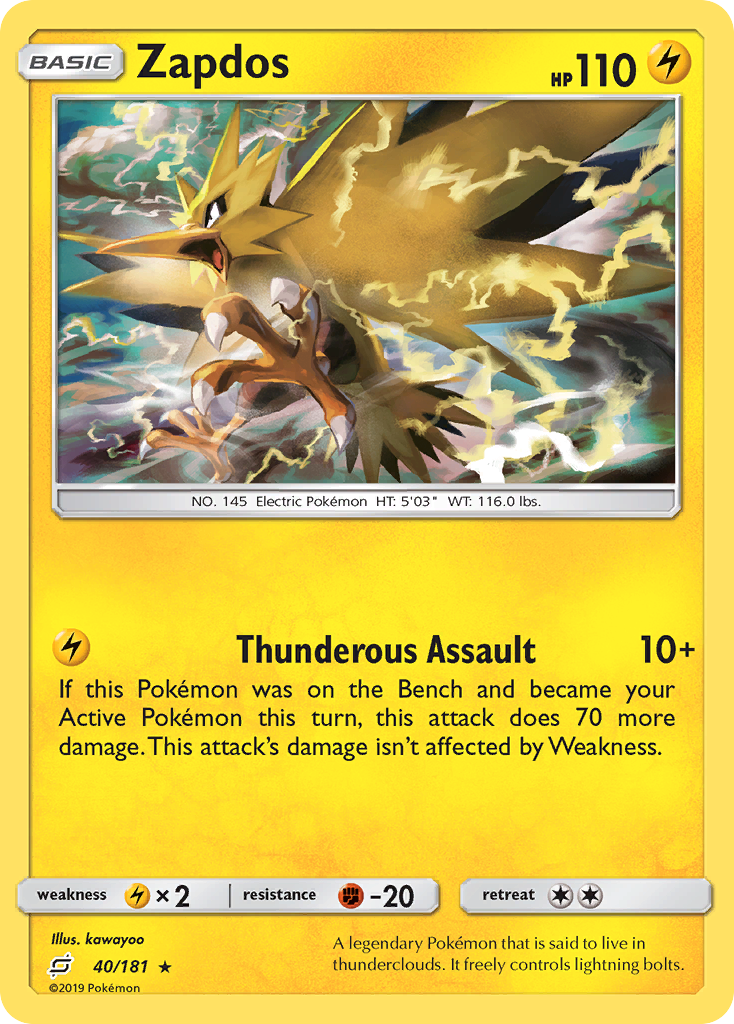
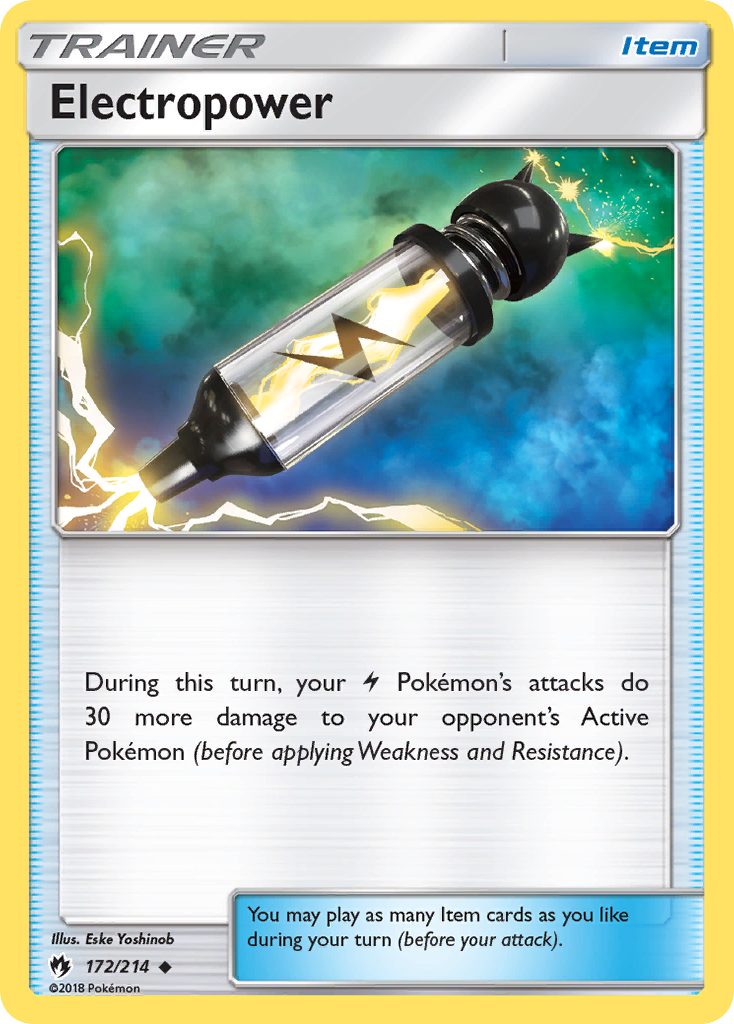
On top of the damage output, Blissey has an inconveniently high amount of HP, giving it yet another matchup advantage. Blacephalon and Blacephalon-GX both require four Energy to be discarded/put in the Lost Zone for a OHKO, Zoroark-GX can’t hit 160, even with Professor Kukui and Devoured Field, Zapdos requires three Electropower to get a OHKO, while both Pikachu and Zekrom-GX and Gardevoir and Sylveon-GX are barely out of KO range without any damage modifiers.
It’s a winning formula; if your opponent has trouble KOing you, and you can easily KO pretty much anything in the game, and you only give up one Prize at a time, then you’re going to have a solid chance of winning.
The Math Behind the Coin Flips
At its core, Pokemon is a game which is all about math. “What are the odds?” is a question that can be asked at pretty much every point of strategic decision making in this game, from deckbuilding, to meta analysis, to deciding which Supporter to play for the turn.
Most of the time, the array of numbers and calculations can be generalized. Decks can be categorized as “consistent” or “inconsistent”, plays can be deemed “safe” or “risky”. The probability of a certain play succeeding don’t always need to be known exactly, so long as you know that one is better than the other.
With regards to a deck like Blissey, however, it doesn’t do well to leave such math uncalculated. When it comes to damage output, “What are the odds?” becomes a question of tremendous importance. For most decks, attack damage is concrete, if manipulable. When you declare an attack, the outcome of that attack won’t be in doubt. Not so for Blissey! Before we can even begin to evaluate Blissey as a deck, we’ll want to have an idea of how often that Powerful Slap will be able to hit particular amounts of damage. After all, there is a big difference between a deck that will hit for 160 damage most of the time and a deck that will hit for 240 damage most of the time! The average damage outputs are nice to know, but when it comes to in-game strategy, knowing the probabilities of particular Powerful Slap outcomes will be necessary to assuring optimal play. If you need to know which Energy to attach, which Pokemon to attach it to, whether you can play Lillie or if you need to use Welder, how important it is to get Victini, or anything else related to your attack, then you’ll need to have some idea of what your odds of Knocking Out your opponent’s Pokemon are.
For that info, we’ll need to calculate what the probability of flipping # heads are, given any number of Energy attachments. I’ve saved you some time and math, and compiled those probabilities in Table 1:

This table is useful, but it isn’t entirely what we need. After all, if we need three out of five heads to OHKO a Pikachu and Zekrom-GX, we aren’t limited to needing exactly three heads -- we need at least three heads. Any result that gets us three, four, or five heads works, so we need to take all of those possibilities into account.
Thankfully, to do so only requires addition -- we simply add the probabilities of hitting three, four, and five heads together, and we get that “at least” probability that actually matters to us. In Table 2, I’ve compiled these “at least” X heads probabilities:

But that’s not all! For the low price of one Victini, you can double your order, and get another round of flips for free! Yes, this deck does indeed play Victini, and after seeing the next table, you’ll know for sure that doing so is a good decision.
By giving us a do-over on our flips, Victini increases the chances of us hitting the number of heads that we want -- but by how much? Once again, knowing these numbers will be important, both for showing how well Blissey matches up against other Pokemon, and for making sure that we can play Blissey optimally.
To calculate the probability of hitting a certain number of heads with Victini in play, I’ve first made the assumption that we have a certain number of heads that we want to hit. If we get that number or higher, we don’t reflip; if we get less than the target number, we do reflip. In almost all circumstances, this will accurately represent how the deck is played, but there can be certain scenarios where coming up short but aiming for a 2HKO might be a better move. More on that later.
With that assumption in place, we can calculate our probability of hitting at least X heads with Victini as being:
the probability of hitting at least X heads on the first flip +
(the probability of hitting less than X heads on the first flip)*(the probability of hitting at least X heads on the second flip)
Basically, we add the probability that we get at least the number we want on the first flip, to the probability that we get at least the number we want on the second flip, assuming that we didn’t get what we wanted on the first flip. By calculating that, we then get Table 3. This tells us similar information as Table 2, in that it tells us the probability of getting at least X heads when Victini is in play.

With all of these tables in place, we can now use them to figure out what our probabilities of succeeding are in certain scenarios. Most non-GXs and Dedenne-GX can be OHKOd with two heads, so we can look at the “2 heads” row of Table 2 and Table 3 to see the probabilities of KOing those Pokemon. The probability of OHKOing other GXs and Pikachu and Zekrom-GX can be found in the “3 heads” row, whereas the probability of OHKOing all other Tag Team GXs can be found in the “4 heads” row.
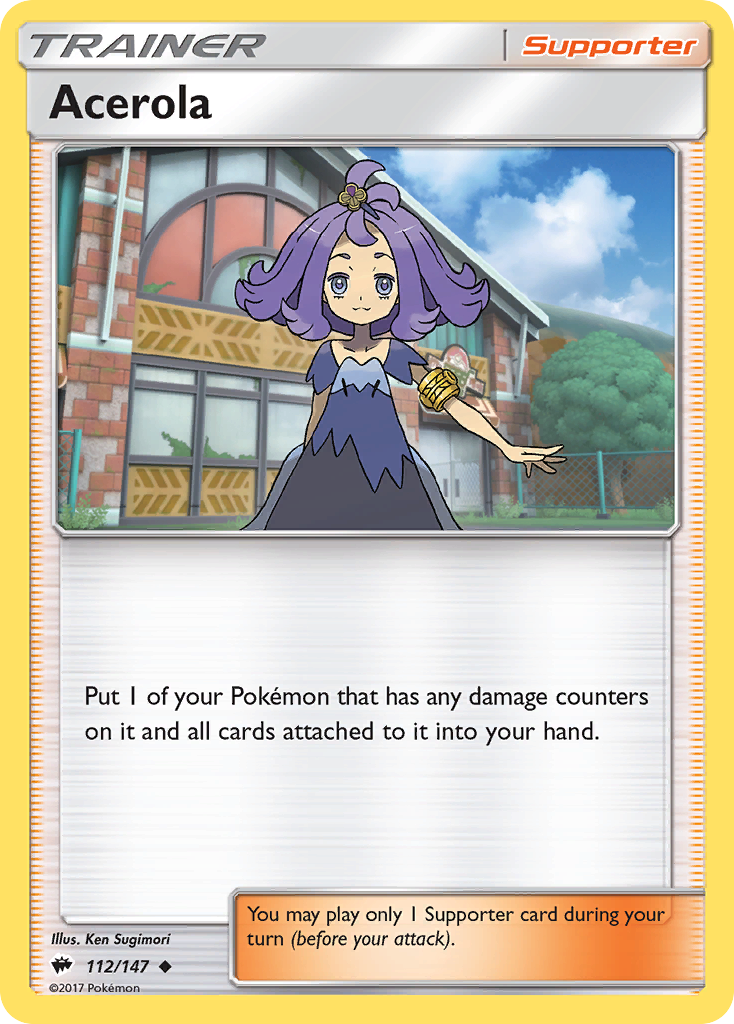
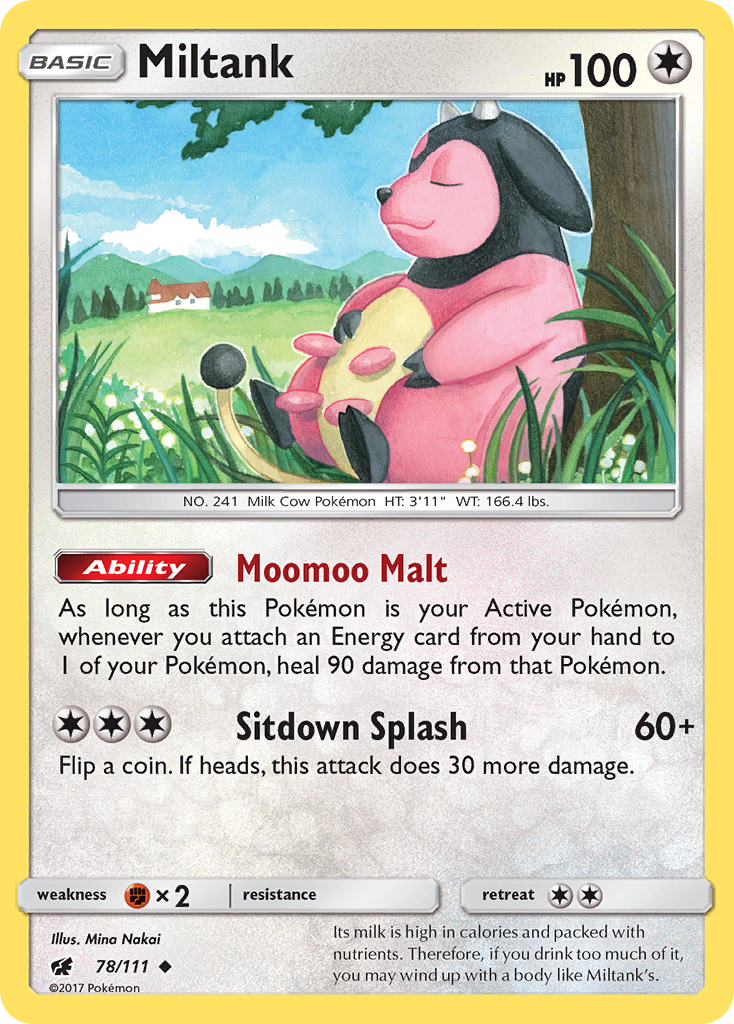
With the right math, we can make things even more complex than what we have on the tables alone. Take, for instance, a scenario where we only need a two-hit KO, instead of a one-hit KO. For an example, let’s start with a matchup against Reshiram and Charizard-GX. It’s the end of the game, and we know we only have two attacks left to KO a Reshiram and Charizard-GX. We can attack once with five Energy, and then a second time with only three Energy -- but we do have Victini in play. If our opponent doesn’t play anything tricky like Acerola or Miltank, this means that we’ll need to hit four total heads between our two attacks. What are the odds that we win?
There are five different scenarios that get us to our four-heads result: we flip at least four heads on the first attack; OR we flip three heads on the first attack, then flip at least one heads on the second attack; OR we flip two heads on the first attack, then flip at least two heads on the second attack; OR we flip only one heads on the first attack, then flip all three heads on the second attack.
If we add together the probabilities of all of those scenarios, then we’ll get the probability of our victory. Looking at the above tables, we can find that the probability of scenario 1 is 0.3398, or 33.98% - you can find this number in the 5x4 square of Table 3. To calculate the probability of scenario 2, we’ll want to look at Table 3 again, and subtract the probability of flipping at least four heads (square 5x4) from the probability of flipping at least three heads (square 5x3) - this will give us the probability of flipping exactly three heads with Victini in play, which is 0.4102. We then multiply that by the 3x1 square (0.9844) - the probability of flipping at least one heads on the second attack - to get the probability of scenario 2, which is 0.4038, or 40.38%. We’ll then do the same thing, to calculate scenario 3 and scenario 4. The probability of scenario 3 comes out to be 0.1611, the probability of scenario 4 are 0.0080. Add all of the scenarios together, and we get to the probability of getting the KO: 91.27%, a bit over nine in ten.
This is a tremendous result for Blissey. Even against the toughest Pokemon, the probability of a two-hit KO is high; in the above scenario, we're nearly four times as likely to get a OHKO than we are to miss the 2HKO! In practical terms, this means that even with less than ideal luck, Blissey will still be able to maintain a Prize advantage against any Tag Team deck. Even if ReshiZard were to take the first Prize, a set of 2HKOs gives us the following result:
- Reshiram and Charizard-GX takes a Prize
- Blissey attacks, misses the OHKO
- Reshiram and Charizard-GX takes a Prize
- Blissey finishes off the ReshiZard, takes three Prizes
- Reshiram and Charizard-GX takes a Prize
- Blissey attack, misses the OHKO
- Reshiram and Charizard-GX takes a Prize
- Blissey finishes off the ReshiZard, takes three Prizes, and wins the game
That's a 6-4 victory for Blissey! Even if the Blissey player misses a turn of attacking, and never manages to hit a OHKO, they'll still come out ahead. Against slower Tag Team decks, that advantage goes up even more!
Against GX decks, the probability of a two-hit KO is high enough that it can almost be assured. While we lose out on a Prize with each KO, we more than make up for that with the increased probability of getting a OHKO. With five Energy attached, the odds of dealing 240 damage are double that of dealing 320; the odds are over four times higher when considering the four Energy scenario. Even if you're a bit unlucky, you'll still have the advantage if you can get even one OHKO. Once again, the odds are in Blissey's favor.
My Blissey List
Before I go over the matchups, let’s take a look at the Blissey deck itself. Here is the current list that I’ve been using:
This concludes the public portion of this article.
If you'd like to continue reading, consider purchasing a PokeBeach premium membership! If you're not completely satisfied with your membership, you can request a full refund within 30 days.
Each week we post high-quality content from some of the game's top players. Our article program isn't a corporate operation, advertising front, or for-profit business. We set our prices so that we can pay the game's top players to write the best content for our subscribers. Each article topic is carefully selected, goes through multiple drafts, and is touched up by our editors. We take great pride in our program!