
Sableye — The Lost and Found Bin
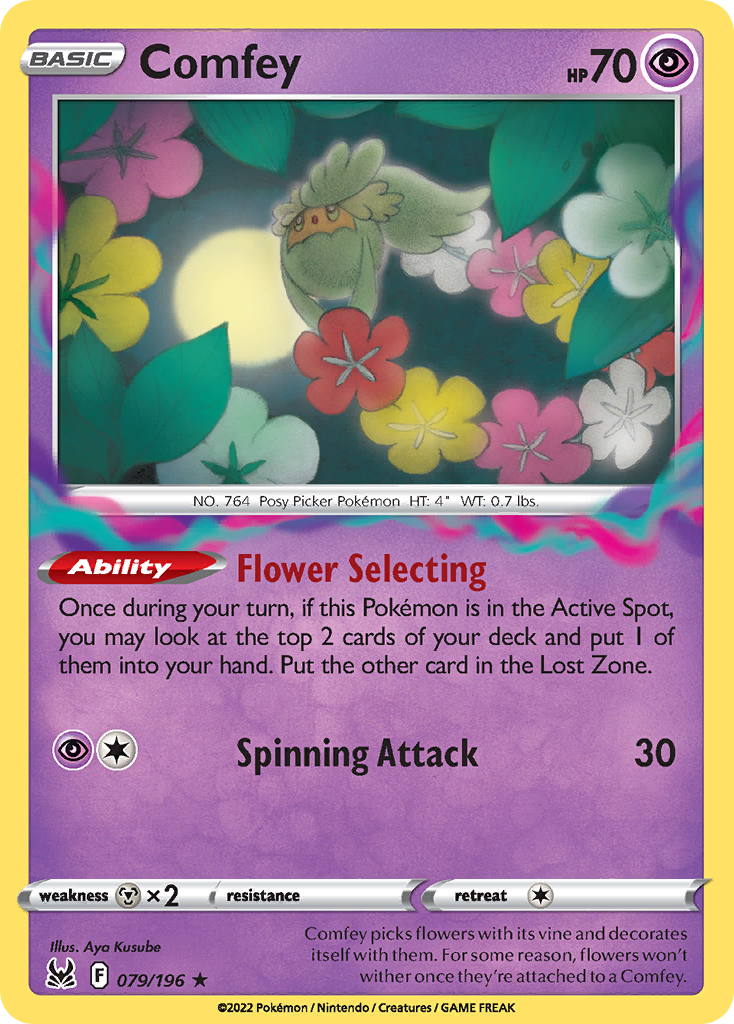
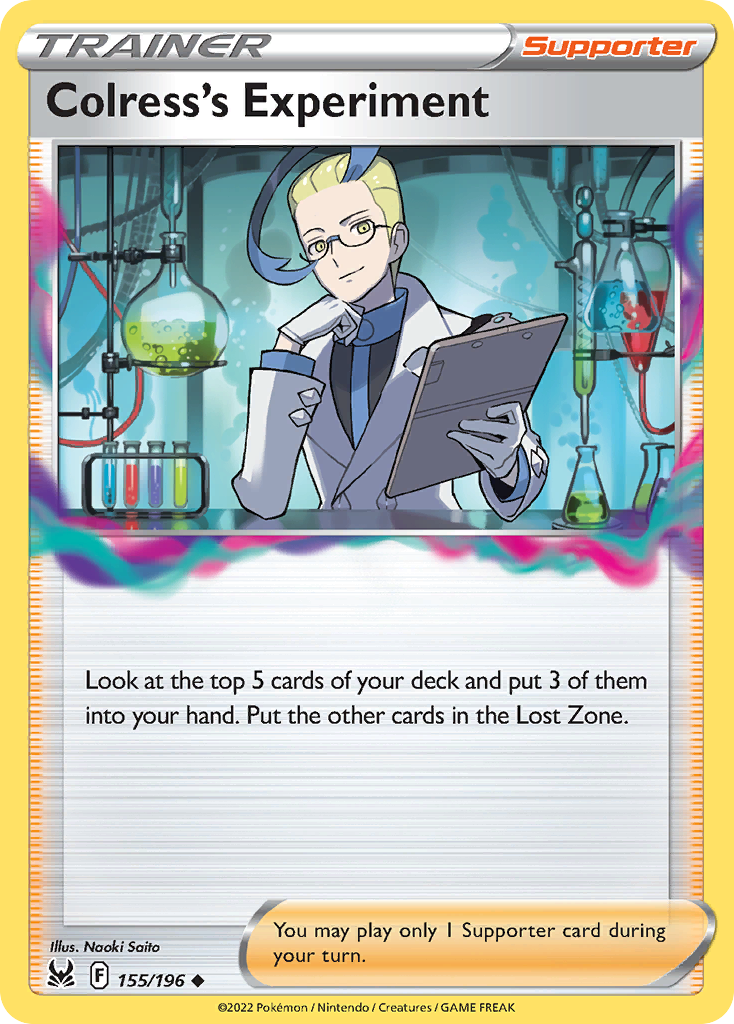
The talk of the town since the new Lost Origin set's release has been the Lost Zone engine. Using Comfey and Colress's Experiment to turbo-charge the Lost Zone is hardly a revolutionary idea. There are several attackers that can take advantage of the Lost Zone engine, and the archetype has spread like wildfire. As an intuitive and high-power deck, it seems to be the only thing you'll face on the PTCGO ladder these days. Furthermore, Lost Zone is consistently the number one most popular deck in online tournaments. With such a dominating presence so early in its existence, this deck may end up forcing the dichotomy known as "if you can't beat em, join em."
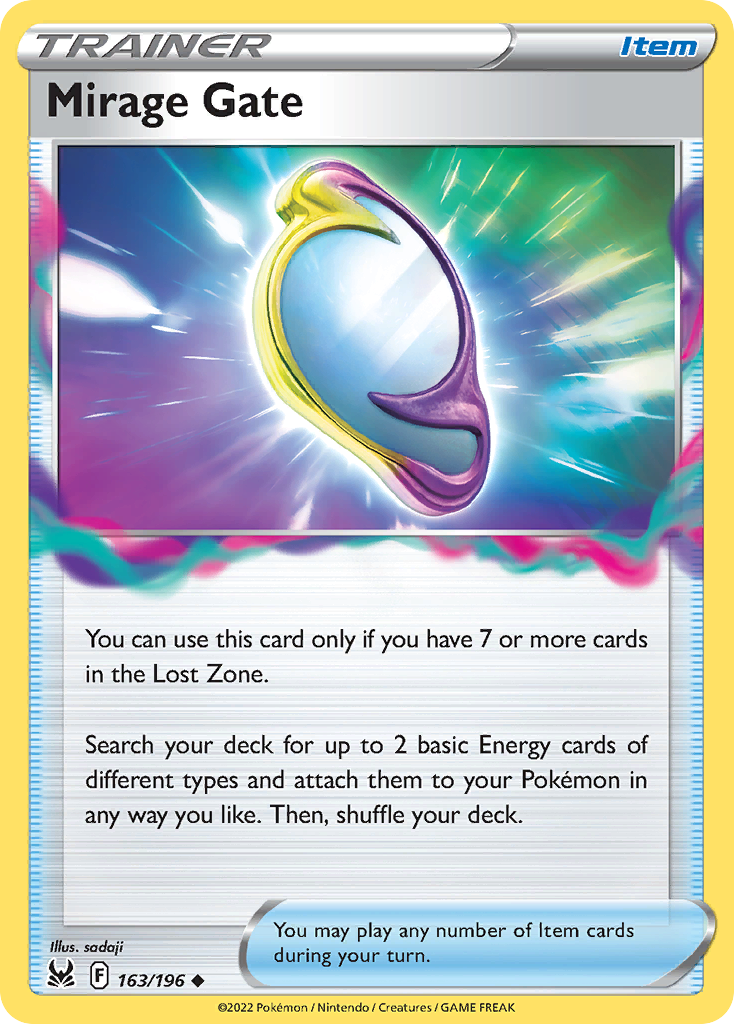
For this article we'll be taking the metaphorical blue pill and going with the "join" option. However, that could mean anything. The Lost Zone archetype affords the user a generous amount of creativity. Although the intended partners are quite obvious (the new attackers that directly benefit from the Lost Zone), the Mirage Gate Item card opens up endless possibilities. As of now, three variants of Lost Zone decks have emerged as top contenders.
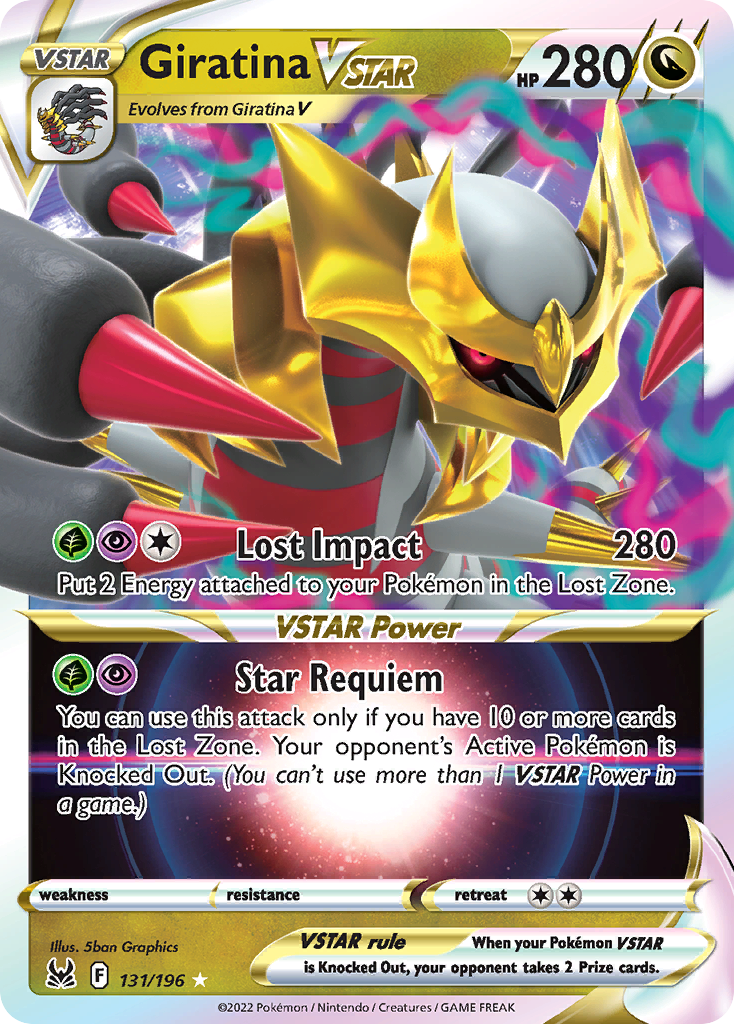
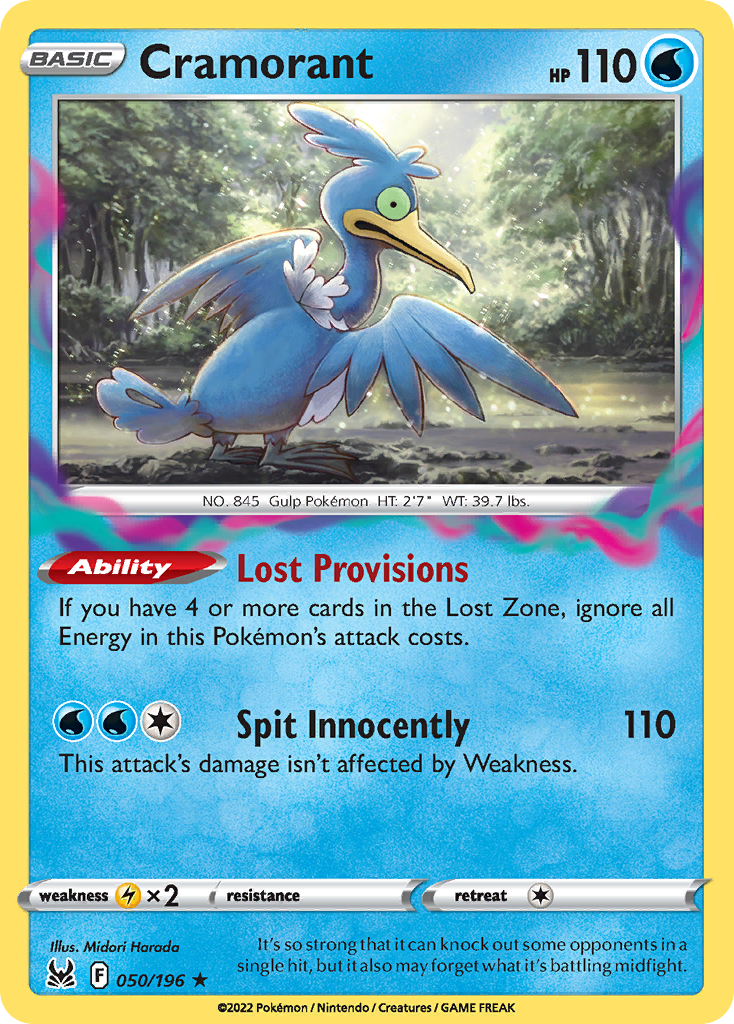
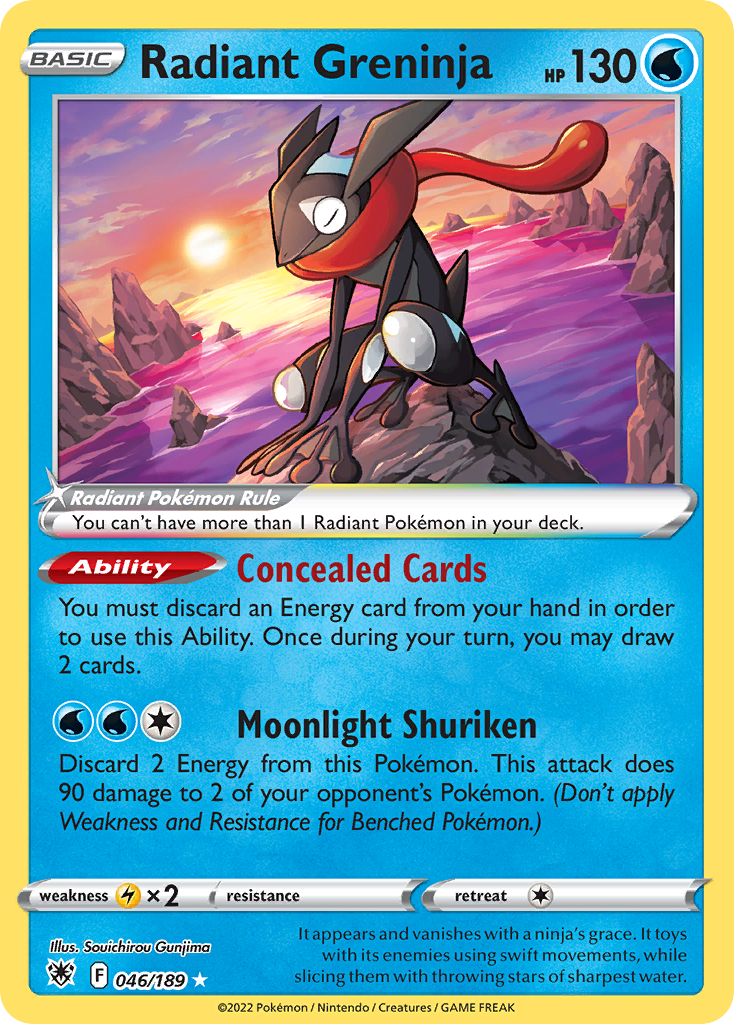
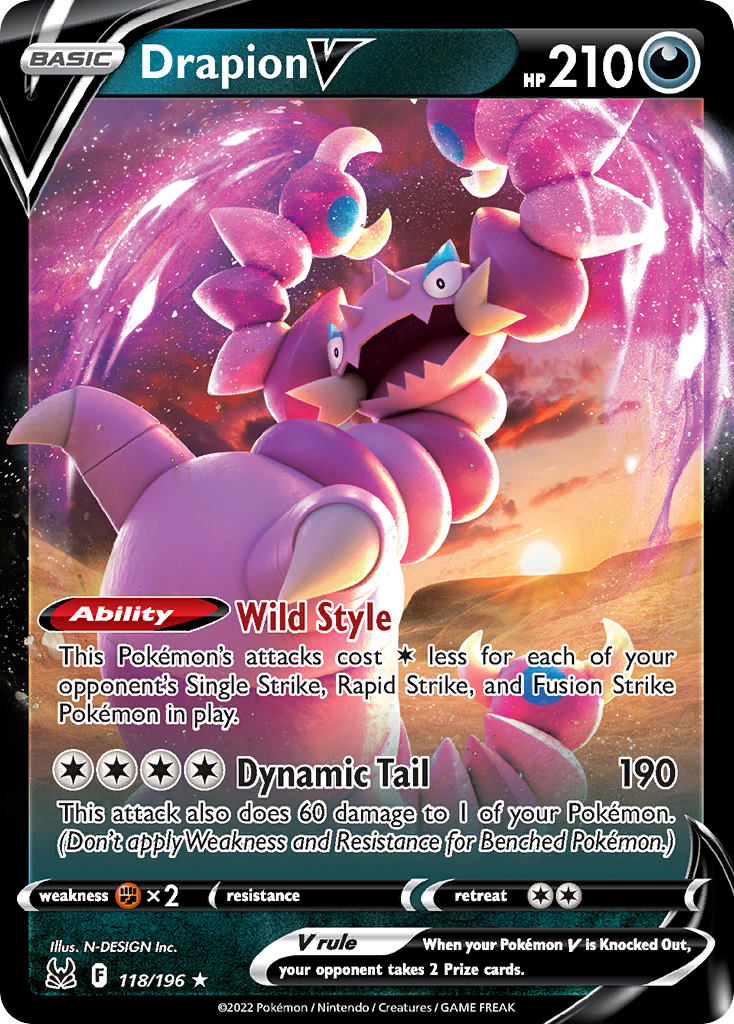
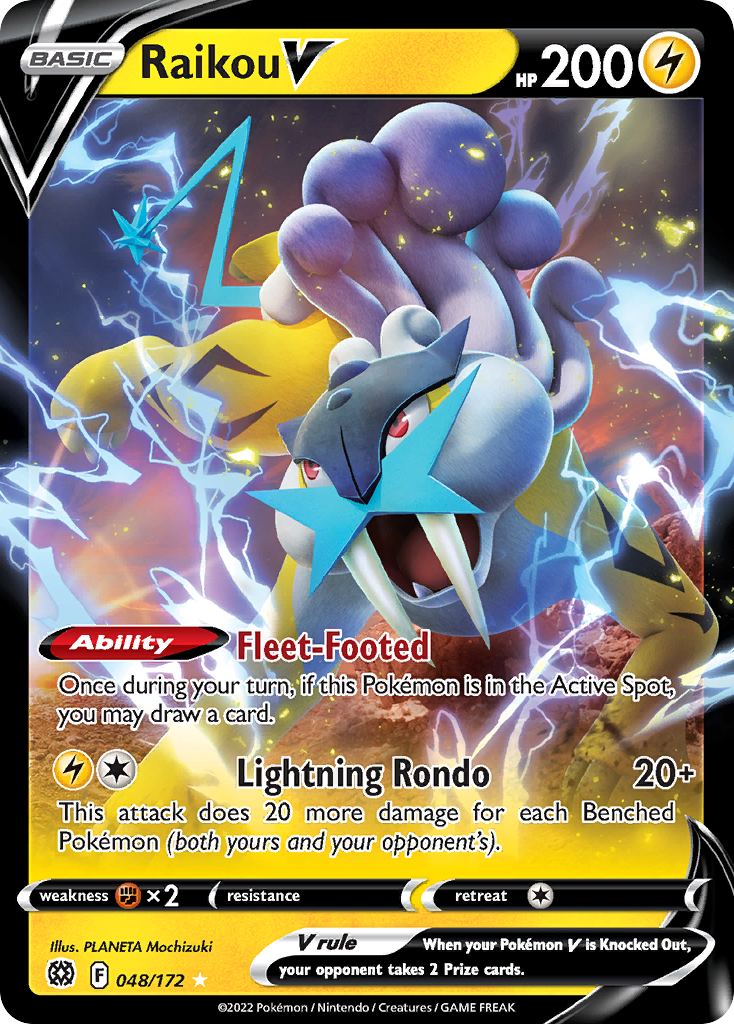
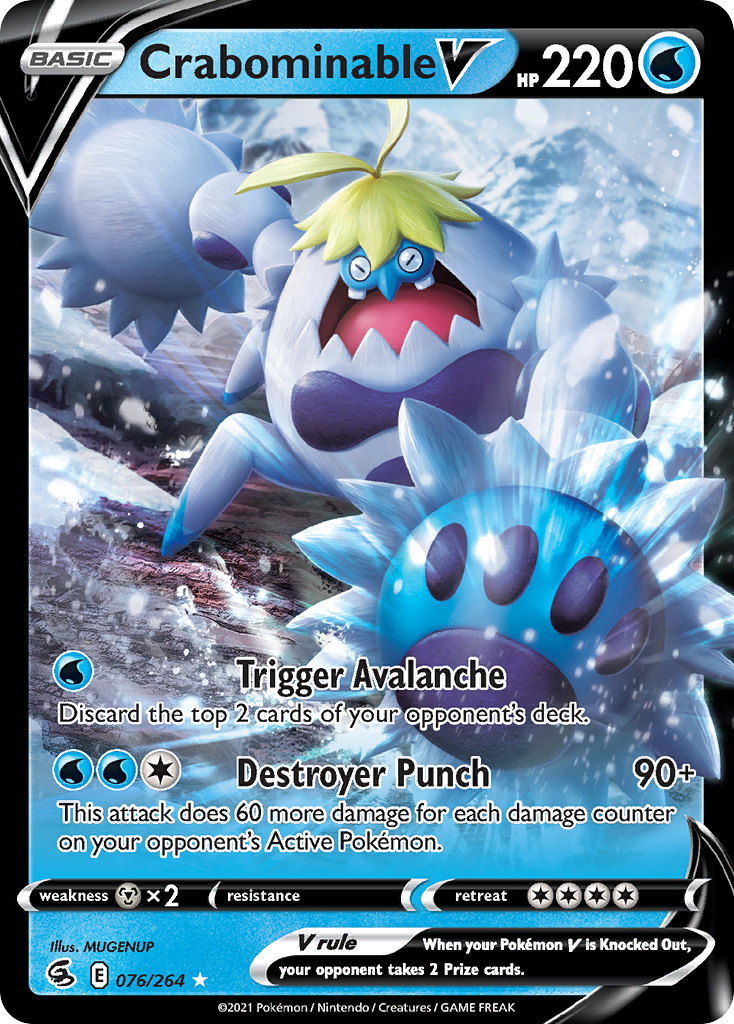
First is Giratina VSTAR, which was one of the most hyped cards from Lost Origin. Giratina VSTAR itself is a tactical nuke with unparalleled kill power. It also makes use of Cramorant, Sableye, and Radiant Greninja as utility techs. Another version of the deck also uses Mirage Gate, but instead of Giratina, plays just about everything else. Popular techs I've seen include Snorlax, Drapion V, Raikou V, Crabominable V, and more, along with the same utility techs that Giratina VSTAR plays. Finally, there's the version that doesn't even use Mirage Gate, focusing on Cramorant for the early-game, Sableye for the mid- and late-game, and including Radiant Charizard as a closer.
Our goal is determine which version of this incredible archetype is the best. I've been playing quite a bit with Lost Zone variants, and I've spent the most time on the non-Mirage Gate version. If I had to pick which one is best, I'd have to say that one. But it's not quite that simple. The list requires a lot of work, and even now I'm not sure if my current list is the best it's going to get. The other versions are strong as well, and any of the three have potential to do well in a competitive event.
The main attacker of the deck is Sableye, and as such the deck is built to fulfill Sableye's activation requirement of putting ten cards into the Lost Zone. Sableye's attack is powerful, versatile, and rewarding of skillful play. Ideally, we activate it by Turn 2 or 3, and use Cramorant to poke for damage in the meantime. Sableye should also be used to set up OHKO's for Radiant Charizard, which usually activates when the opponent gets down to two Prizes. Even if you're far behind in a game, Charizard can take many Prize cards at once, and you can use it at least two times to close out games.
One thing I want to mention about this deck is that it sees a lot of cards. Throughout the first few turns of the game, you will ideally dig through most of your deck. There are several un-searchable cards in the deck that you just have to draw into. However, by the time you need them, you will have seen so many cards that they are still reasonably consistent. The same can be said for Supporter cards, though you also have Pokégear 3.0 for those. Let's look at the list:
This concludes the public portion of this article.
If you'd like to continue reading, consider purchasing a PokeBeach premium membership! If you're not completely satisfied with your membership, you can request a full refund within 30 days.
Each week we post high-quality content from some of the game's top players. Our article program isn't a corporate operation, advertising front, or for-profit business. We set our prices so that we can pay the game's top players to write the best content for our subscribers. Each article topic is carefully selected, goes through multiple drafts, and is touched up by our editors. We take great pride in our program!