
No Hand, No Problem — Granbull for Brazil
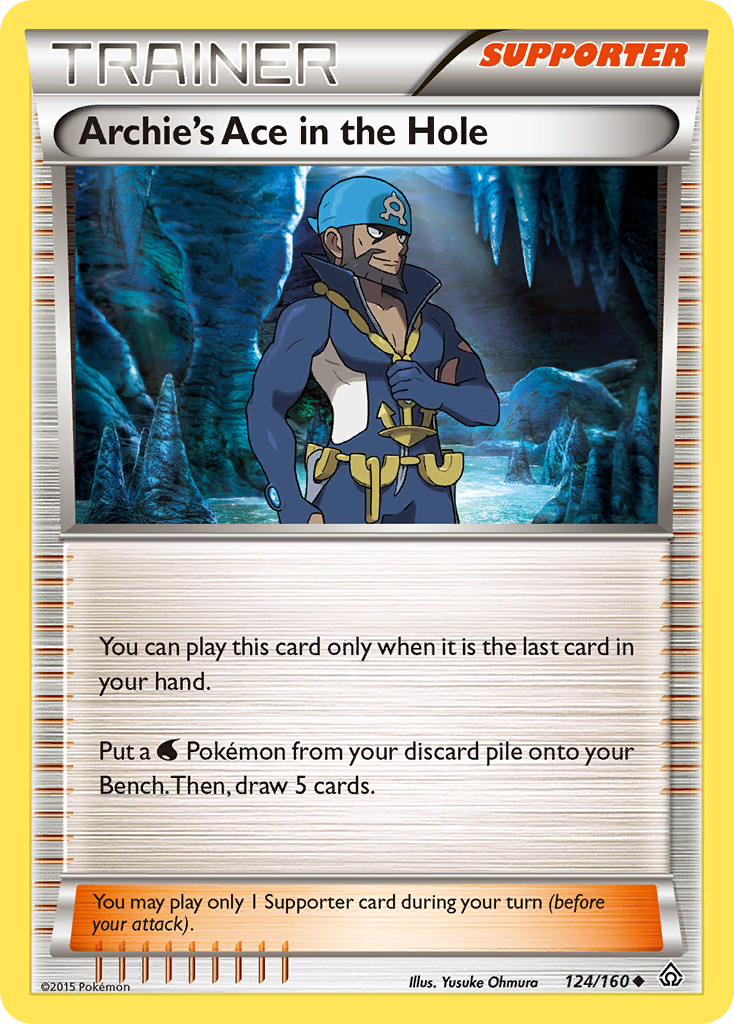
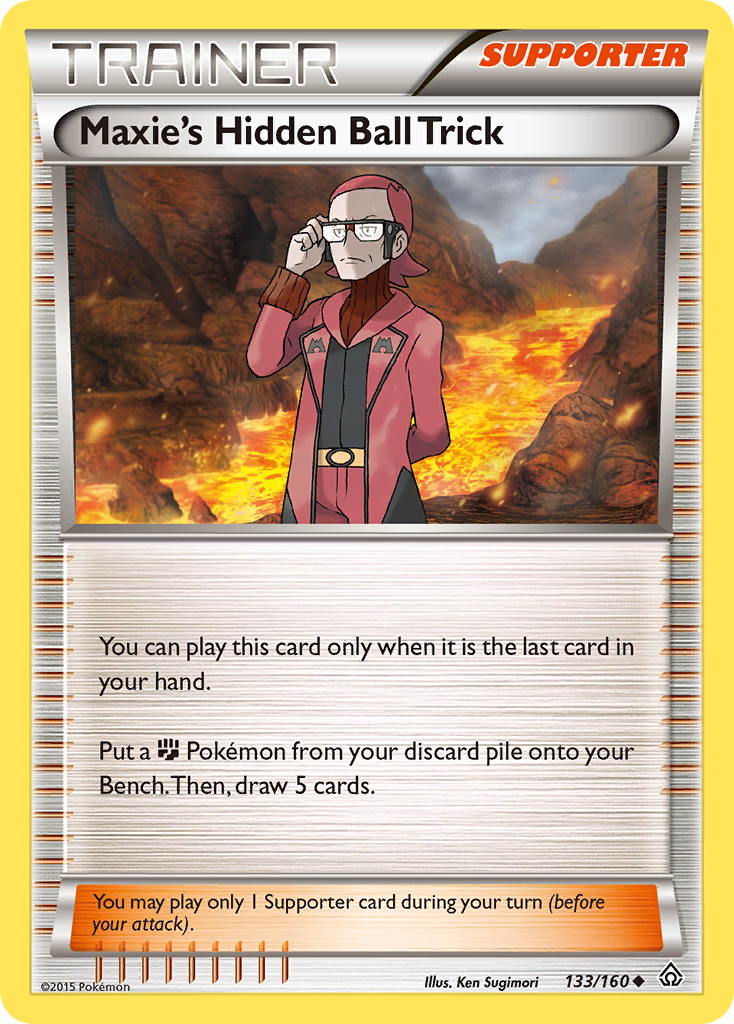
 Despite its fierce appearance, Granbull is a timid Pokemon; here's an analogy: it's attack, All Out, reads: “If you have no cards in your hand, this attack does 130 more damage.” Granbull might be timid, but given the right opportunity it can pack a punch. Playing your hand down to zero cards is an awkward strategy that hasn’t been popular other than in decks utilizing Archie's Ace in the Hole or Maxie's Hidden Ball Trick. It seems weird to put yourself in what looks like a bad situation, but the damage output of Granbull is worth it. Being able to do 160 damage for a single Energy is powerful and will mow down a variety of decks. Its 130 HP can even take a hit, and as a non-GX it doesn’t get better than that.
- Basic concept:
- Get hand to zero cards, swing for 160 damage over and over
- With 130 HP, it will be difficult to counter this
- Get hand to zero cards, swing for 160 damage over and over
- Support Pokemon:
- Engine:
- Getting your hand to zero
Here’s the list, based off the ninth place Champions League tournament in Tokyo, Japan; a great starting place for getting to know the deck!
Deck List
Pokémon (16)
Trainers (38)
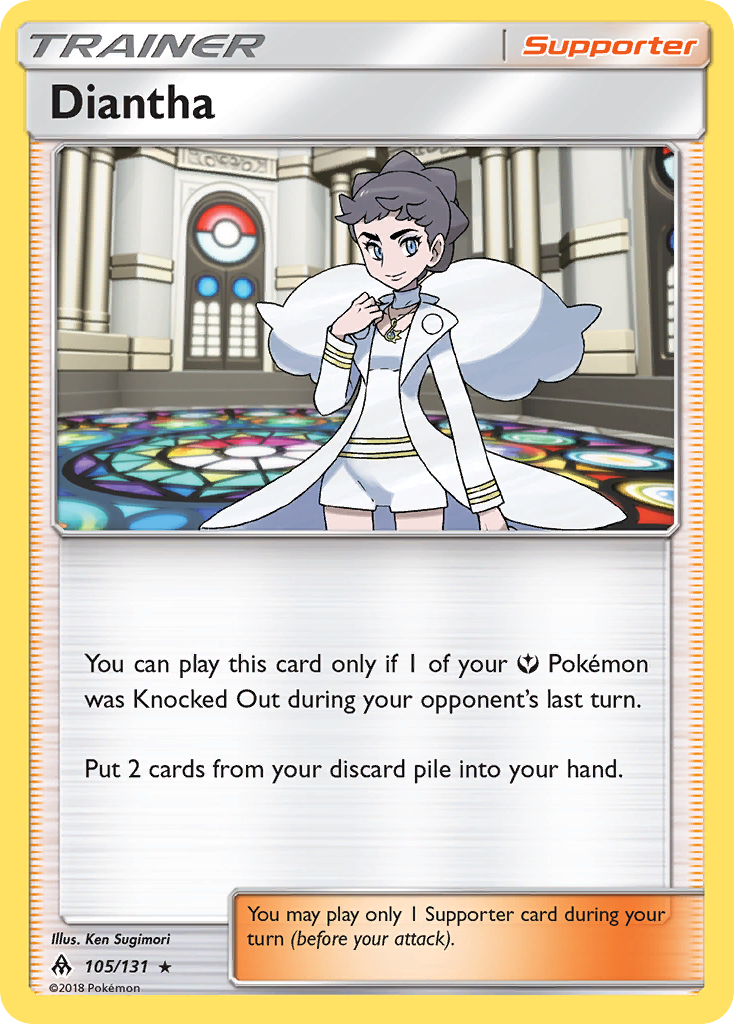
- 4x Diantha (FLI #105)
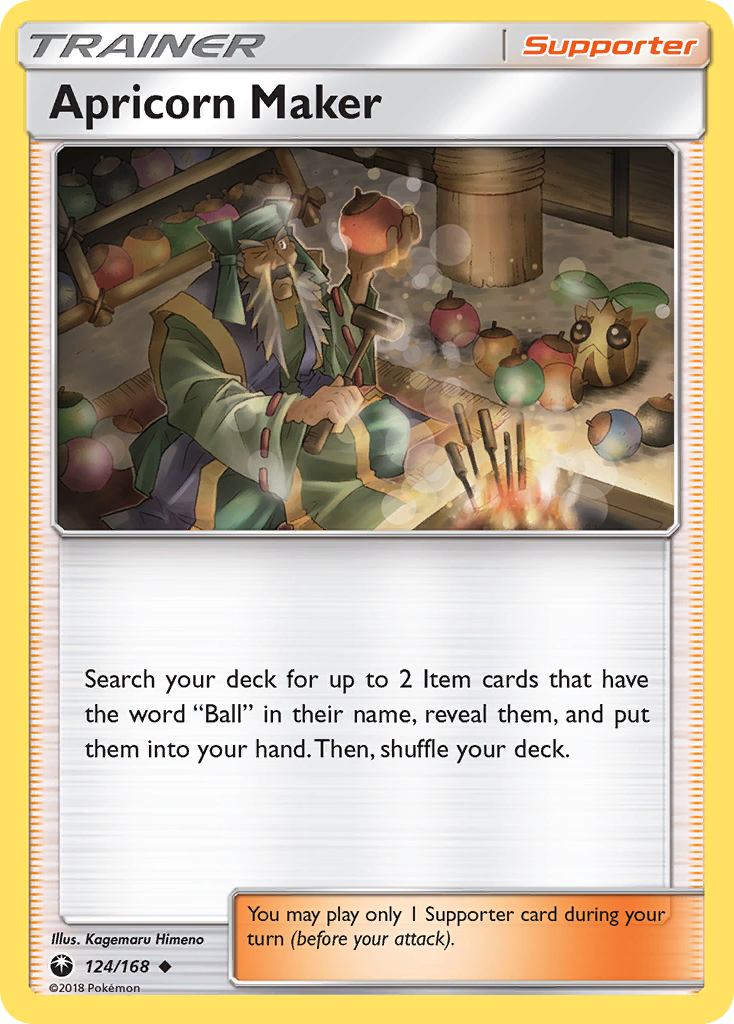
- 4x Apricorn Maker (CES #124)
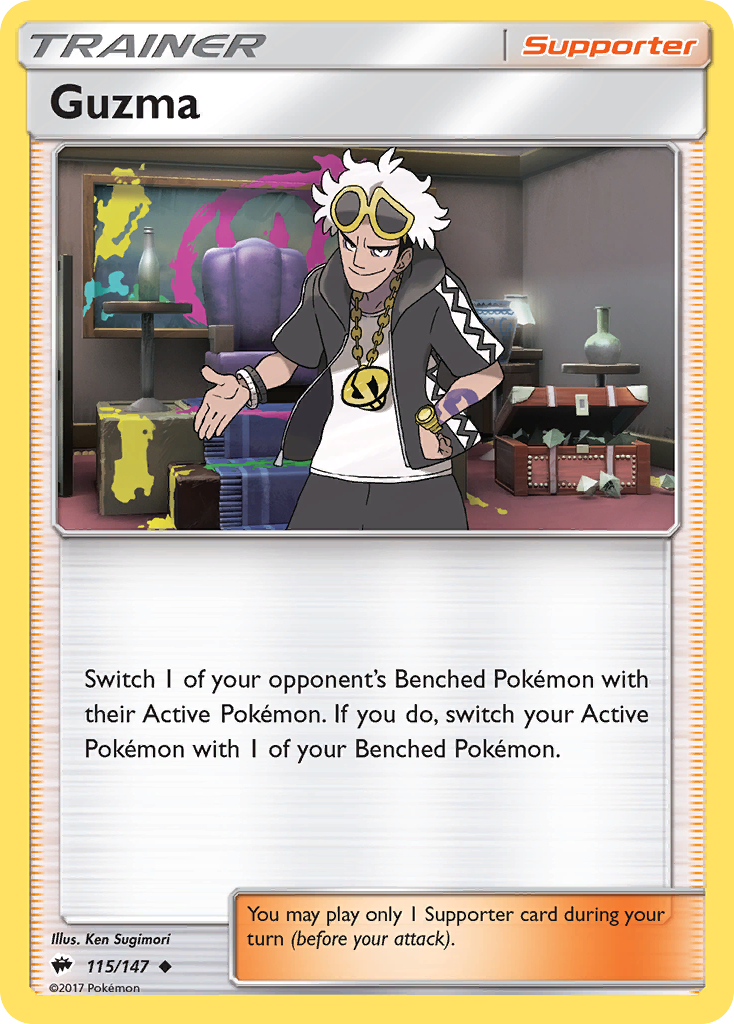
- 2x Guzma (BUS #115)
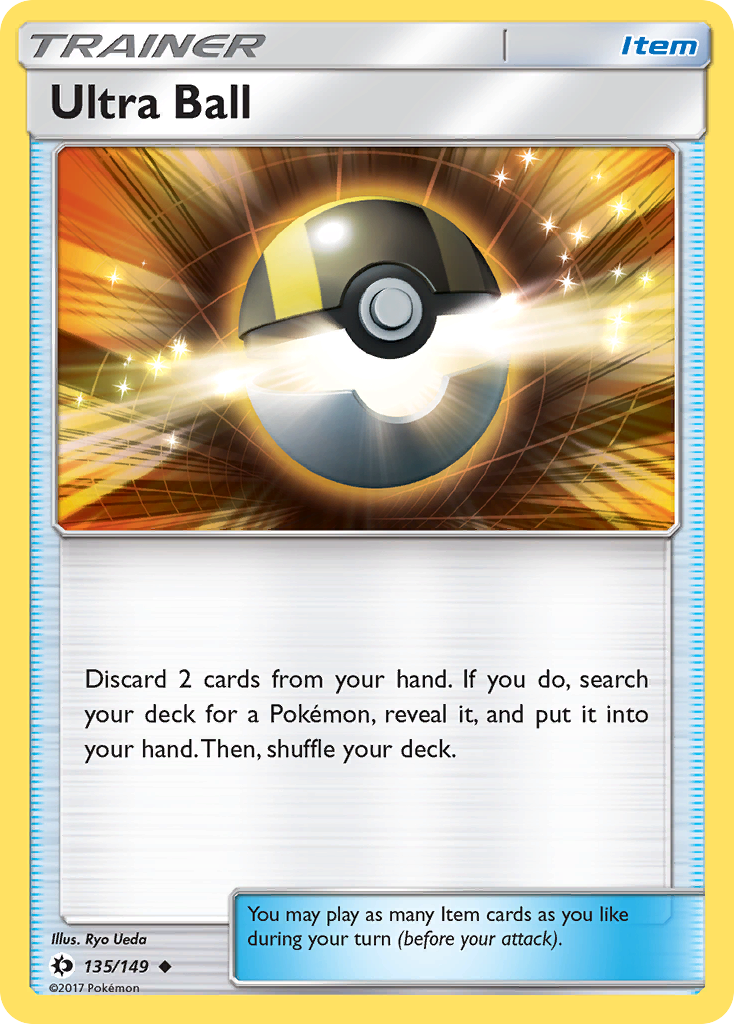
- 4x Ultra Ball (SUM #135)
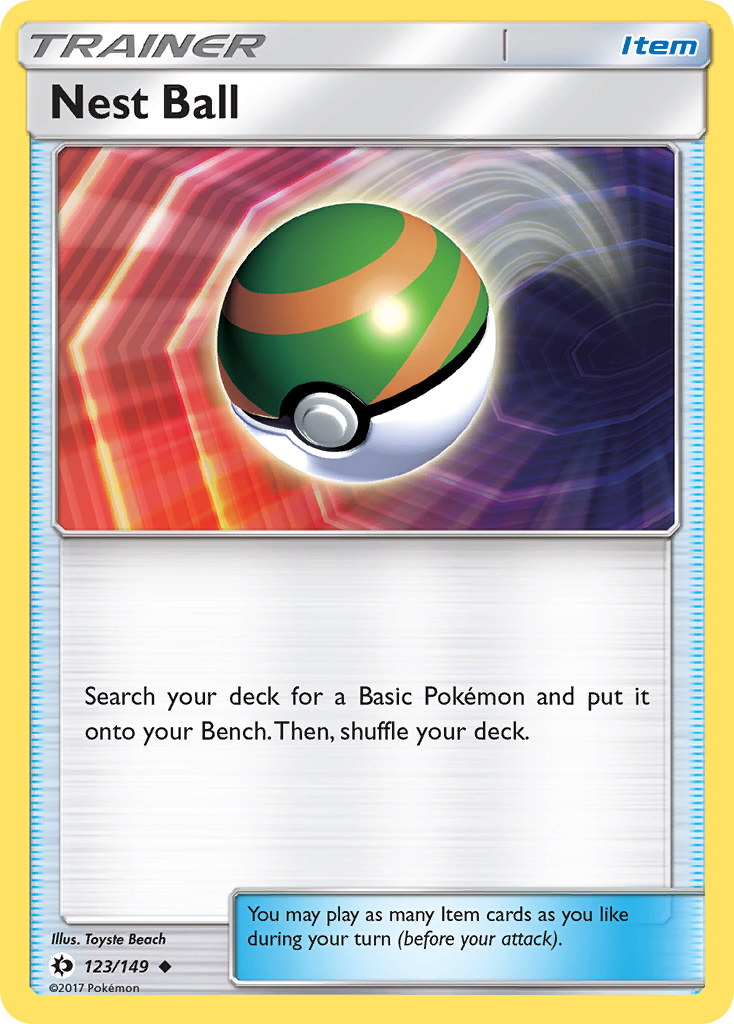
- 4x Nest Ball (SUM #123)
- 4x Great Ball (SUM #119)
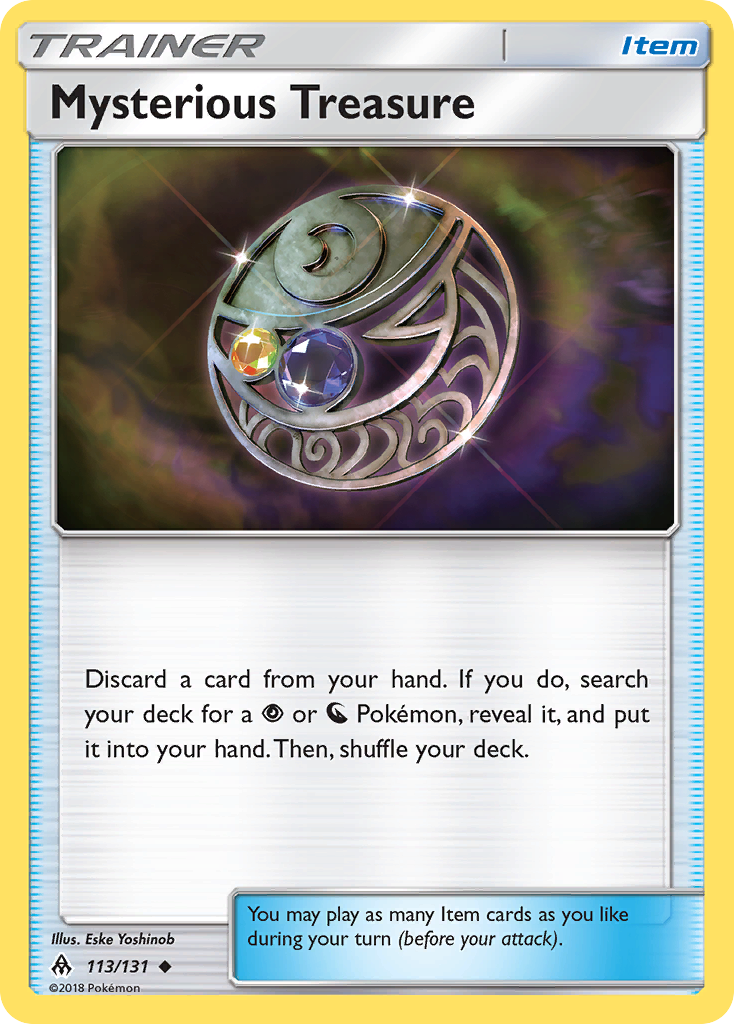
- 2x Mysterious Treasure (FLI #113)
- 2x Rescue Stretcher (GRI #130)
- 2x Choice Band (GRI #121)
- 2x Bodybuilding Dumbbells (BUS #113)
- 1x Switch (CES #147)
- 1x Lost Blender (LOT #181)
- 1x Field Blower (GRI #125)
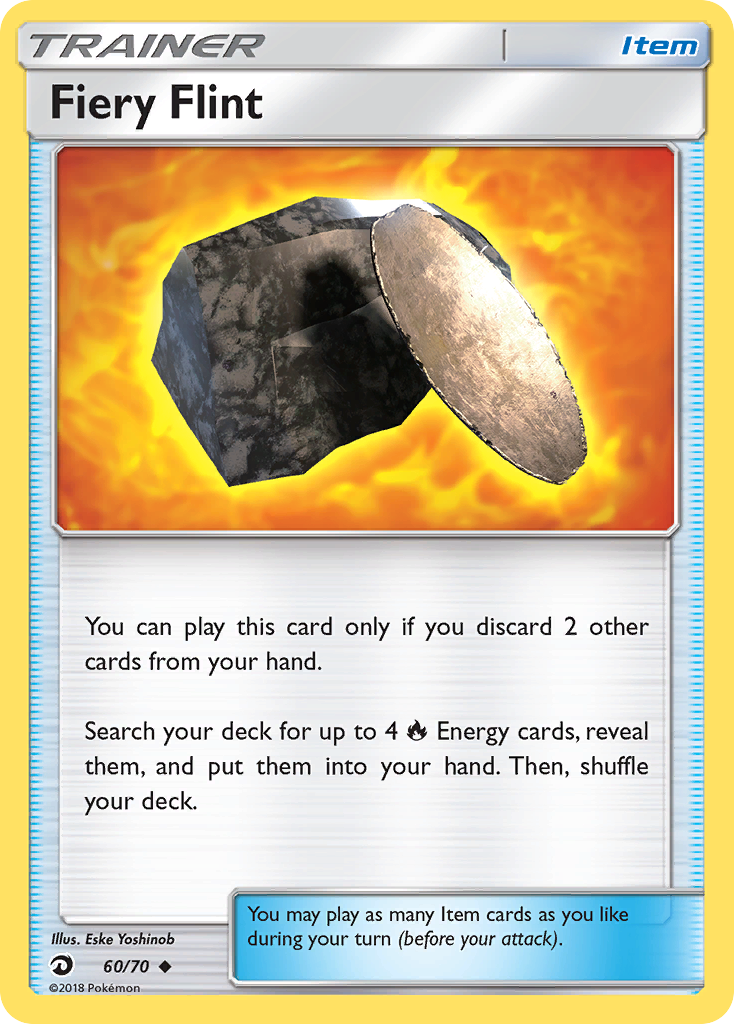
- 1x Fiery Flint (DRM #60)
- 1x Energy Recycle System (CES #128)
- 3x Shrine of Punishment (CES #143)
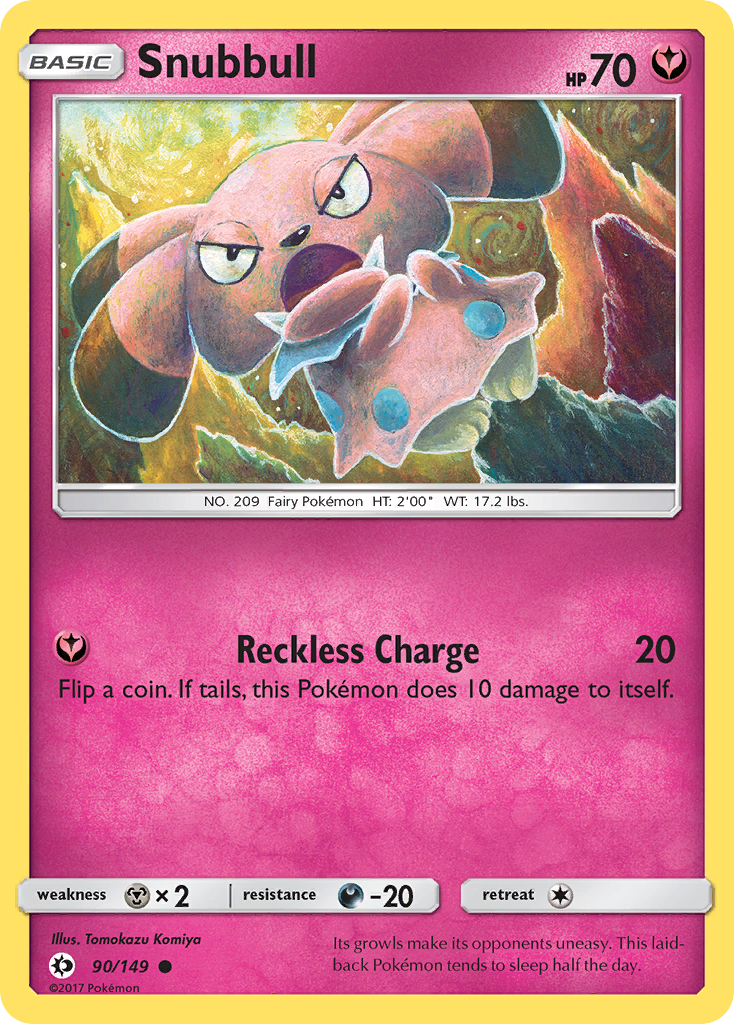
Four Granbull and Four Snubbull
The main attacker of the deck, you do not want to shortchange yourself here.
Snubbull can come in handy sometimes with Make a Mess. Make sure to play that one and not Snubbull from Sun & Moon (#90). In discarding up to two Trainer cards from your hand, you can whittle it closer and closer to that magic number of zero for All Out.
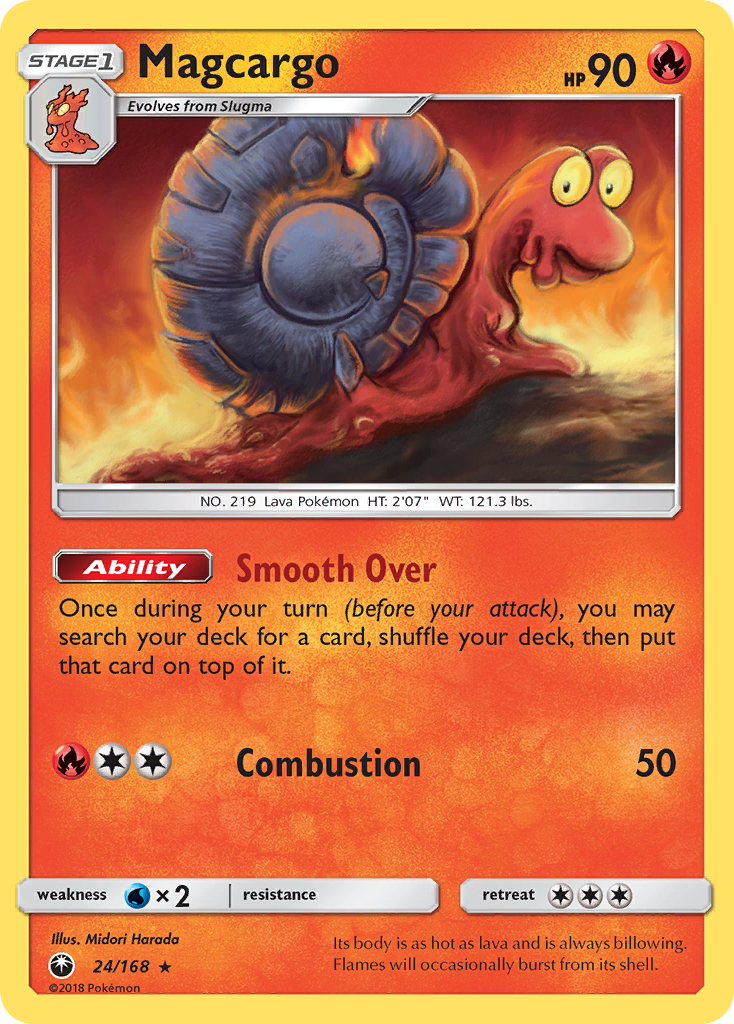
Two Magcargo and Two Slugma
Smooth Over is one of the primary “activators” of getting your hand to zero cards. You can put an Ultra Ball on top of your deck in anticipation of clearing your hand out, or find the exact piece you need for your next turn to make sure you can get the damage boost. Smooth Over ties everything together for an intricate strategy like this as you can’t afford to miss your big attacks. Magcargo also helps you keep up a chain of Diantha.
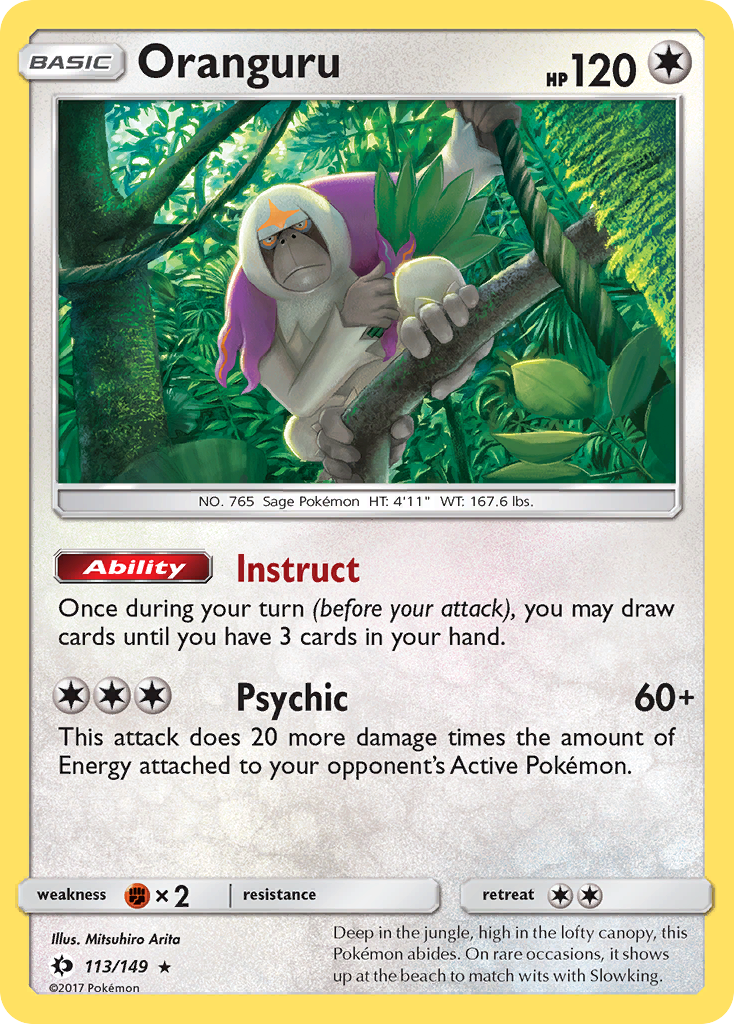
Two Oranguru
Instruct helps you abuse Magcargo effectively, and allows you to get your hand up to size so that you can Ultra Ball consistently and get rid of the cards you need to. Being able to have two Oranguru and use Instruct twice a turn can help extend turns and ensure you get all you need to put your hand to zero.
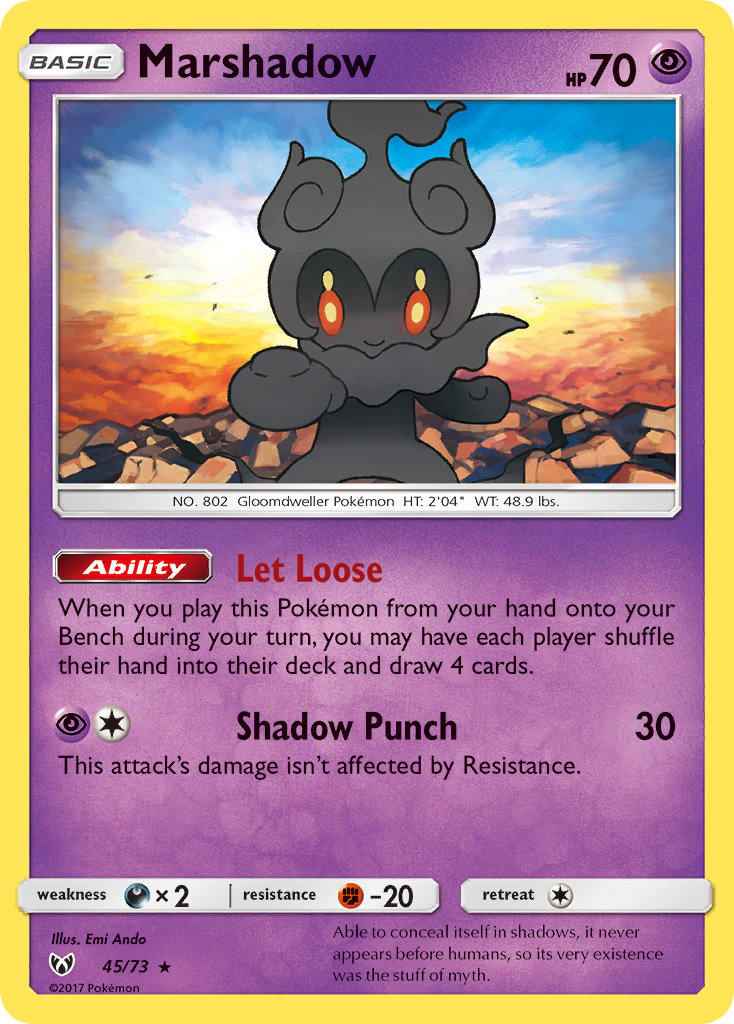
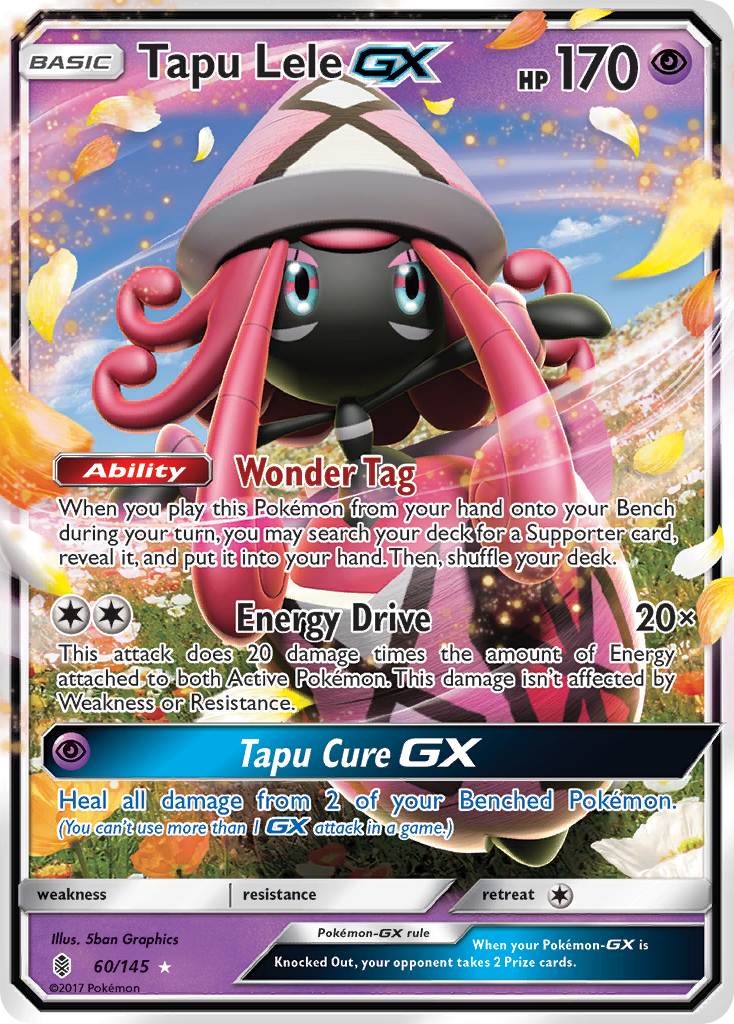
One Marshadow
This deck doesn’t want to play any Pokemon-GX, so Tapu Lele-GX and its valuable Wonder Tag is out of the question. Instead I run Marshadow, turning your Ultra Ball into outs for finding the cards you need to keep moving. It’s only good on the first few turns, because in the later game it can shoot down your chances of getting to zero cards, leaving it all to luck, but it will save you from time to time so I enjoy having it.
One Ditto Prism Star
While I am only playing two different Stage 1 Pokemon, it pays to have a “fifth” and “third” copy of Snubbull and Slugma, respectively. In awkward situations where you’re not sure if you can afford not to have “two” Slugma down, you can use Ditto Prism Star to fill the void but also open the possibility of becoming a Granbull. The plethora of options it opens makes it worth playing.
Four Diantha
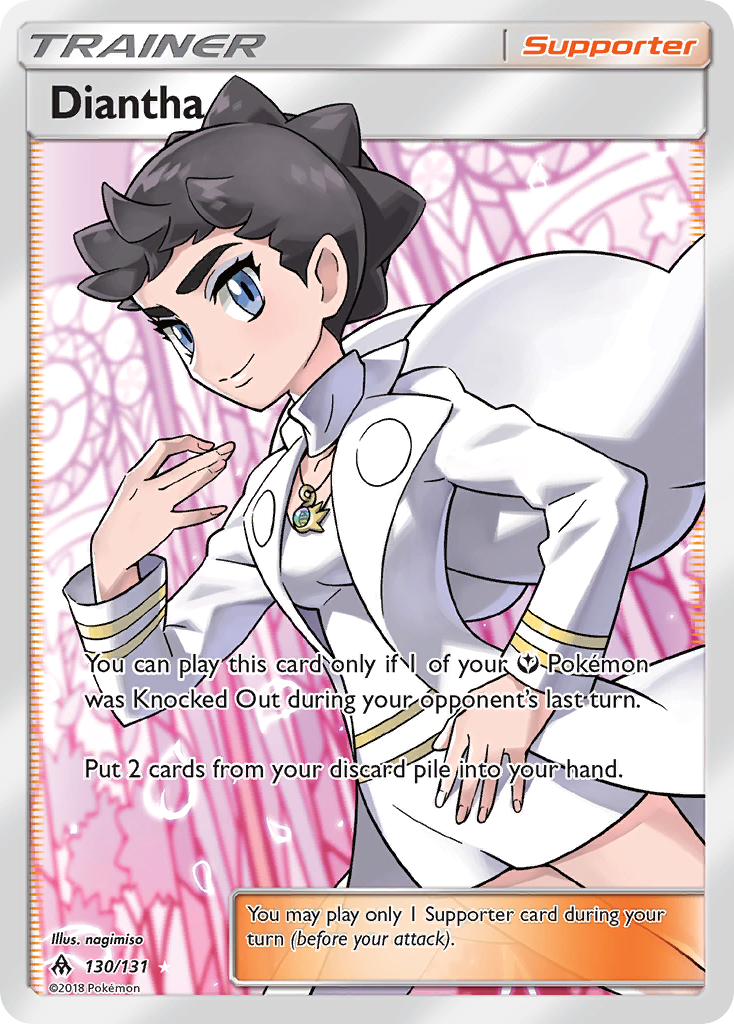
This is the key to the deck. Without Diantha you have little chance of getting your hand down to zero, but with it you can get back things like Ultra Ball. Diantha is important with getting back pieces of the All Out combination: Granbull, a Fairy Energy, and a Snubbull for the Bench if you don’t already have one. Since one of your Granbull will be getting Knocked Out each turn, you should be able to spam Diantha over and over.
If your opponent doesn’t take a Fairy-type Knock Out, then you’re in a good position regardless because that means you still have your attacker. The only downside is that a Magcargo or a different support Pokemon could have been taken down with a Guzma, so having two of those support Pokemon in play is important to lessen the blow.
Four Apricorn Maker
The key to this deck’s early setup. You can’t use Professor Elm’s Lecture in this deck since Snubbull has 70 HP, sadly. Instead, Apricorn Maker works well to take two Nest Ball early while keeping your hand size low. If you played Lillie in this deck you could have some powerful first turns, but it would be even harder to clear your hand out and get to zero. Apricorn Maker can also take Ultra Ball once you’re set up to thin your hand down some more.
Overall, the progression with this deck wants to be back-to-back Apricorn Maker plays to complete your setup, then shifting to using Diantha for the rest of the game.
This concludes the public portion of this article.
If you'd like to continue reading, consider purchasing a PokeBeach premium membership! If you're not completely satisfied with your membership, you can request a full refund within 30 days.
Each week we post high-quality content from some of the game's top players. Our article program isn't a corporate operation, advertising front, or for-profit business. We set our prices so that we can pay the game's top players to write the best content for our subscribers. Each article topic is carefully selected, goes through multiple drafts, and is touched up by our editors. We take great pride in our program!