
Marching To a New Rhythm: The Impact of Lost March

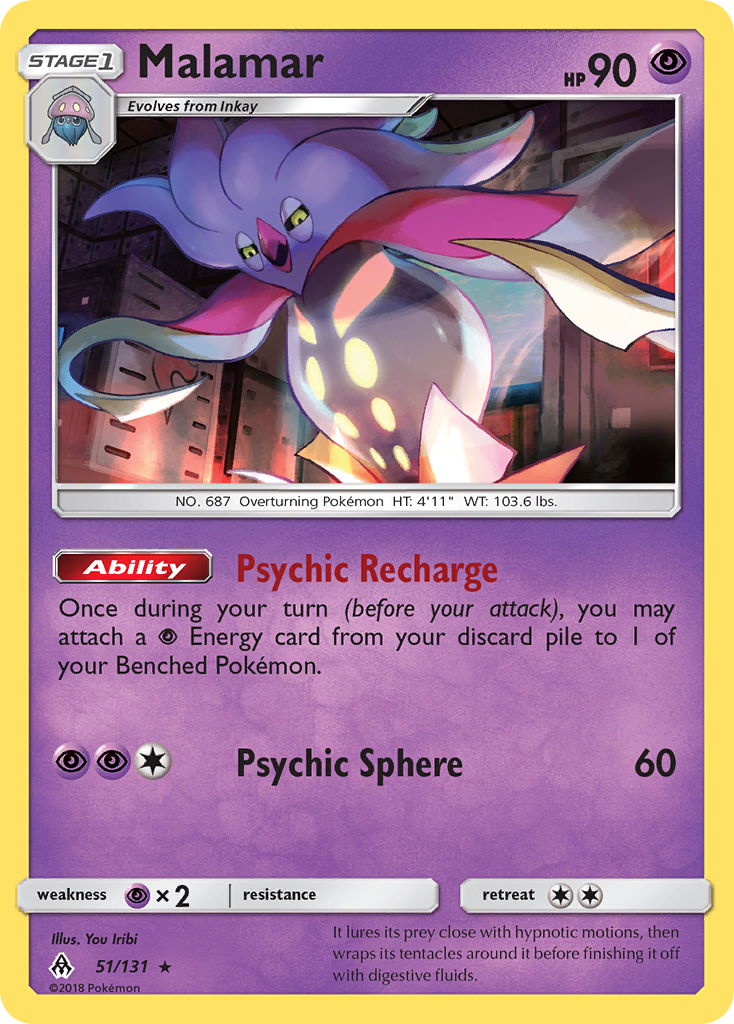
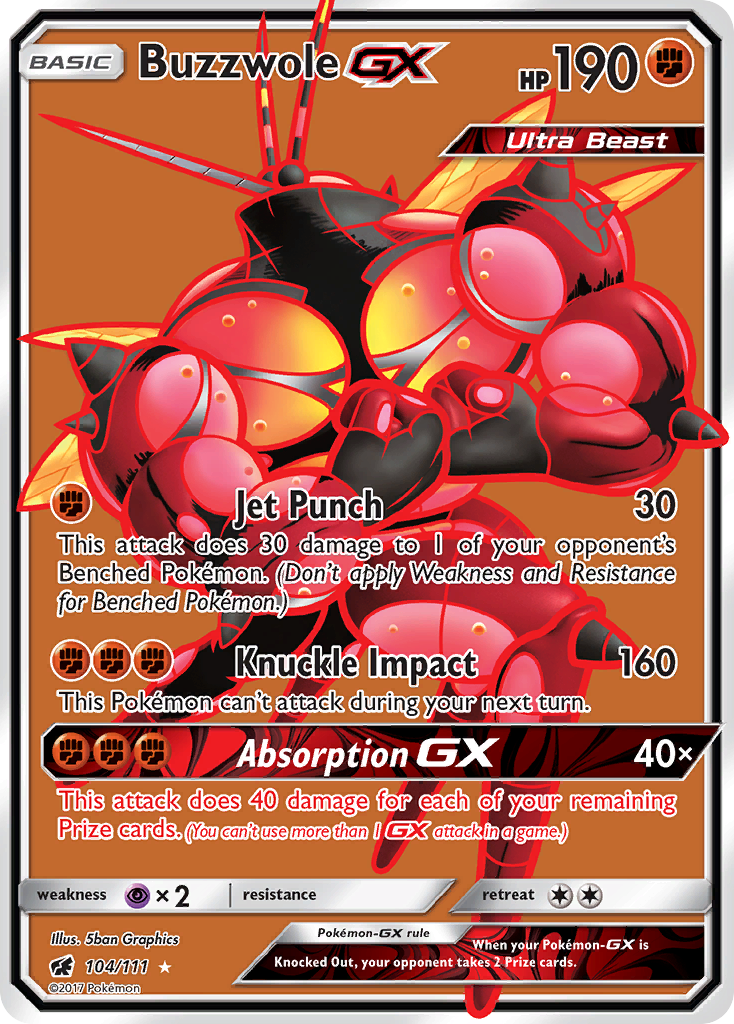
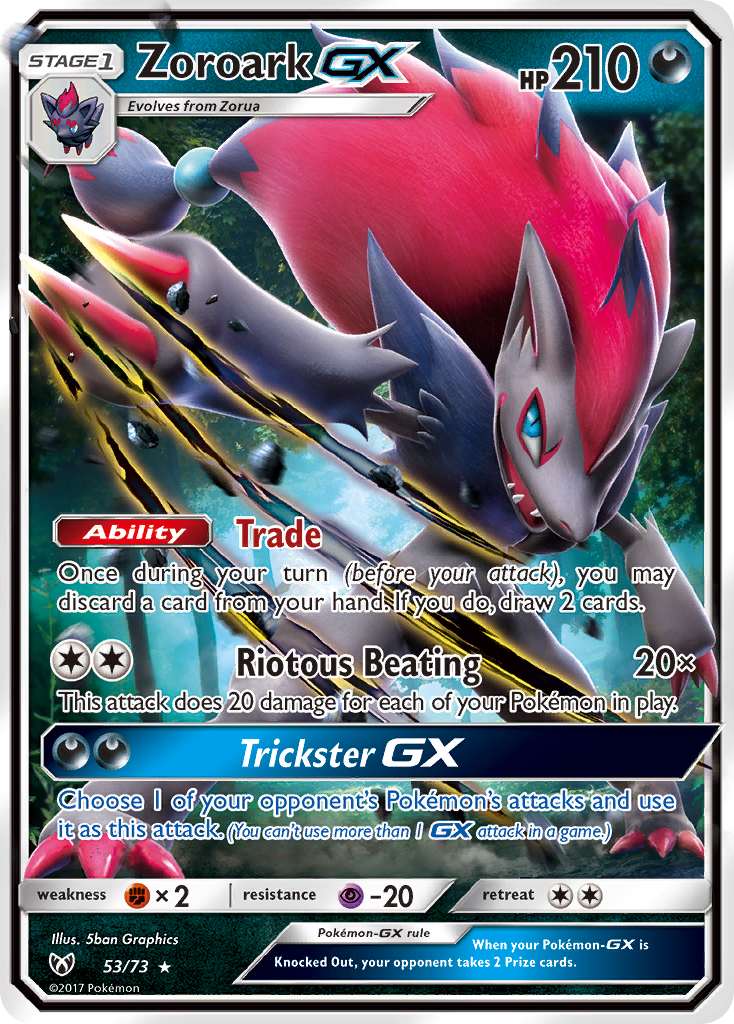
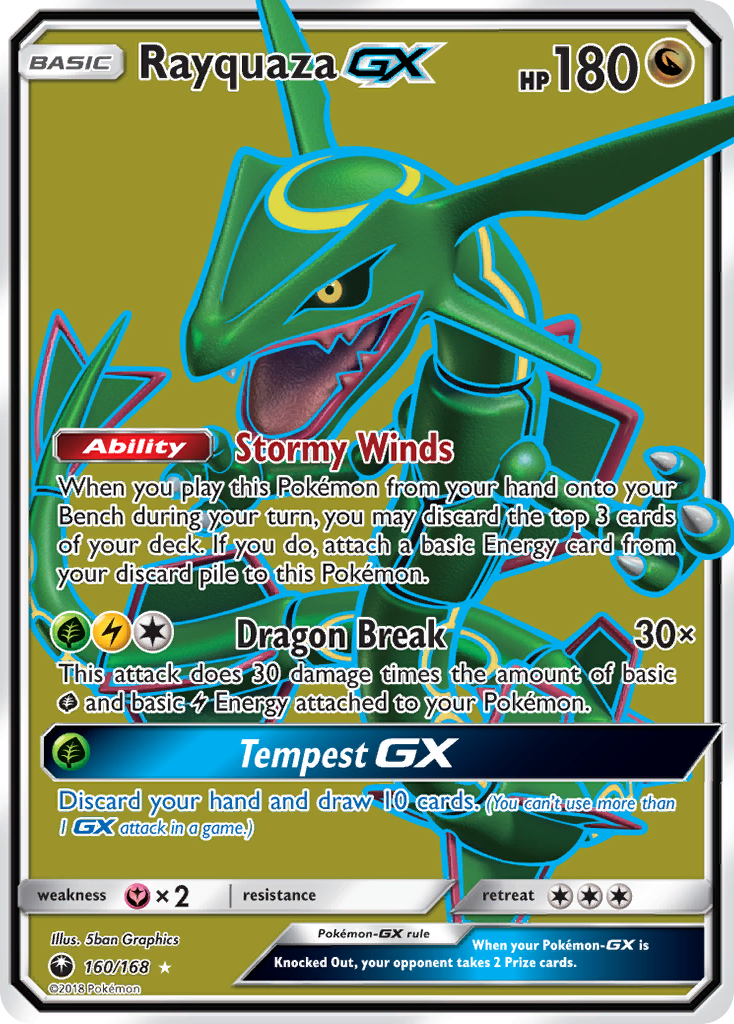
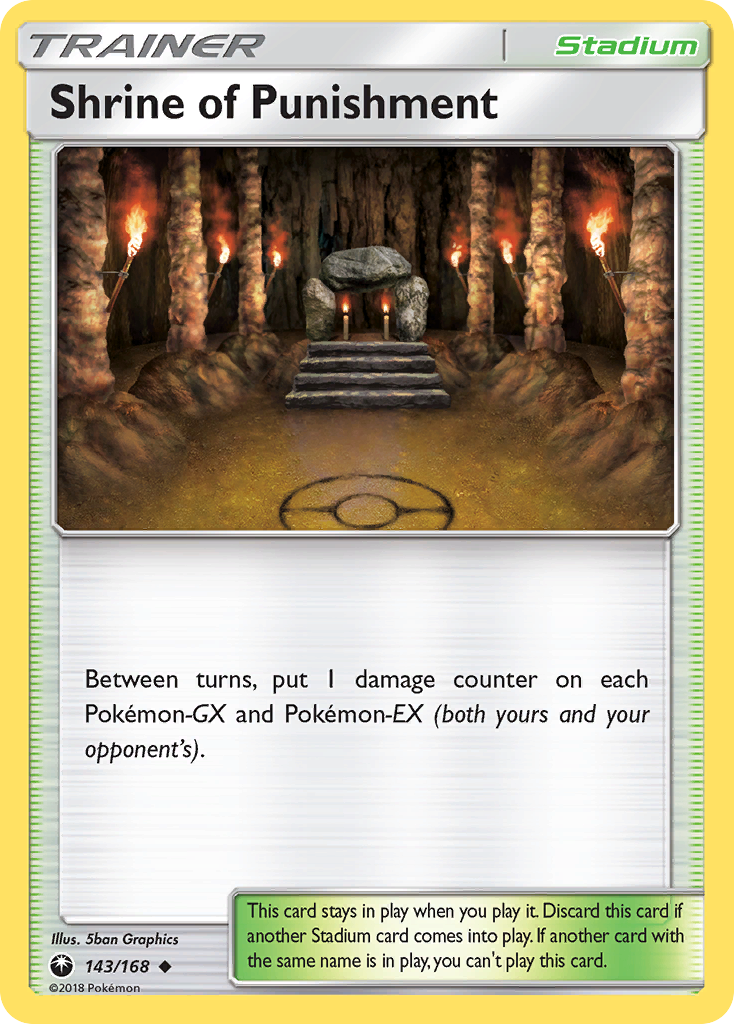
Prior to the release of Lost Thunder, our Standard metagame was controlled by five tier one decks: Malamar, Buzzwole-GX, Zoroark-GX, Rayquaza-GX, and Shrine of Punishment decks. Those five decks have quite a few new challengers. Lost Thunder is an absolutely massive set that contains multiple ready-to-go archetypes. Blacephalon-GX / Naganadel, Sceptile-GX, Zeraora-GX, and Magcargo-GX all appear to be competitive, while Alolan Ninetales-GX is arguably the most versatile GX to come out since Zoroark-GX. Shrine of Punishment builds will have a host of brand-new options, and the aforementioned five decks will have new options available to them.
Among these new deck archetypes, none have been as polarizing as Lost March. For Expanded players, or Standard players from the late XY era, the term “march” is a terrifying one with regards to Pokemon, quickly bringing to mind spooky images of pumpkins, spiders, and lamps. Night March provided players with a deck capable of incredible damage output, speed, and consistency. Proponents of the new Lost March concept foresee the same results, this time coming from cottonweeds and tiny birds. The market trends for the Lost March cards have confirmed this hype; the cards in the deck have been among the most pre-ordered cards from Lost Thunder, and the prices of each have risen to among the most expensive at their rarity. Despite playing no new Pokemon-GX, the Lost Thunder cards in the deck total -- at the time of writing this -- over $100. Not exactly budget friendly!
While the market shows that there is plenty of hype for Lost March, the debate of whether or not the deck is worth that hype is contentious. Here are the results from a recent Facebook group poll on the deck’s place in the Standard meta:

I wouldn't take online polls and discussion as the end-all be-all of whether a deck is good or not, but this does give us an indication that there is not a consensus of tier one that might be expected from the market hype. While some players have bought in and are happy to proclaim the arrival of the new BDIF, other players have the opposite reaction. Is the deck actually worthy of the hype and money, or are its detractors correct in their appraisal of the deck as underwhelming?
The Starting List
While we haven't had any tournaments in the US or Europe with Lost March legal for play, we do have one tournament with results to draw upon. The Tokyo Champions League tournament had 1,235 Masters, and with Explosive Impact legal for the event, it gives us our one data point for this Standard format.
Unfortunately, the data from the event is lacking in comparison to the USA/Europe events, but there are two important things that we learned. First, Lost March only got one of the Top 32 spots in the event, though it did have a few other finishes that, while falling short, had a strong record at 7-2. Second, we got example deck lists that we can use as a starting point for our own Lost March lists. All of the lists shared, while slightly different in terms of tech cards, had a lot of the main core of the deck remain the same. The Japanese lists will be our starting point for Lost March in this article. Take a look at this one, which, in addition to finishing in the Top 16 of the Senior division, is the one I would consider the best deck to use as the representative of the shared lists:
Pokémon (23)
Trainers (30)
Energy (7)
- 4x
Grass Energy
- 3x
Double Colorless
For those unfamiliar with the Lost March concept, the main attackers in the deck are Jumpluff and Natu, both of which utilize the Lost March attack that gives the deck its name. The goal is to get as many Pokemon as you can into the Lost Zone via Skiploom, Trumbeak, and Lost Blender; then continually attack your opponent for high amounts of damage via your non-GX attackers. The deck plays high counts of cards to search out your Pokemon, headlined by the many search cards and the brand-new Supporter Professor Elm’s Lecture, which can grab your Hoppip, Skiploom, and Natu for you.
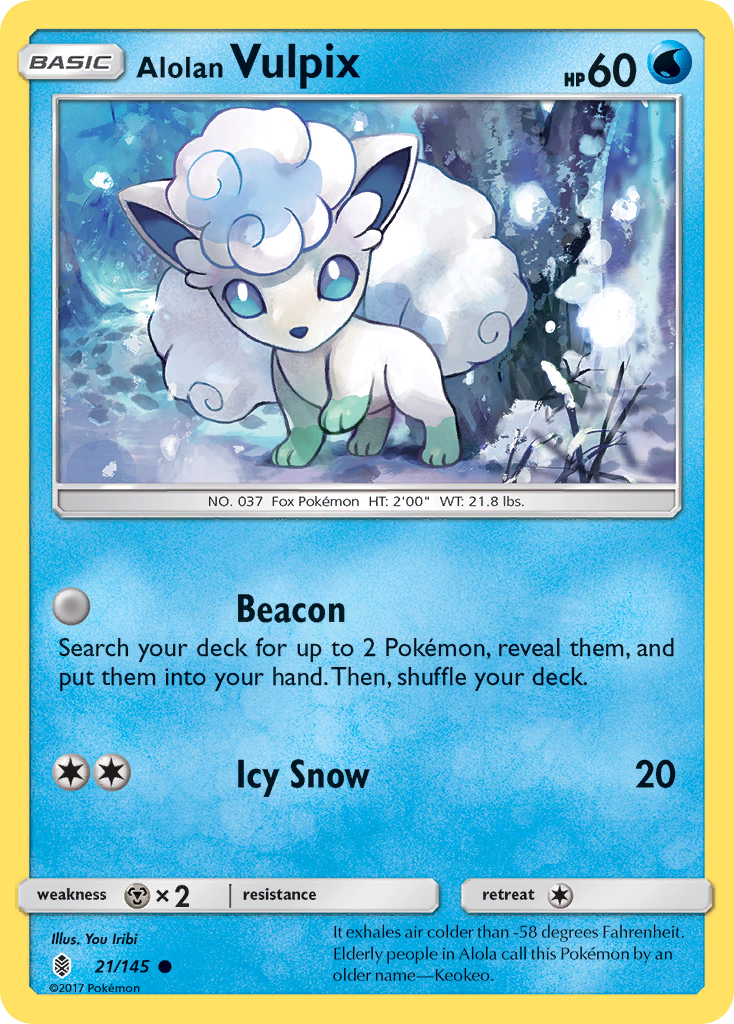
Compared to the other shared lists, this one is relatively streamlined. Those shared lists all have a few things in common; all include 4-4-4 lines of Jumpluff, four Trumbeak, and at least three Natu; all play at least 10 cards that specifically search Pokemon, typically with four Ultra Ball, four Net Ball, and two of either Timer Ball or Great Ball; some number of Lost Blender; and heavy counts of Professor Elm's Lecture. The unique parts of this list opposed to other lists are the Alolan Vulpix and Counter Catcher.
Deck Strategy
Lost March is a deck where the strategy you use doesn't change based on what your opponent is playing. Rather, the key to playing Lost March successfully is to know how to optimally use the cards in your hand to achieve your goals. That goal is as follows: get enough Pokemon in the Lost Zone to get OHKOs on your opponents, and then continually attack them for Knock Outs until you win.

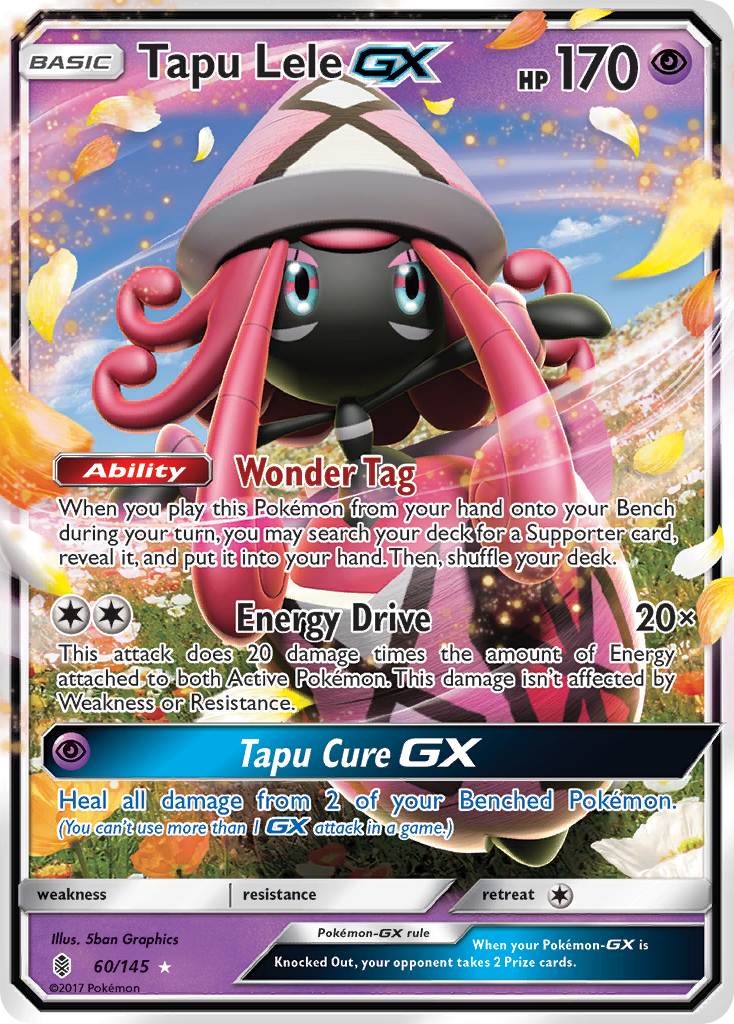
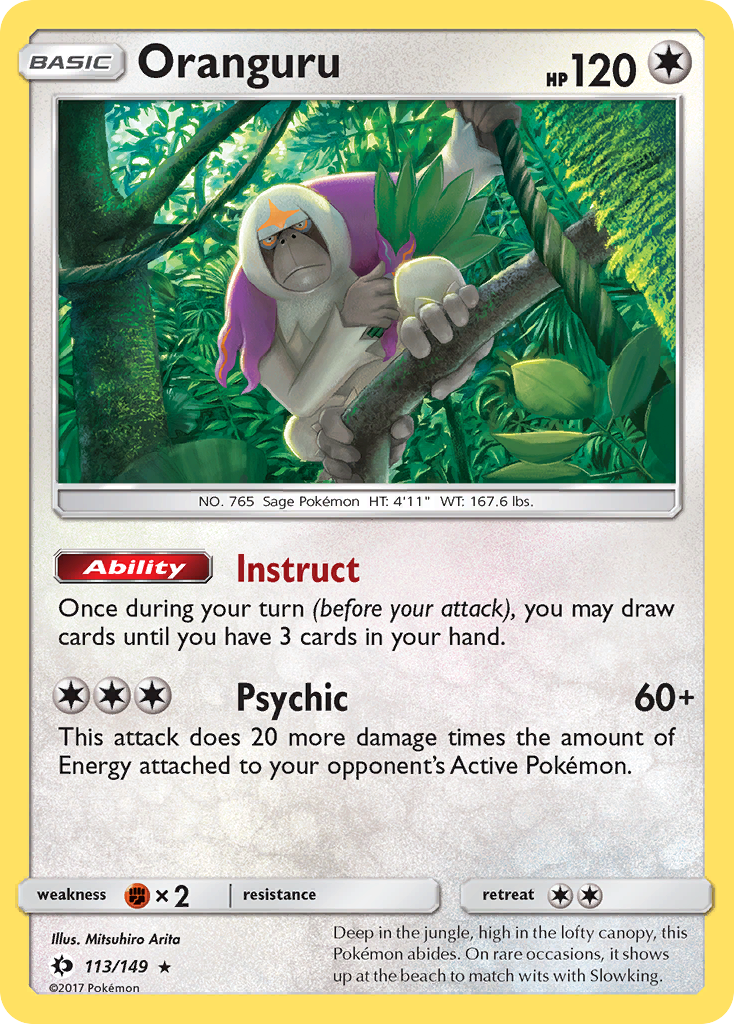
On the first turn of the game, your goal should be to get as many Hoppip in play as you can while setting up your hand so that you can easily acquire Skiploom on the next turn. This is where the heavy counts of search cards and Professor Elm's Lecture come in handy. You want to accomplish this without benching your Tapu Lele-GX, as doing so gives your opponent an opportunity to skip ahead on the Prize trade themselves. If you can, you want to bench your Oranguru this turn; I normally use an Ultra Ball to acquire it as it improves consistency for the rest of the game, especially where most of your cards can be quickly used and/or discarded out of your hand. If I start with Professor Elm's Lecture, my play is almost always grab three Hoppip, unless I am going second and have been able to get the others either in my opening hand or through search cards, in which case I grab an Alolan Vulpix, provided I have an Energy that can get it Active. If you can't get all of your Hoppip in play, ignore the Alolan Vulpix in favor of more Hoppip. The only exception is if you are facing the prospect of a bricked hand on your second turn, in which case you may need to use the Alolan Vulpix to grab a Tapu Lele-GX. The reasoning behind the emphasis on Hoppip is simple: if you don't get them in play, you can't get your Skiploom in play, which will limit your damage output and slow down Lost March. One of the strongest opposing strategies against this deck is to Knock Out the Hoppip, so if you don't manage to bench plenty of them, you can find yourself in a precarious position.
Once you've got out all of your Pokemon, whether or not you actually attach an Energy will be dependent on board state. Remember, Skiploom's Floral Path To The Sky Ability puts all cards attached to Skiploom into the Lost Zone, so don't attach any Energy to your Hoppip! This means not attaching any Energy on your first turn, as you want to save any Grass Energy for the Jumpluff that you can hopefully get out the following turn; if you have a Skiploom already in your hand, then holding the Energy is optimal. When I do attach an Energy on turn one, I either attach to Oranguru, or use it as a way to retreat into Alolan Vulpix. At the end of the first turn, your board should contain a ton of Hoppip, and your hand should have some combination of Skiploom, ways to get Skiploom, Energy, and a Supporter that gets you into more cards. In an ideal circumstance, you might have another Professor Elm's Lecture in hand on top of that, which can easily solve the problem of acquiring Skiploom, though if you don't have any Energy, it may not be the ideal play depending on how quickly your opponent is attacking you.
The second turn will play out similarly to the first, except that this time you are looking for Skiploom instead of Hoppip. Once you evolve the Hoppip, immediately use the Ability to swap them with Jumpluff; there's no need to hesitate unless facing a spread deck. At this point, you can start attaching Energy and attacking, ideally for OHKOs. Until you can get to the point where you are OHKOing your opponent's Active, you want to continue to use your resources and dig through your deck to find ways to get Pokemon into the Lost Zone, whether it's via Trumbeak, Lost Blender, or by finding more Skiploom that you didn't get earlier. After you get to that point, then your focus changes to acquiring Energy cards, as well as Choice Band and Counter Catcher so that you can continuously get those OHKOs every turn for the rest of the game. You want to be aggressively thinning your deck to maximize your chances of drawing into those Energy cards, so use your Item cards with reckless abandon. If you miss a single turn of attacking, then your chances of losing drastically increase, so do everything you can to ensure those continuous attacks.
This concludes the public portion of this article.
If you'd like to continue reading, consider purchasing a PokeBeach premium membership! If you're not completely satisfied with your membership, you can request a full refund within 30 days.
Each week we post high-quality content from some of the game's top players. Our article program isn't a corporate operation, advertising front, or for-profit business. We set our prices so that we can pay the game's top players to write the best content for our subscribers. Each article topic is carefully selected, goes through multiple drafts, and is touched up by our editors. We take great pride in our program!