
Shunning Shaymin — An Intro to Competitive Play and Four Standard Decks Without Shaymin-EX
Hello, friends. PMJ here, and I'd like to talk about playing this game competitively. I'm not referring to deck matchups specifically, but how to get started as a competitive player without hundreds of dollars of disposable income. With that said, you are still going to have to spend some money if you're starting from scratch. If you're looking to pick this game up, you're in luck; Pokemon TCG is pretty cheap compared to other games. Still, there are a few outliers, and the bulk of this article is going to talk about one of them, that staple of staples that seems to find its way into every deck - Shaymin-EX. In this article I'm going to talk about what it is that makes Shaymin so good, your options if you don't have them, and I'll even share a few lists of decks that don't use it at all! How interesting!
The Rise of Shaymin, or Wishing Uxie Was Legal Again

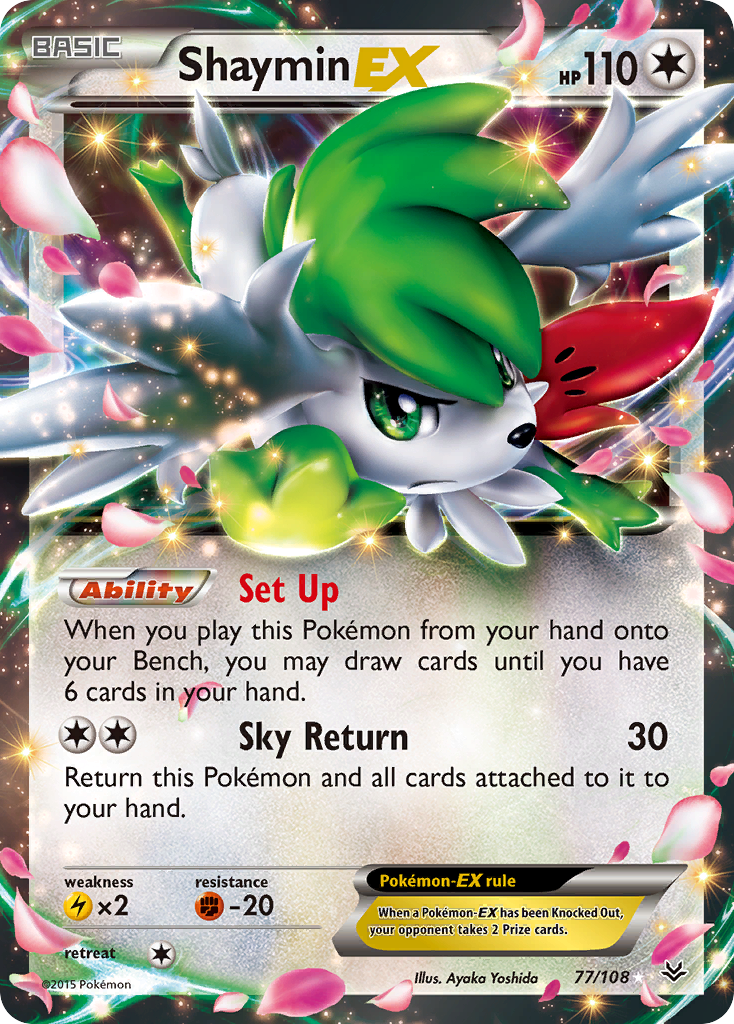
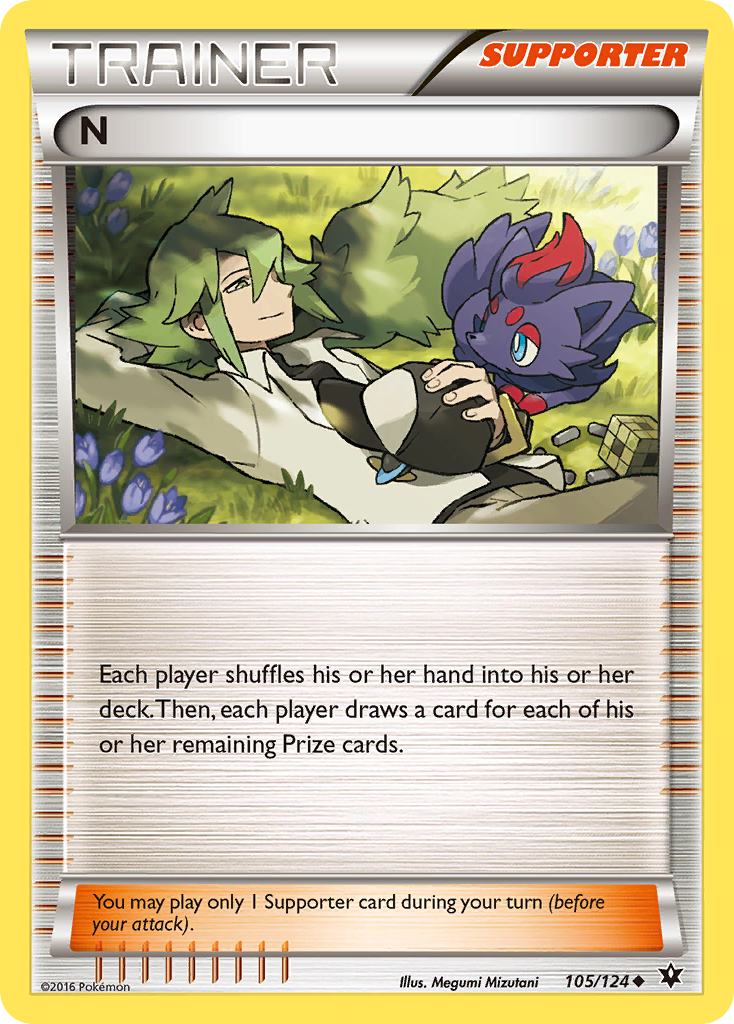
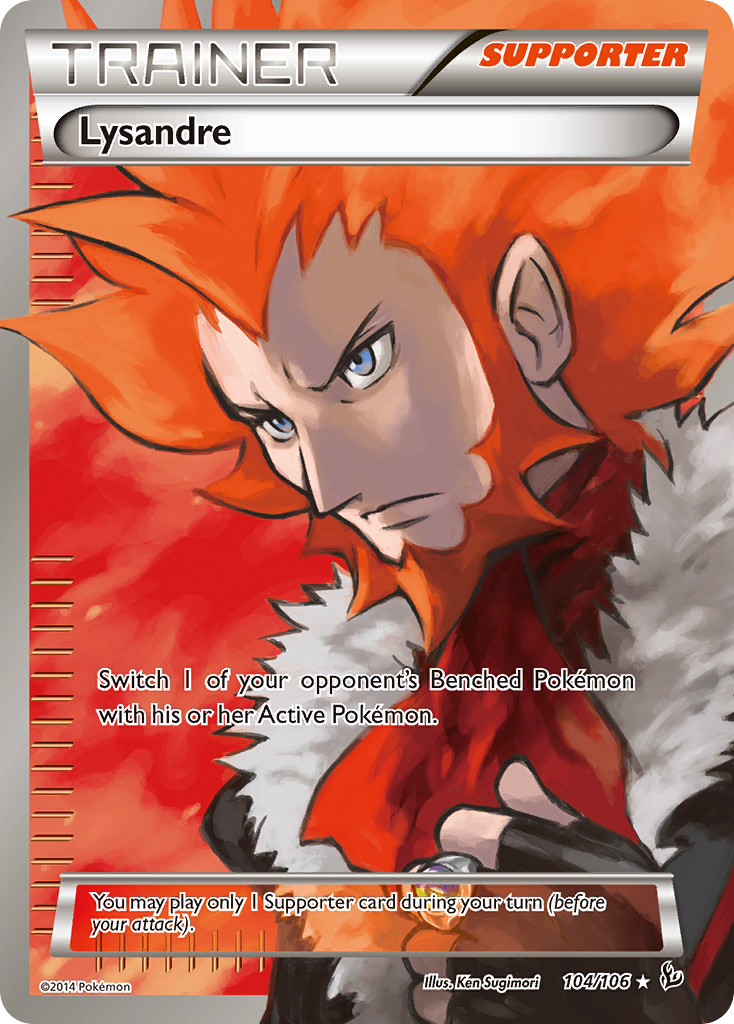
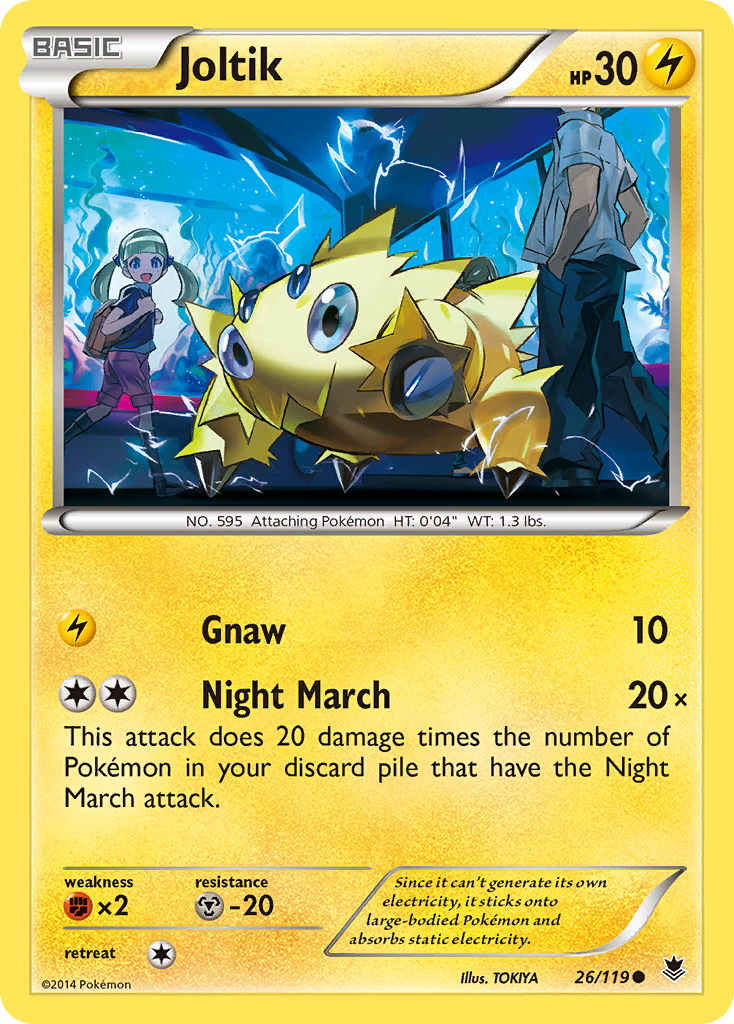
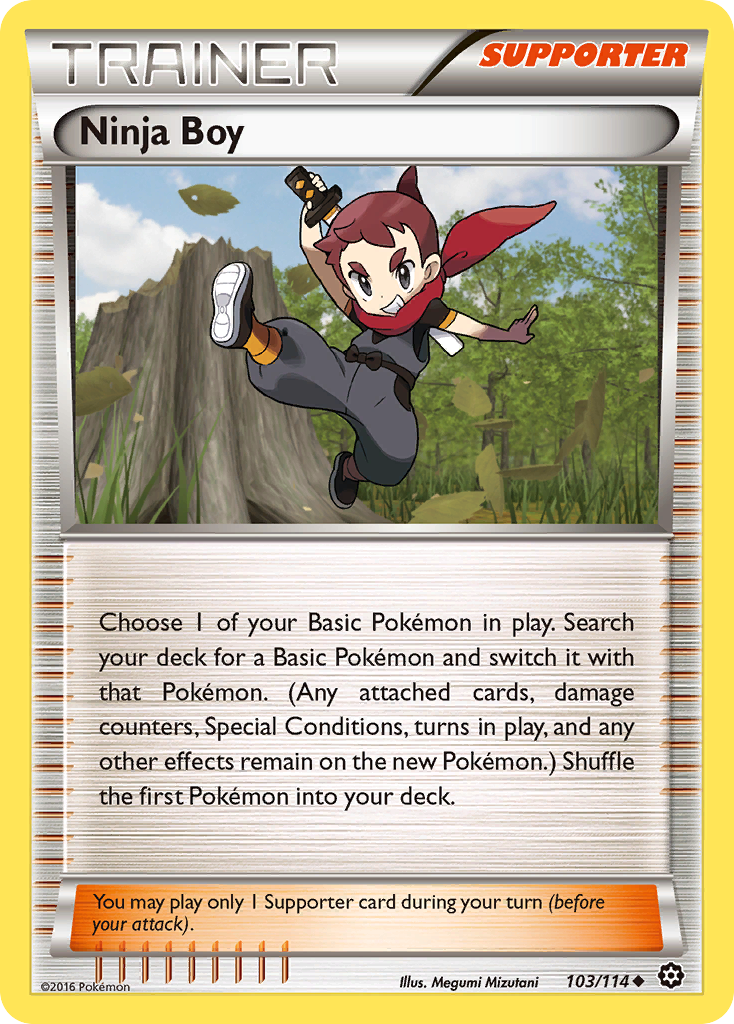
Shaymin-EX was released in Roaring Skies and it has been considered a staple ever since then. Its best selling point is its Ability, Set Up. Being able to draw up to six cards without using your Supporter for the turn is game-changing. There are few non-Supporter sources of draw, so having such a powerful one available--especially on a Basic Pokemon--is definitely appreciated. Its attack is also perfect for the card, allowing you to Set Up again next turn (assuming you can avoid the N). All this power comes at a cost, however. With only 110 HP and a Retreat Cost you have to actually pay, Shaymin-EX is easily KOed, making it a prime Lysandre target. Some decks, like Joltik, made it a point to take KOs on the Lightning-weak Shaymin-EX as often as possible, using Target Whistle to bring it back from the dead only to be immediately Lysandred up front and killed - for another two Prizes. So why bother with it at all? The answer is simple: its Ability is just that good. Set Up is so good that the risk of benching it is worth the reward of up to six new cards and Supporter freedom for the turn. This risk is further mitigated by smart usage of cards that can remove Shaymin-EX from play like Ninja Boy and Parallel City. Playing Parallel City also has a bonus effect of preventing your opponent from doing the same to his side of the field (since he can't play Parallel City as long as one is in play), putting targets on his Shaymin until a different Stadium is played.
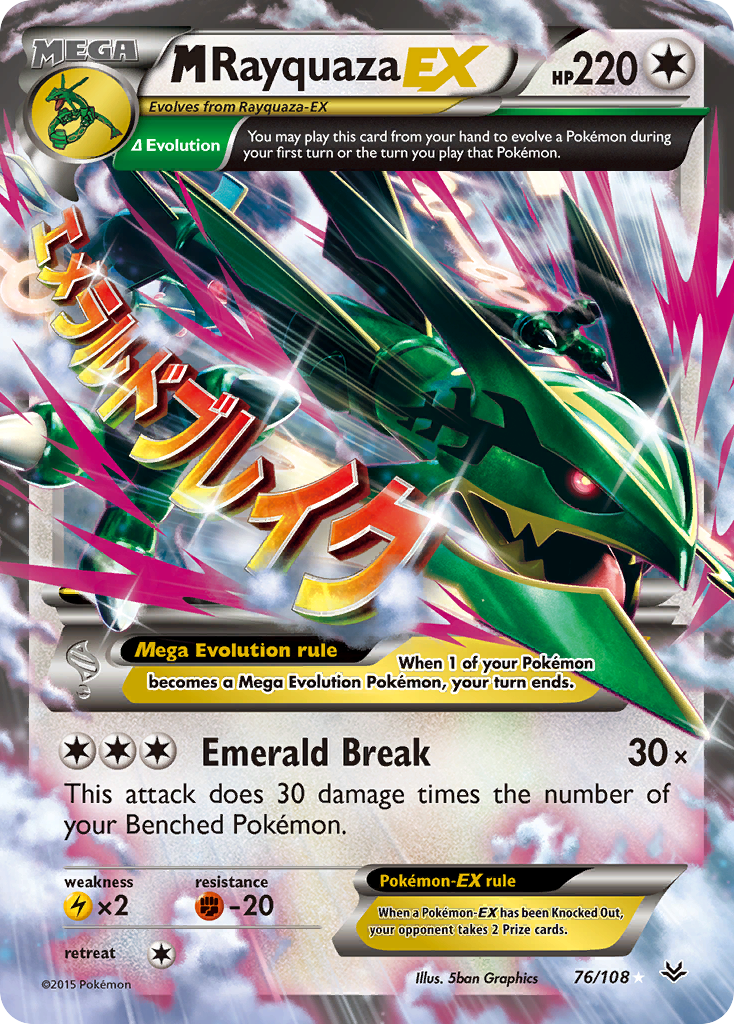
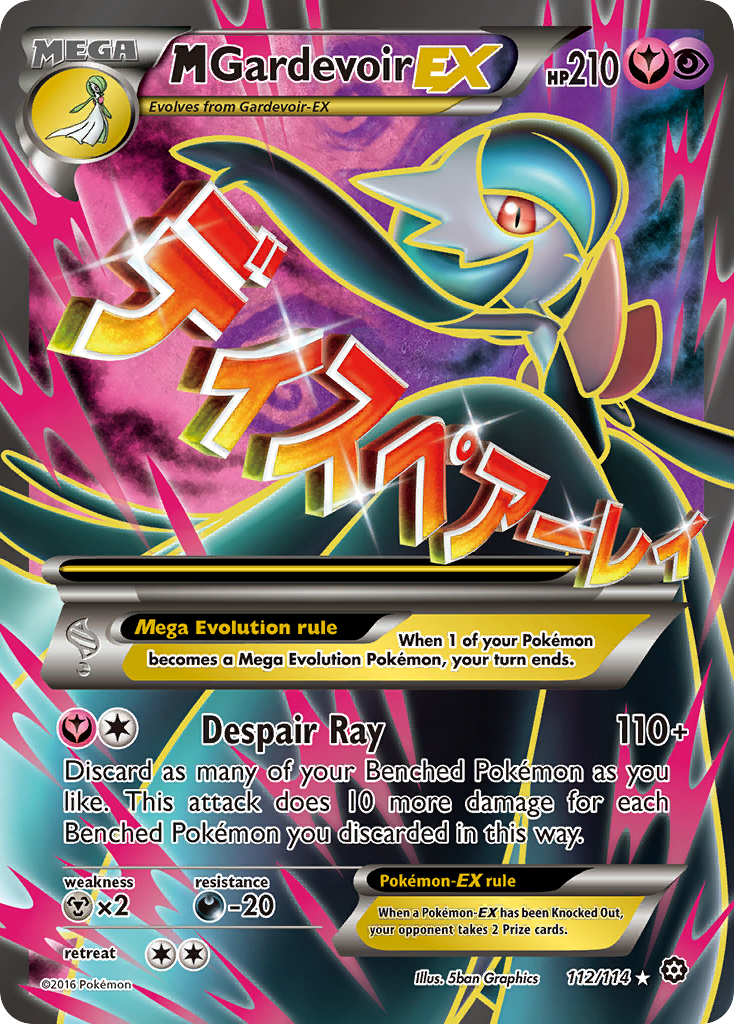
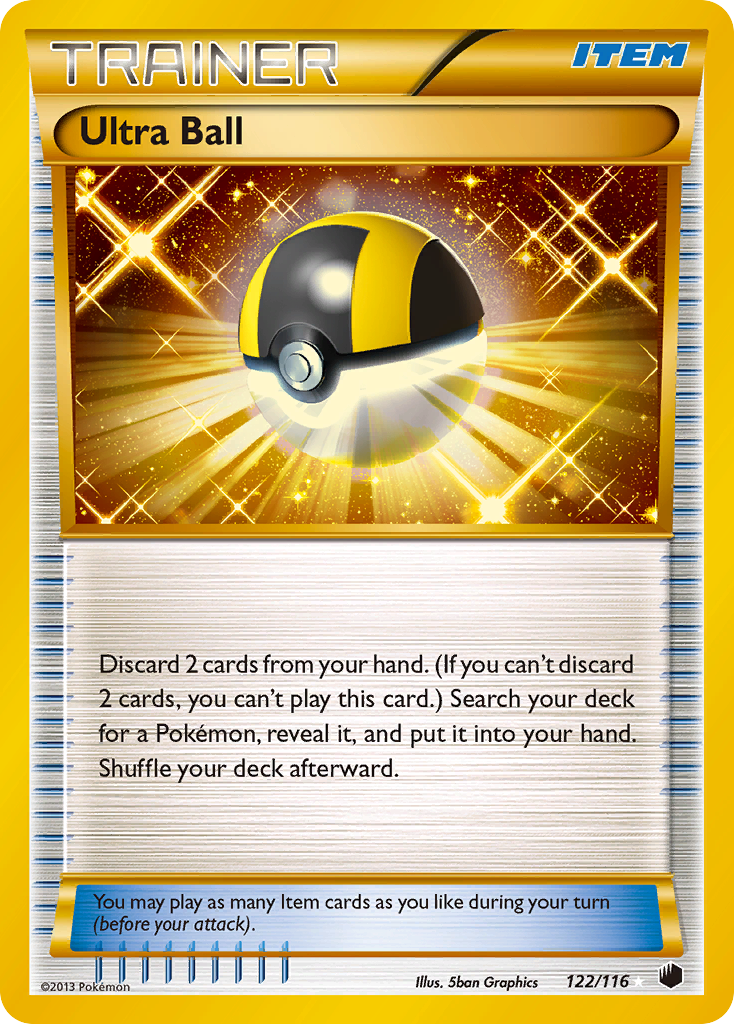
Most decks play two copies of Shaymin-EX. This is mainly for consistency, because you don't want to prize your only copy. A couple decks like M Rayquaza-EX or M Gardevoir-EX run more than two, but the overwhelming majority of decks use two or less. This is both good news and bad news for you if you are just starting out. The bad news is that Shaymin-EX is expensive. Outside of the Ultra Ball which, thankfully, has an Uncommon print, Shaymin-EX is the most expensive card in Standard; the fact that most decks require two means you'll be dropping at least $140 USD on the pair, and that's just the regular art version! The good news is that no other staples come close to Shaymin-EX in price, but it can still set you back a good amount if you're starting from nothing. Some people might argue that since Roaring Skies will be rotated at the end of this season, buying Shaymin-EX right now--at the most expensive it's ever been--is a mistake, but I disagree. Expanded tournaments are held all the time, and Shaymin-EX is just as important in that format as it is in Standard. Its value might decrease a little after it is no longer legal in Standard, but I don't think it will decrease that much.
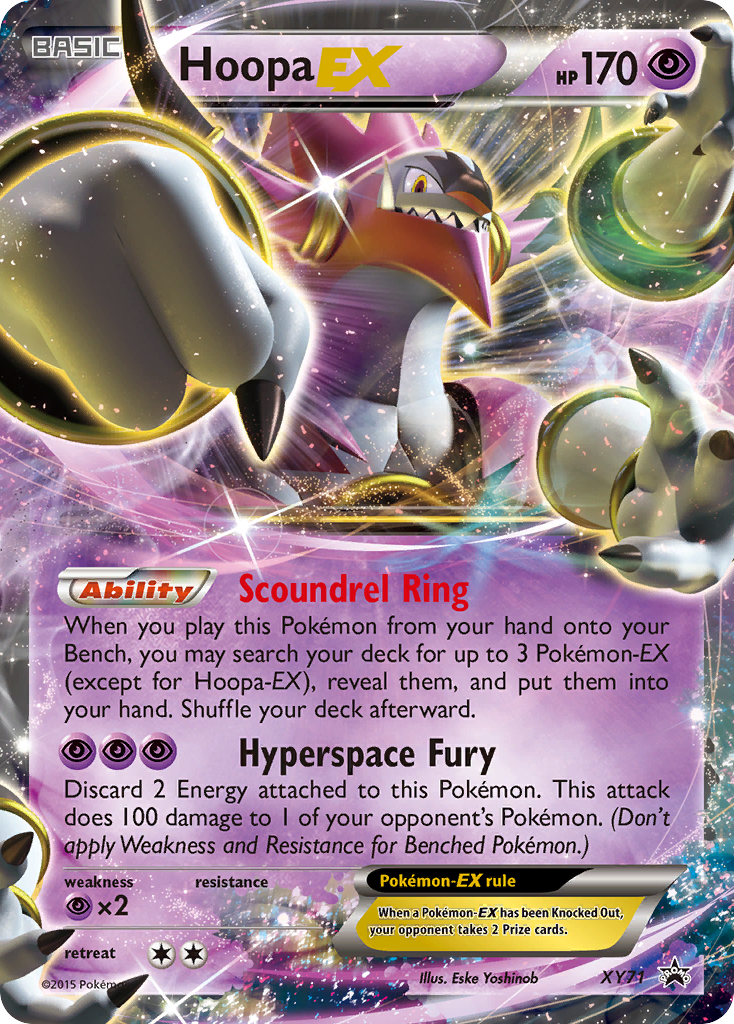
Since you will have to get Shaymin-EX one way or the other, I feel it would be best to talk about your avenues for obtaining them. As a fledgling player, your focus should not be on filling your deck with bling - that is, using reverse holo or full art versions of cards when applicable. Regular and non-holo cards are just as usable as the holo versions, and they cost significantly less to obtain. This will help a lot when in the market for a Shaymin. (Many trainers have multiple prints across numerous sets, making obtaining these cards even easier!) Your first question should be, is this Pokemon a tin promo? Many Pokemon-EX have been reprinted as tin promos, giving players super cheap options for what would otherwise be an expensive card (Hoopa-EX is a good example of this).
Shaymin-EX is not available anywhere but from Roaring Skies packs, so you have a couple options. The cheapest method, by far, is to simply buy a pack of Roaring Skies. If you manage to pull one, you're already halfway there and you've saved at least sixty bucks. With that said, remember that Roaring Skies is one of the most sought after sets not only because of Shaymin, but because it also has Mega Rayquaza and the VS Seeker. With pack weighing being a thing, I would never buy loose packs from anyone, even if they swore in a court of law they didn't weigh them. Buying one of those three-pack blister packs that have Roaring Skies in them gives you multiple chances to get the Shaymin and all but eliminates the weighing factor. If those are dice you're keen on rolling, that could be one way to try to get them.
The last chance-based method you have is to purchase a sealed booster box of Roaring Skies. That's 36 packs and 36 chances to hit it. There are two problems that I have with this method, though. The first is that Shaymin-EX is still quite rare. I managed to pull two out of four boxes. The second--and this is a big one--is that outside of a few cards, Roaring Skies is garbage as a set, and while you do have a chance to get two Shaymin out of one box, chances are you'll have just wasted the money and now you're out more than the price of a Shaymin with no Shaymin to show for it. The silver lining--if you can even call it that--is that getting a box gives you a decent amount of bulk that you can keep to sell or trade later. As painful as it might be to do, your best option is to just buy it directly. If you can find someone who is willing to do cards + cash for it, even better, but expect to pay full price.
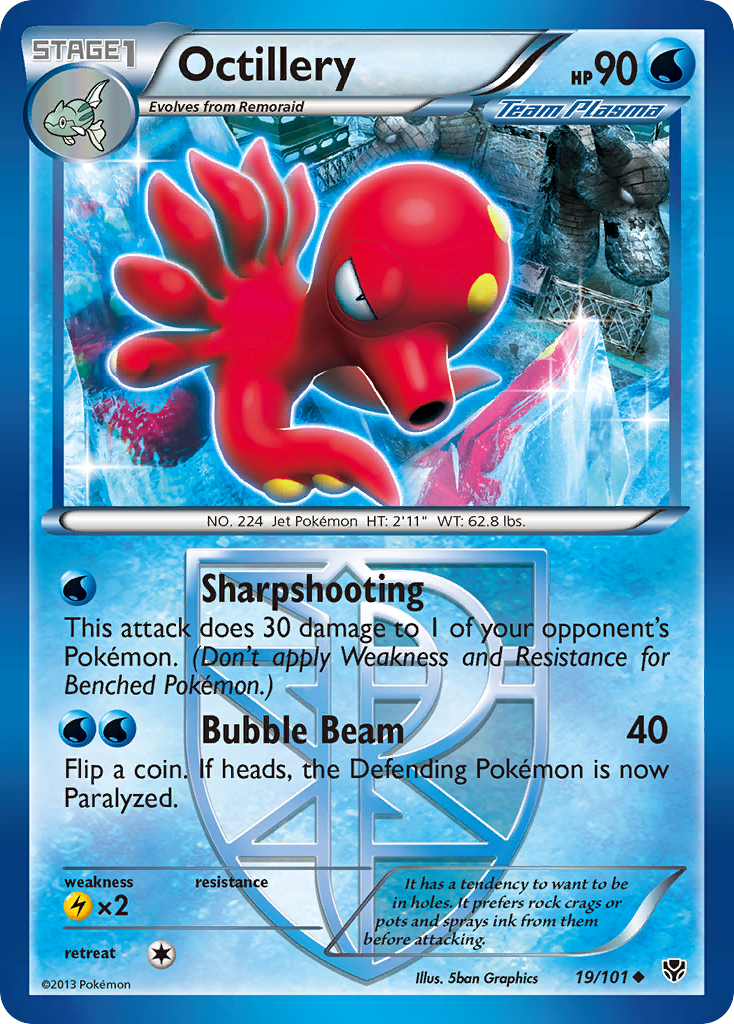
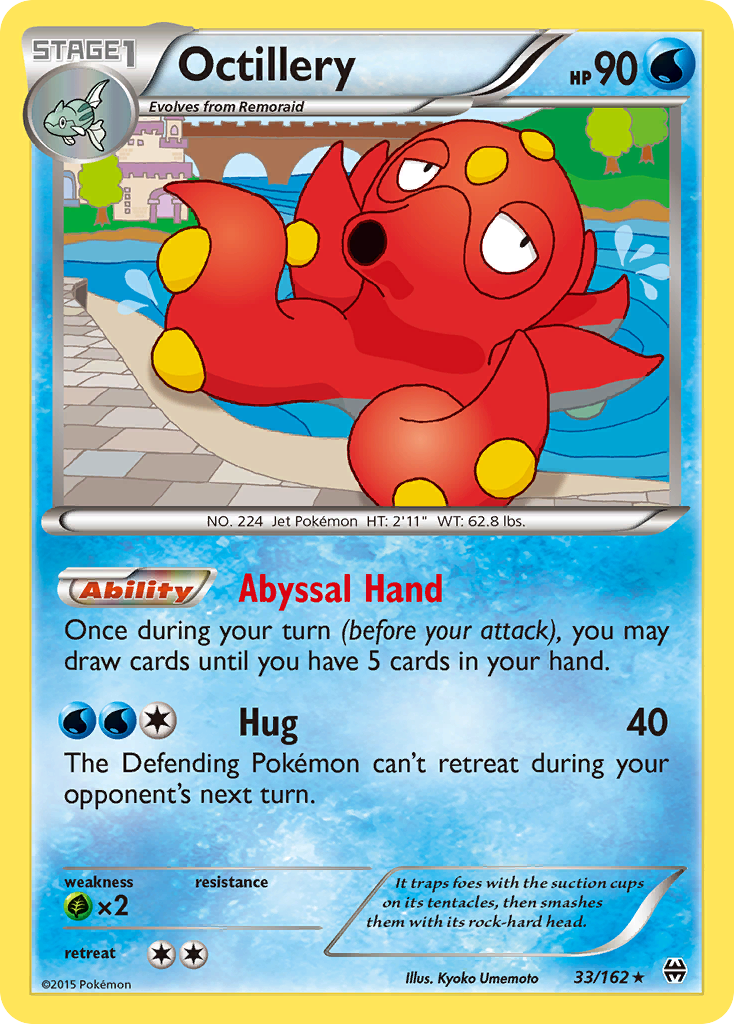
If buying a Shaymin is just not in your budget right now, you have one "replacement" option, and that's Octillery from BREAKthrough. I use "replacement" in quotes because while both Shaymin and Octillery let you draw cards, Octillery isn't a 1:1 substitute. Shaymin is a Basic Pokemon that you can drop at any time. It allows for explosive turns, giving you an edge on your opponent. Octillery is something you use for the long haul. It gets you one less card, but you can use it every turn and it's not Lysandre bait as much as Shaymin is. The downside is that using Octillery takes up three times the space Shaymin does. Remember when I said people run two Shaymin for consistency? Octillery is no different, but it's a Stage 1. This means you need at least two Remoraid and two Octillery. Since Octillery can't simply attack his way out of play like Shaymin can, you'll need at least two Float Stones to make sure that you can get him out of there without paying his awful Retreat Cost of two. Furthermore, relying on Octillery for your drawing purposes leaves you more susceptible to Garbodor than decks that run Shaymin. Set Up is typically not used past the first couple turns, which is before Garbodor hits the field.
I don't mean to completely disparage Octillery, though. One of Octillery's biggest selling points is that as long as you have access to Abyssal Hand, you are virtually immune to N. A late-game N to 1 or 2 can lose you the game if you don't get the topdeck of the gods. Octillery ensures you will always have a decently sized hand, so keep it in mind if you don't have Shaymin and your deck needs draw, it's absolutely viable. Just realize its limitations and don't expect it to be Shaymin.
Shunning Shaymin, or Breaking Out Best Bird
Now I'd like to talk about a couple decks that use no Shaymin-EX at all. If you don't like the idea of shelling out 60-80 bucks on a single card, then you should definitely consider these options.
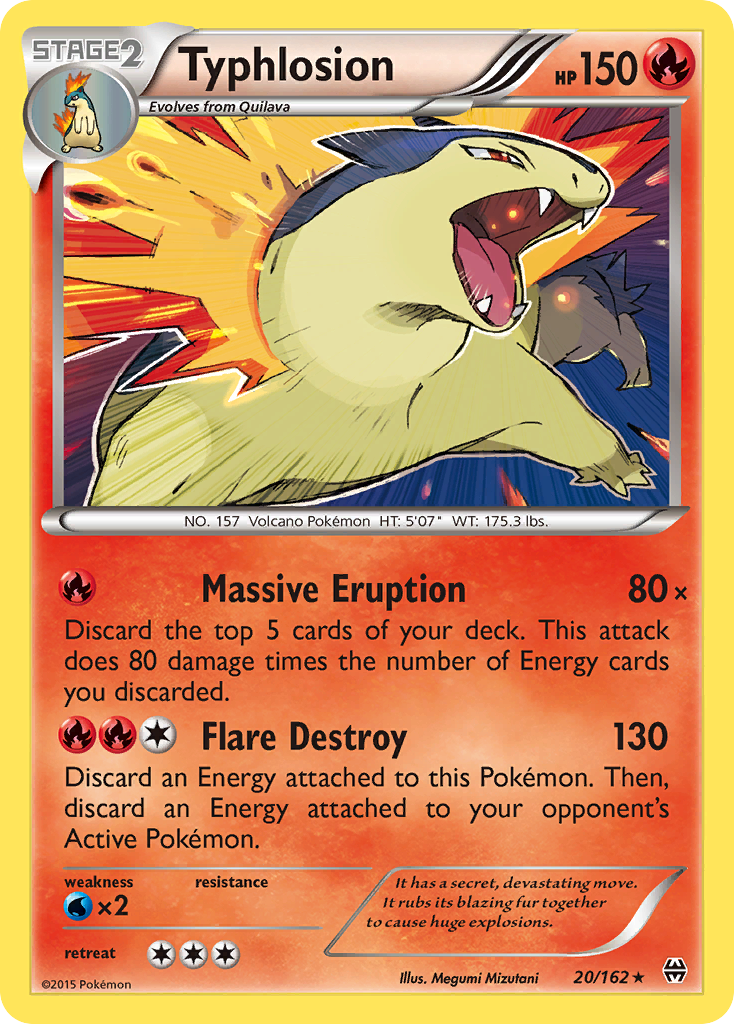
1. Typhlosion
Typhlosion is a hilarious budget deck that is super cheap to make and wins a lot more than it deserves to. You won't win any tournaments with it - this is strictly for League play or trolling your friends only. If, like me, you test on PTCGO, this is a decent choice for grinding out the ladder as your matches will rarely last more than a few turns. Here's a list:
Pokémon (11)
Trainers (21)
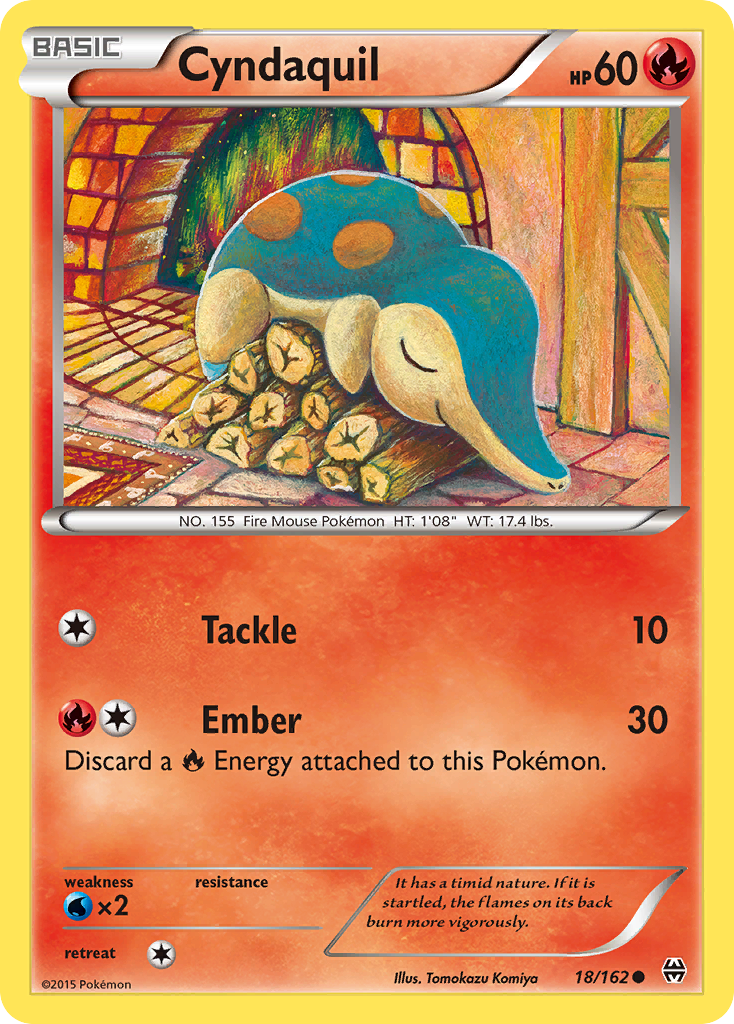
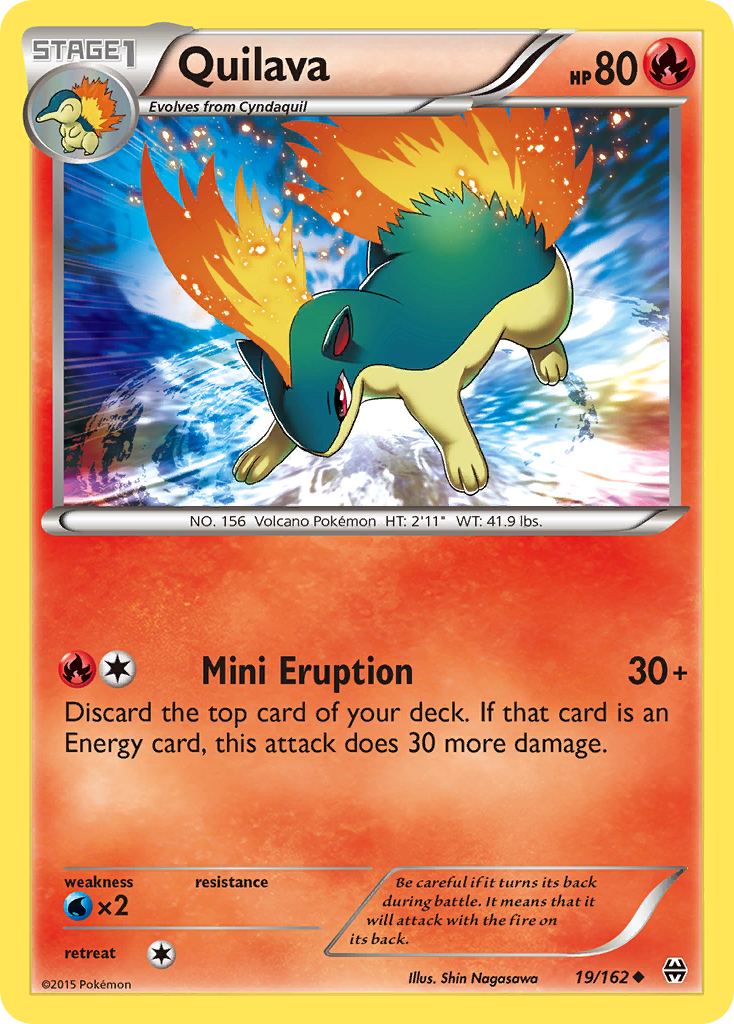
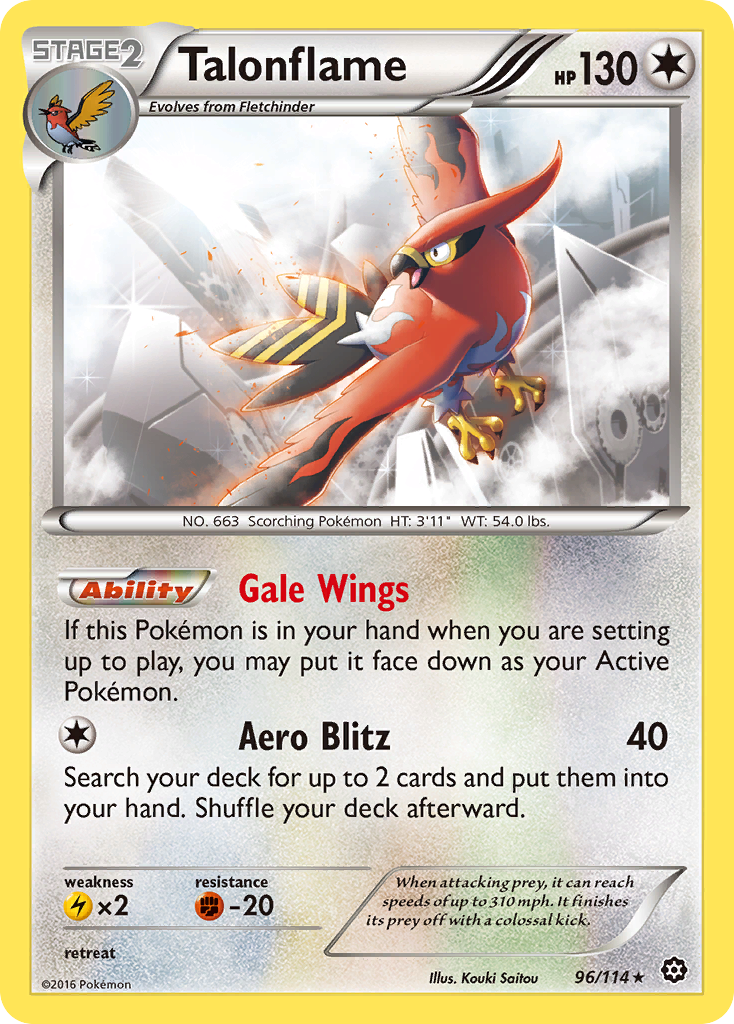
The idea here is to use Talonflame to set up your board. Once you get a Typhlosion in play, retreat Talonflame and use Massive Eruption for obscene amounts of damage. This deck doesn't run Shaymin because we don't need nor want it in this deck. Since we lose 5 cards with every eruption, we need to ensure that we thin our deck of non-Energy cards as quickly as possible. Lysandre is a must in this deck so we can target a Pokemon-EX your opponent might be trying to build up on the Bench. Since Talonflame is integral to our setup, we run four of them alongside three Cyndaquil. This maximizes our chances of starting with Talonflame while also maximizing our chances of hitting Cyndaquil. Typhlosion's second attack is actually strong and is a great way to conserve your Energy so you can only erupt on Pokemon you need to. Unfortunately, this deck doesn't run any way to increase its damage, so if you find yourself up against a Pokemon with 140 HP or more, you'll have to go for the eruption.
One good thing about this deck is that it truly is a beginner's deck; there are few staples and nearly half the deck is basic Energy. If you're tired of using a mishmash of whatever Pokemon you could find in the binder, this is a fun and easy way to get into the game. The most expensive card in this deck is probably N, which at the time of this writing costs about four bucks each. No matter what deck you're building, shop around for the best prices.
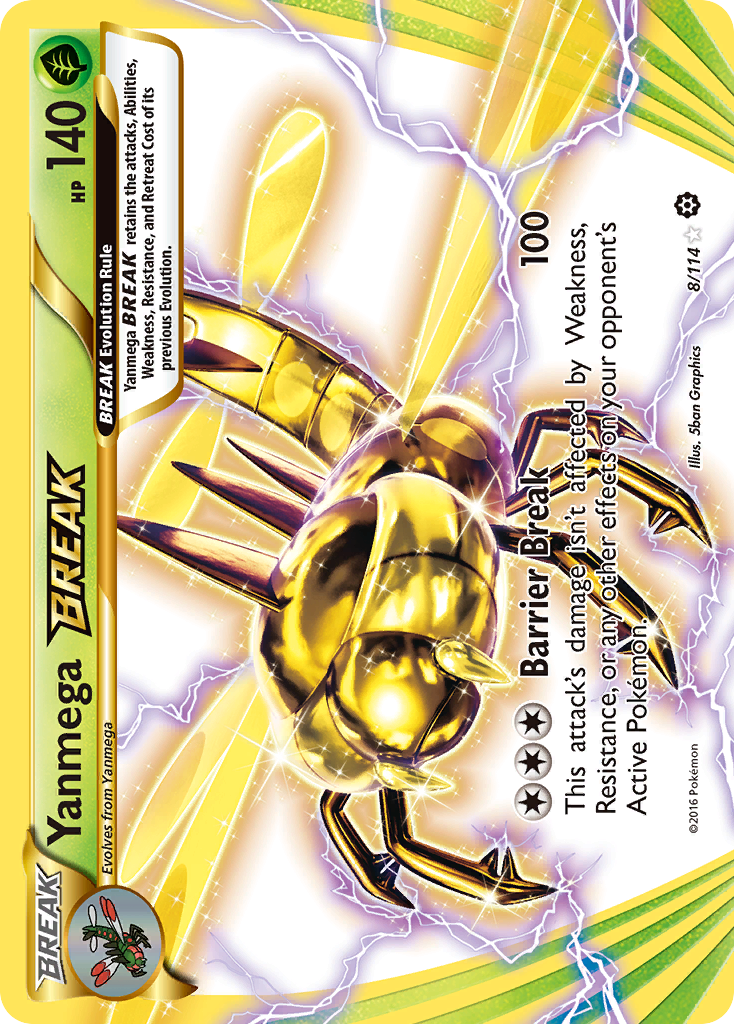
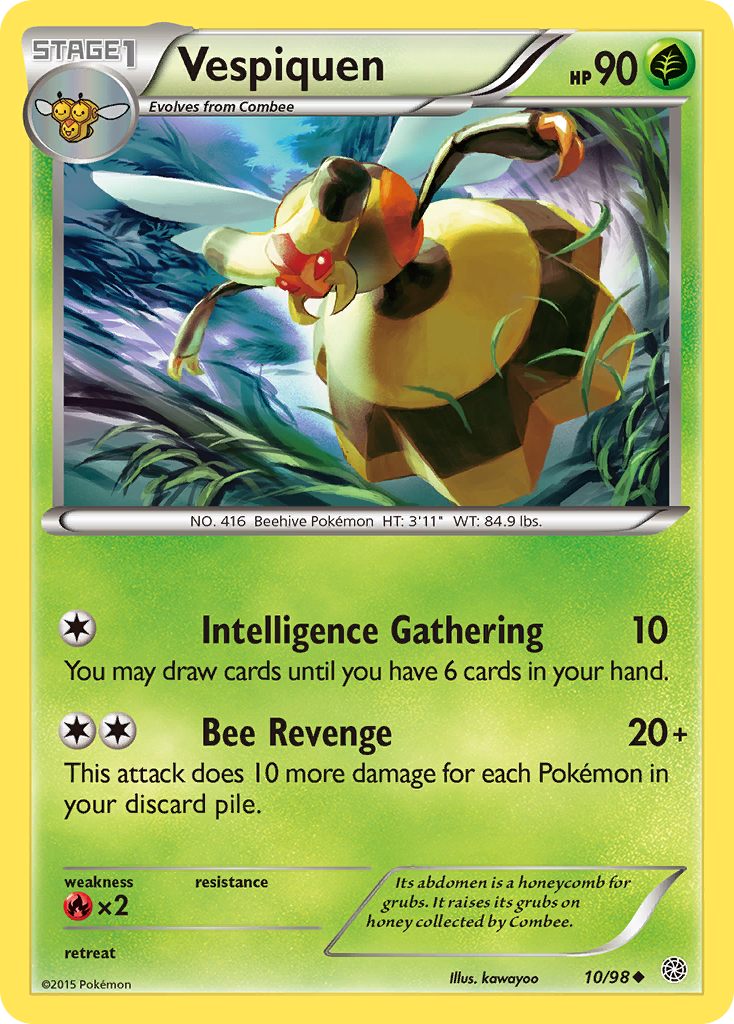
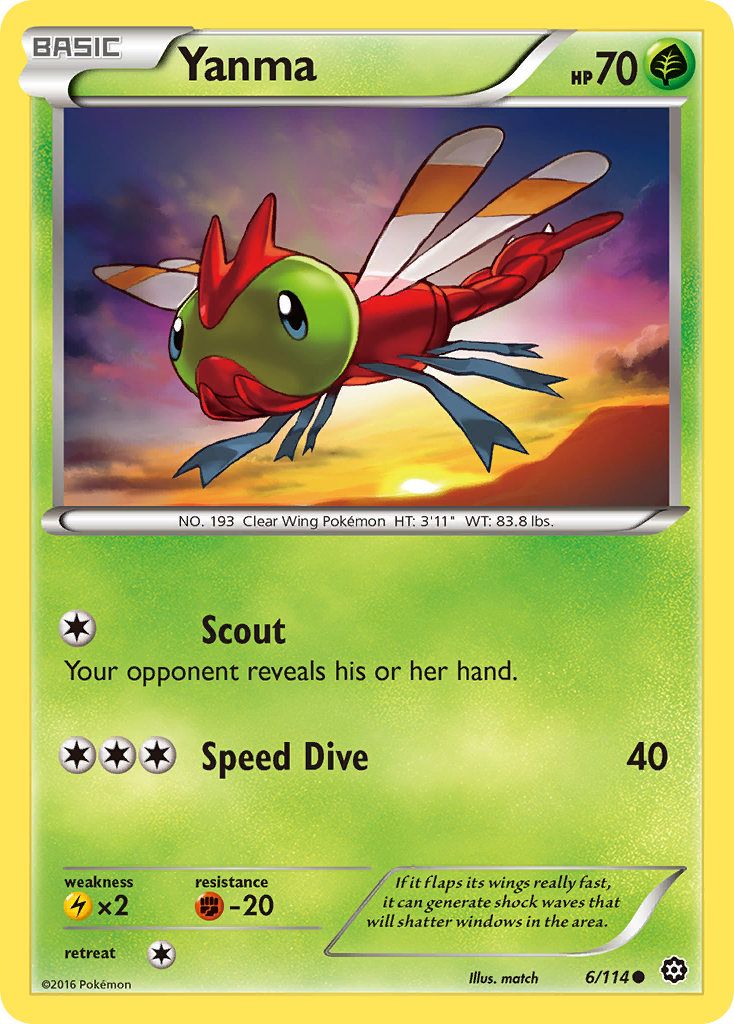
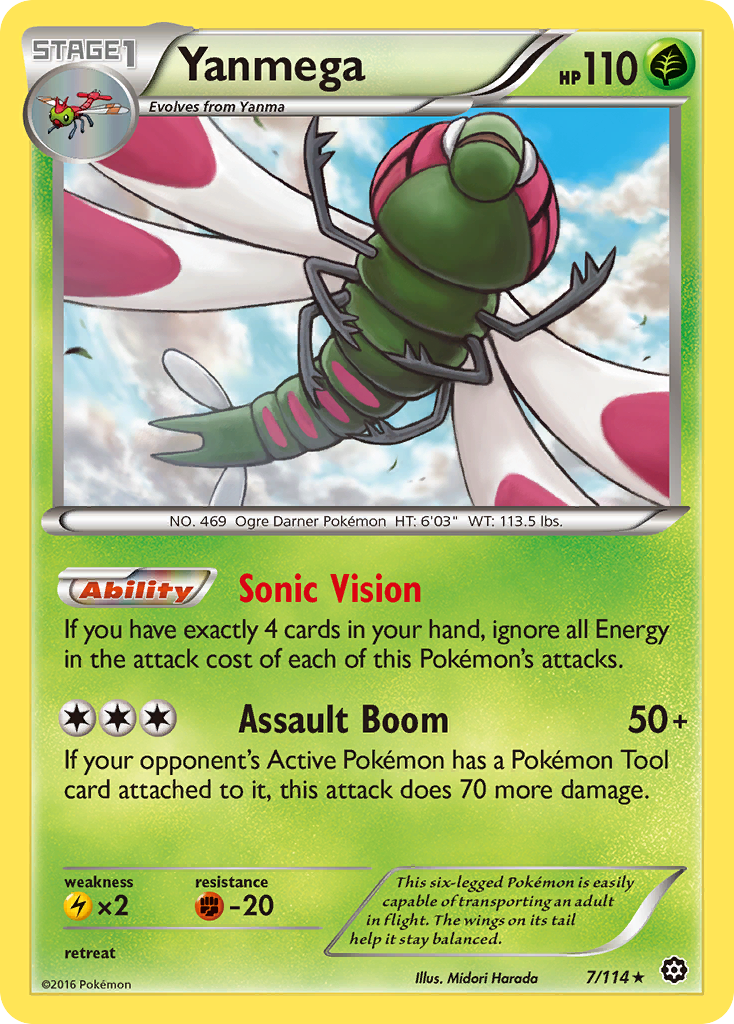
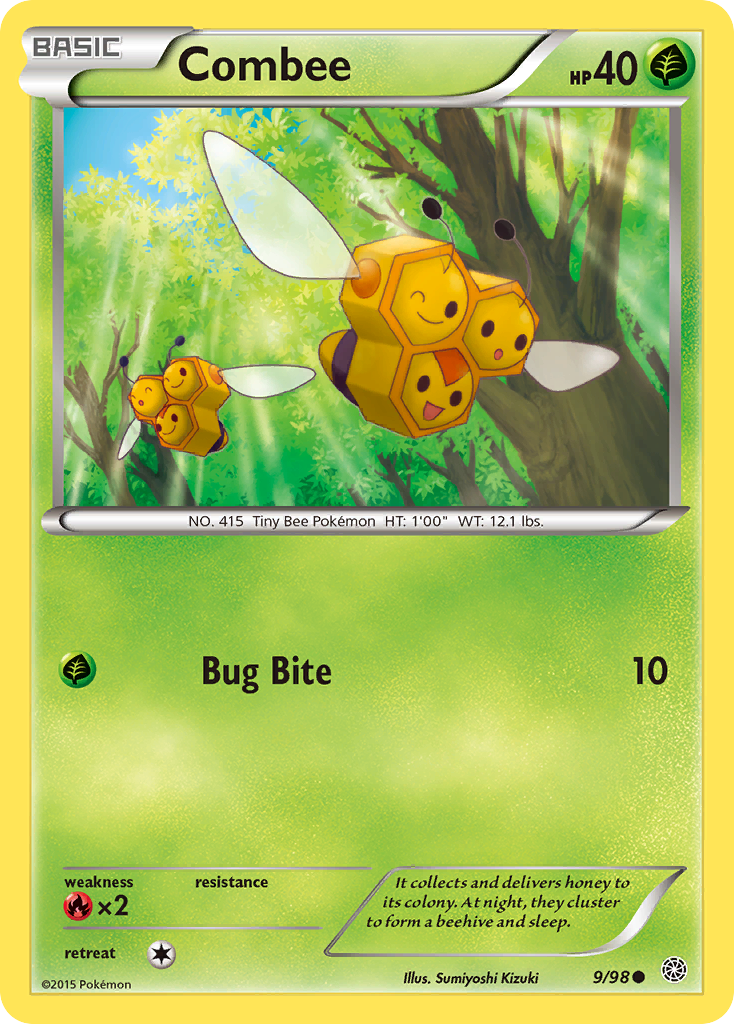
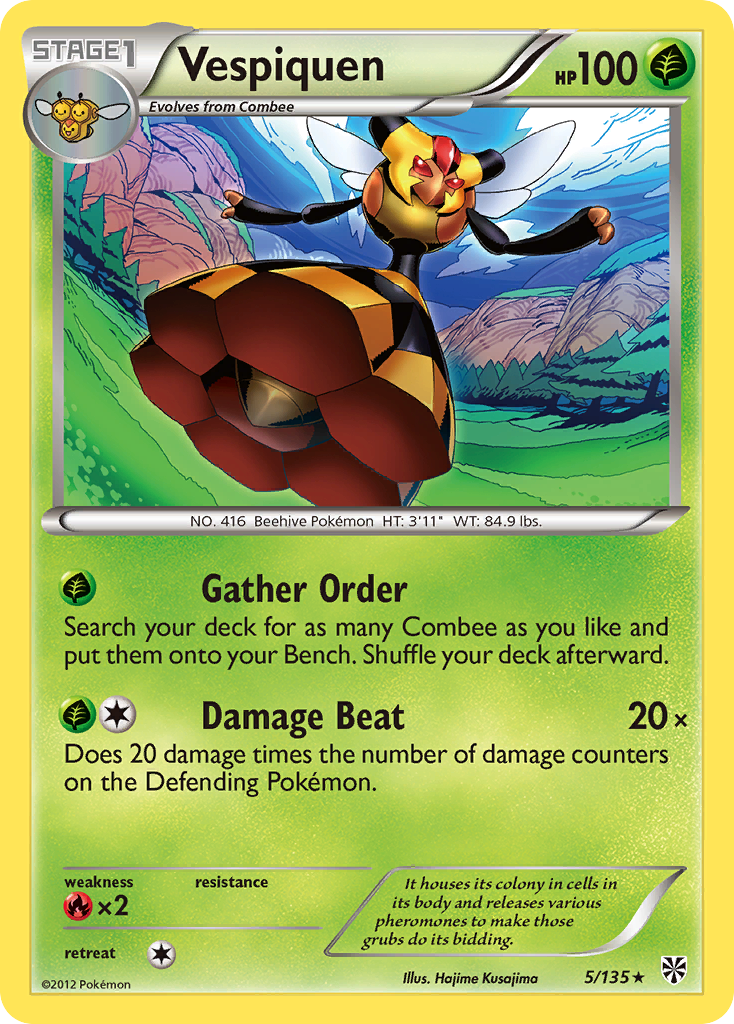
2. Yanmega BREAK / Vespiquen
Deck number two is Yanmega BREAK. While you still won't win any tournaments with this, it's still a "real" deck in the sense that its win condition is more complicated than simply spamming one attack until you win (and your opponents are a lot less salty about losing to it). This deck has two attackers: Yanmega BREAK and Vespiquen. Yanmega's Ability, Sonic Vision, lets Yanmega BREAK attack for free as long as you have exactly four cards in your hand. Though this deck typically runs Shaymin, it can also function with Octillery, as Abyssal Hand will always put you one card away from that free attack if you need to use it. Let's take a look at a list.
Pokémon (25)
Trainers (31)
- 2x Professor Sycamore (XY #122)
- 2x N (NVI #92)
- 2x Lysandre (FLF #90)
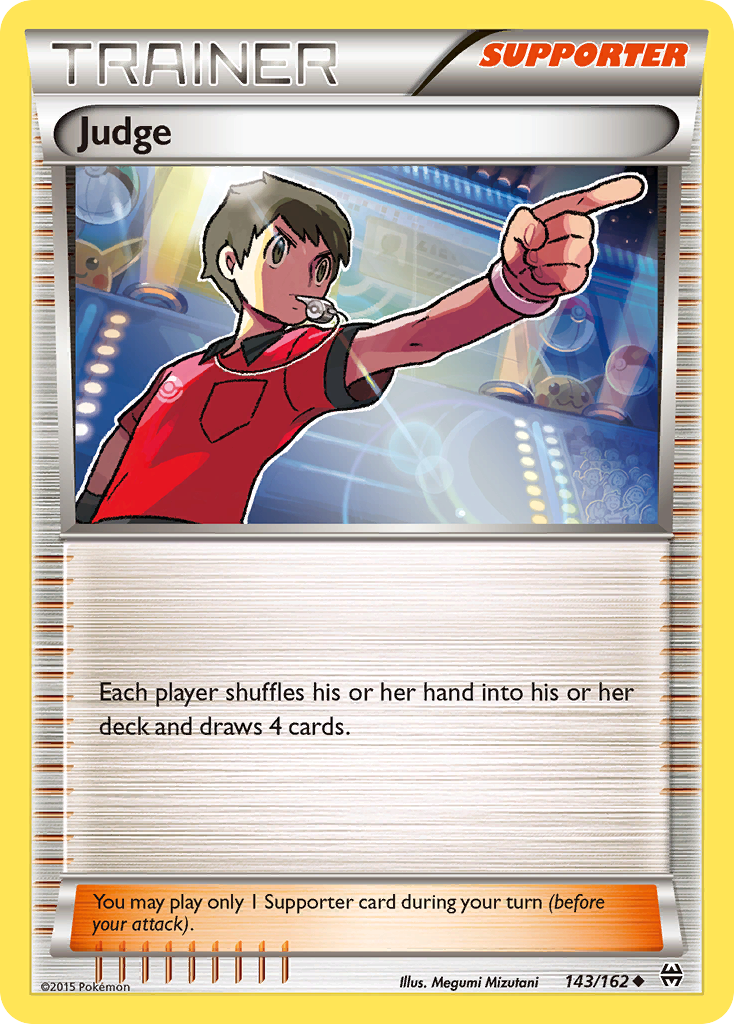
- 1x Judge (BKT #143)
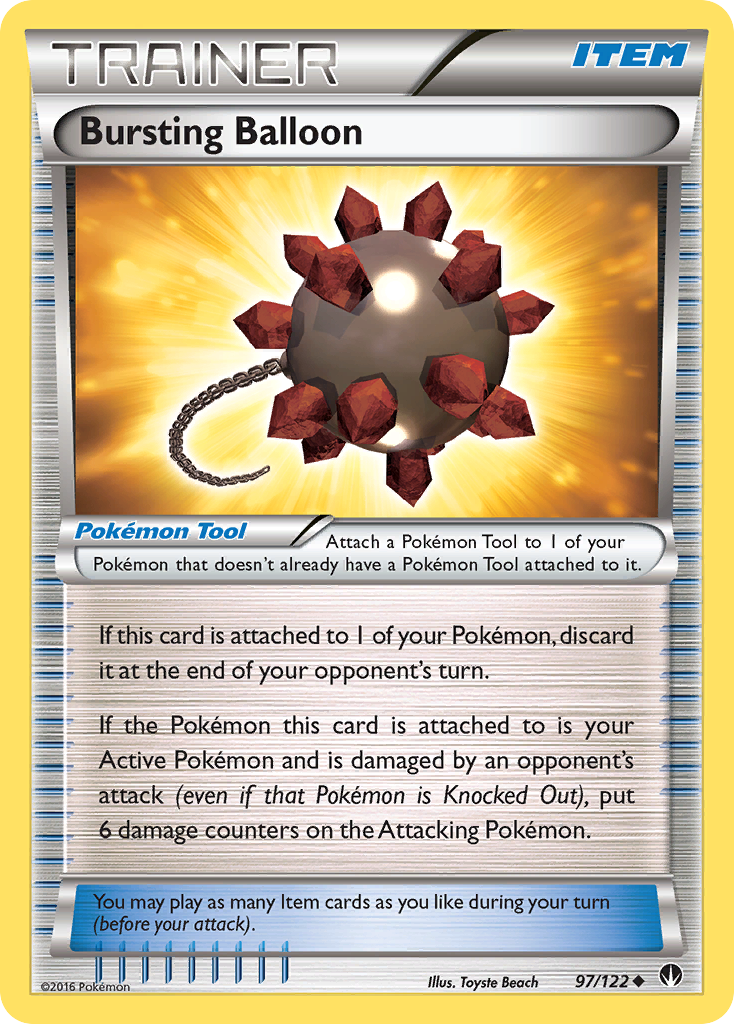
- 4x Bursting Balloon (BKP #97)
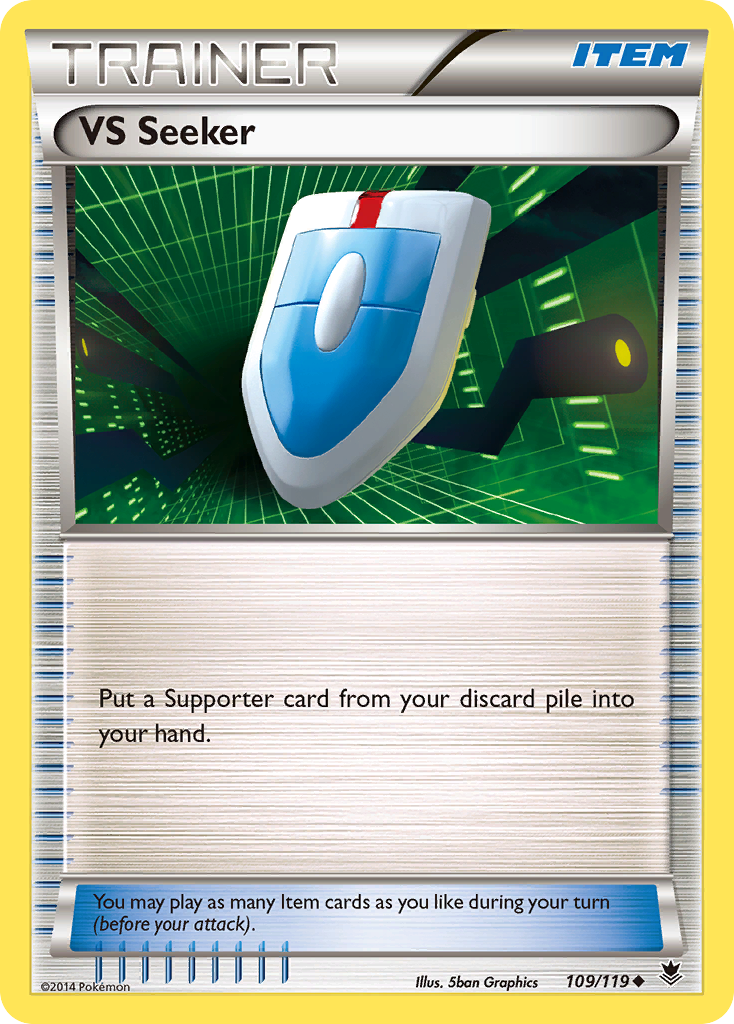
- 4x VS Seeker (PHF #109)
- 4x Ultra Ball (DEX #102)
- 3x Trainers' Mail (ROS #92)
- 2x Revitalizer (GEN #70)
- 2x Float Stone (BKT #137)
- 1x Special Charge (STS #105)
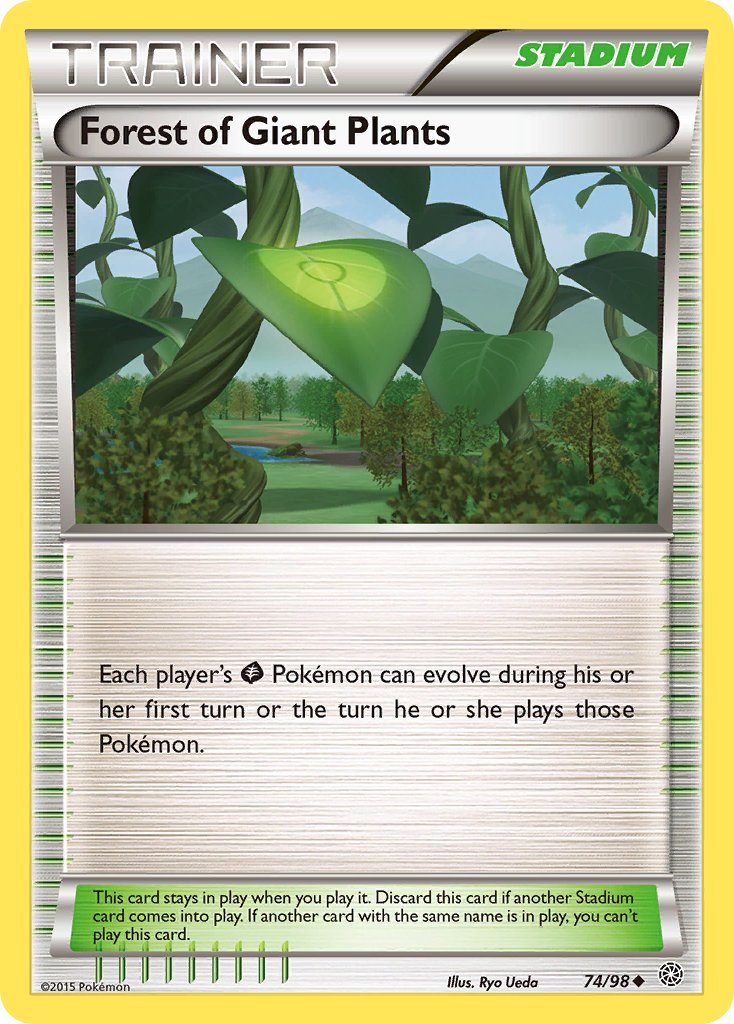
- 4x Forest of Giant Plants (AOR #74)
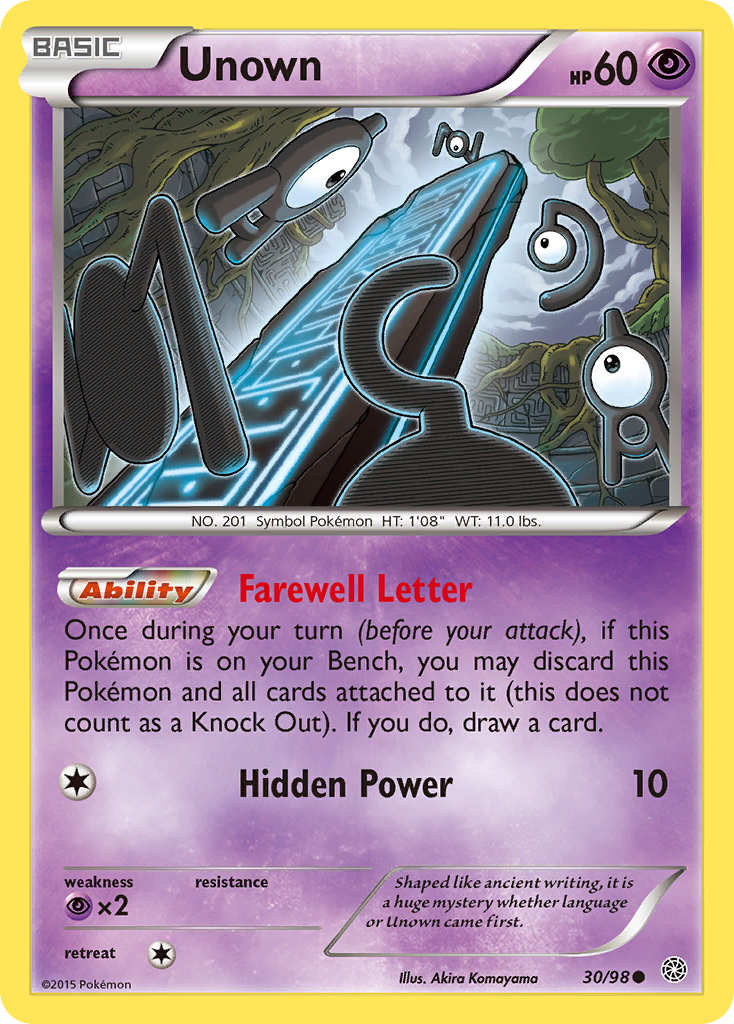
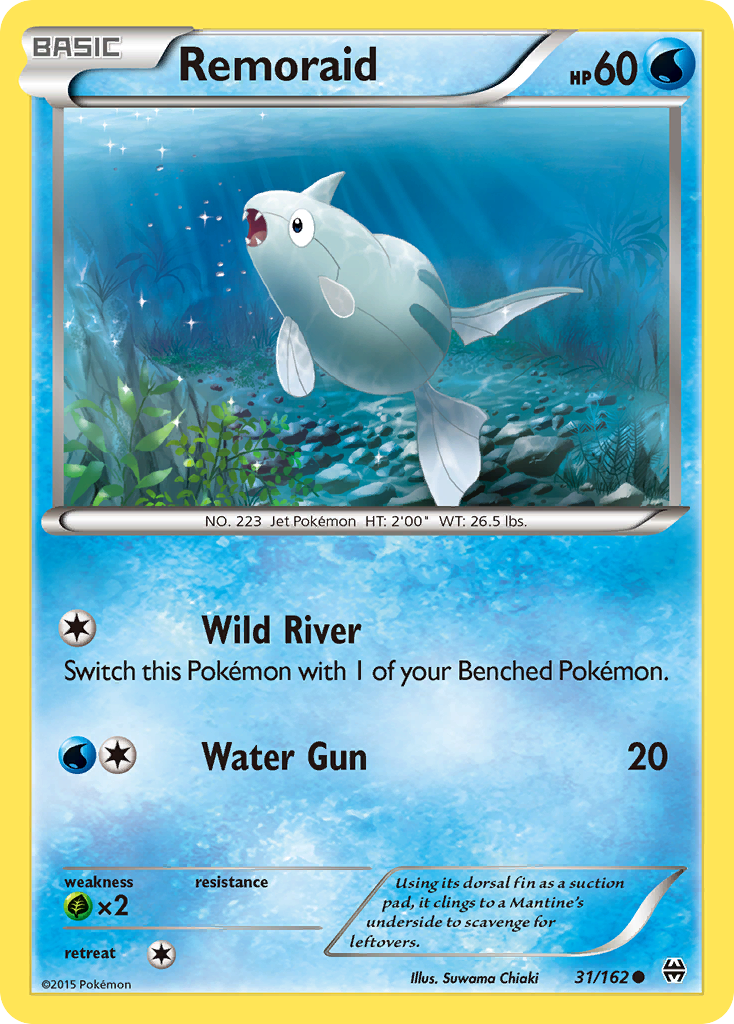
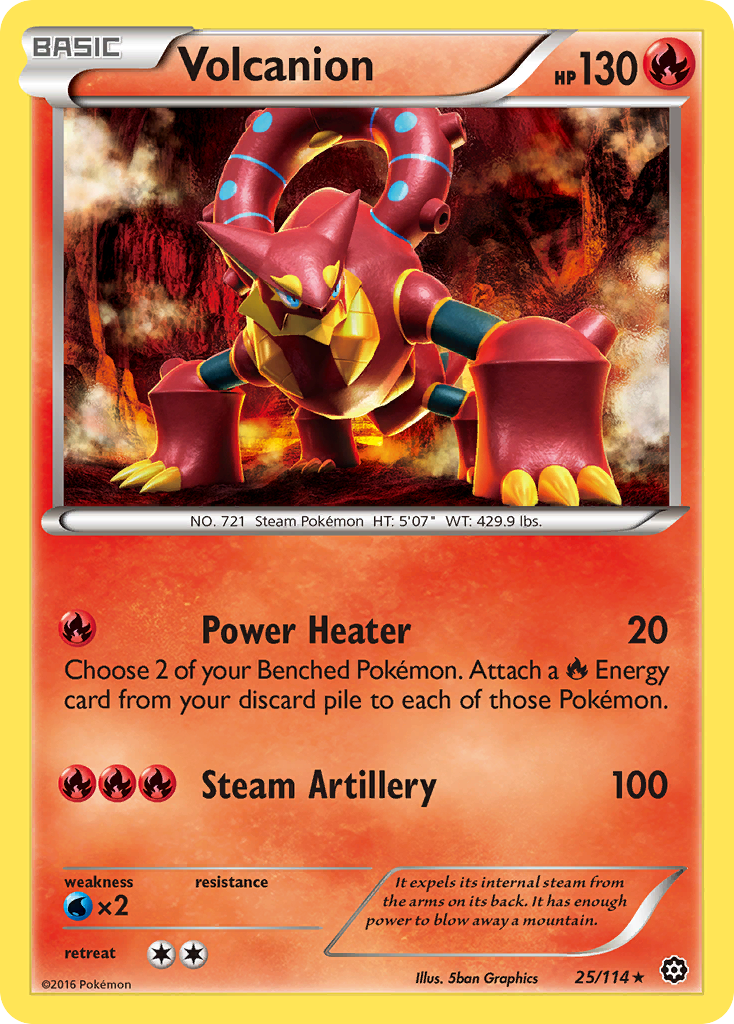
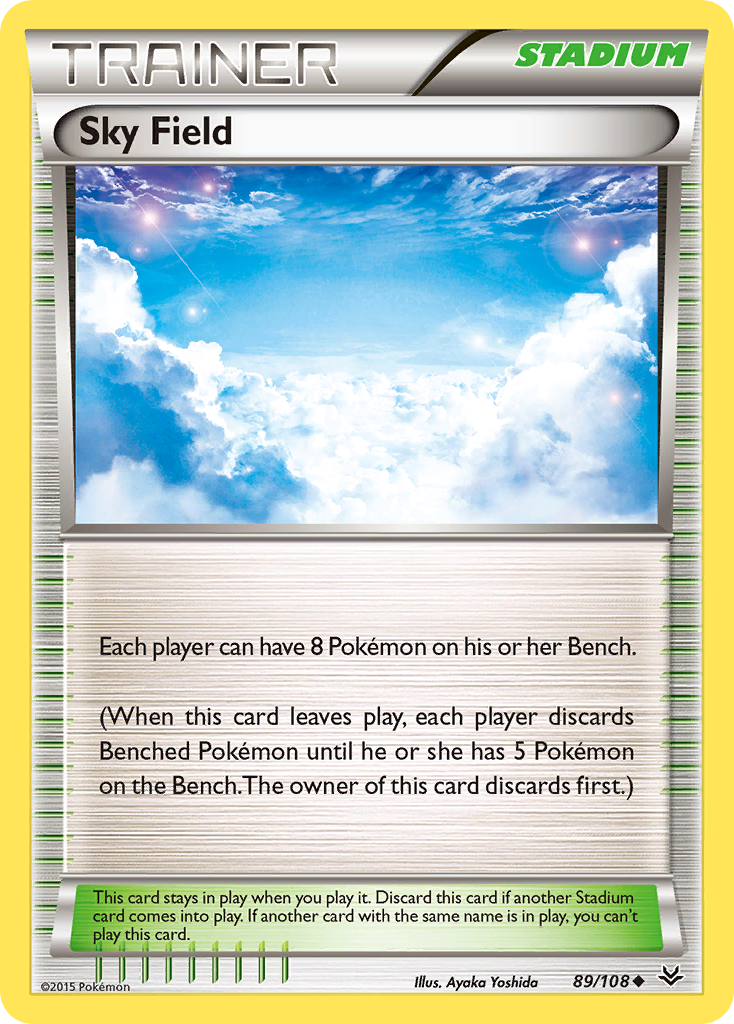
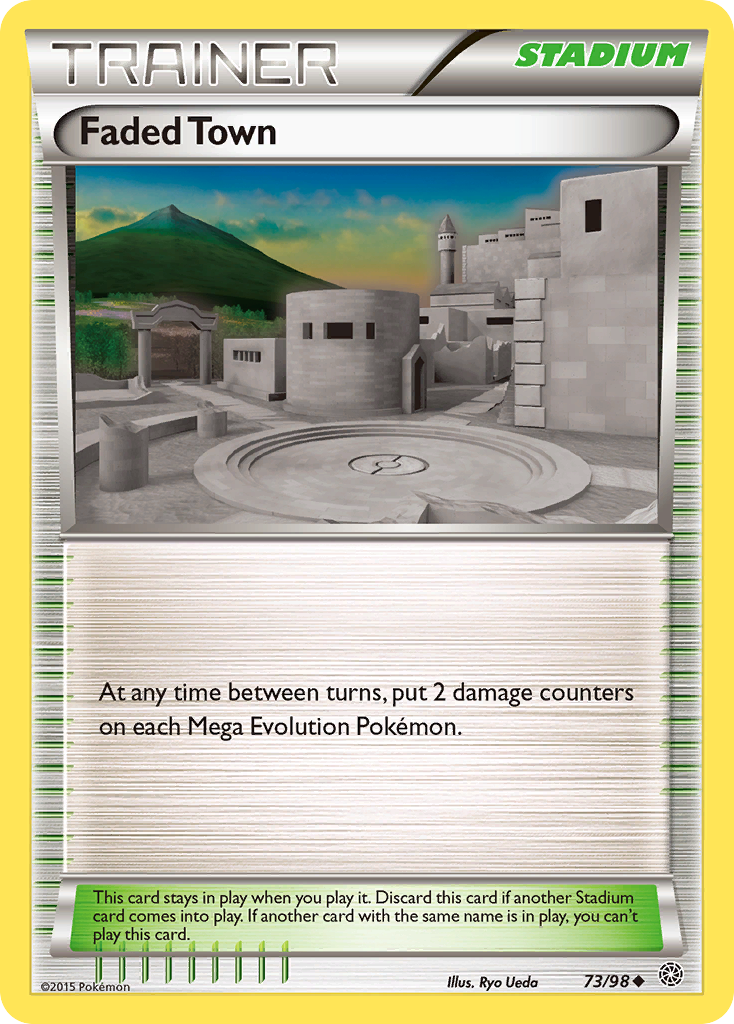
 Because you have two attackers--that both have free retreat, mind you--you can attack depending on your needs and how you need to react to your opponent. If you're up against, say, Volcanion, you can focus more on attacking with Yanmega because it's not weak to Fire. Unown is used for its Ability, Farewell Letter. It's an easy way to thin your deck and pad Vespiquen's damage. You have a choice between two Remoraid, and both are from BREAKthrough. Both have the same HP, Weakness, and Retreat Cost, so the one you choose depends on whether your like switching to the Bench or discarding a Stadium. I've opted for the latter. Energy is at a premium in this deck; you don't want to attach an Energy to Remoraid unless you absolutely, positively have to (and only to retreat in that case; it's better in the discard pile where Special Charge can retrieve it later). In terms of the attack, I find discarding a Stadium to be much more useful than using your attack to retreat. There are tons of cool Stadiums that decks rely on, like Parallel City, Sky Field, or Faded Town.
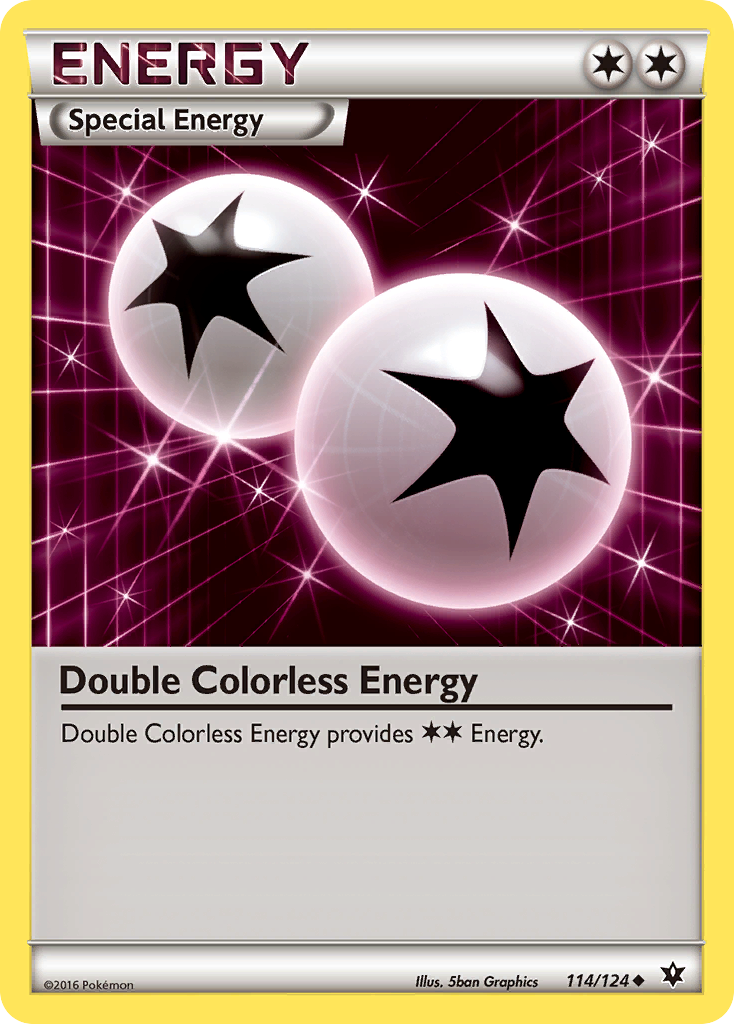
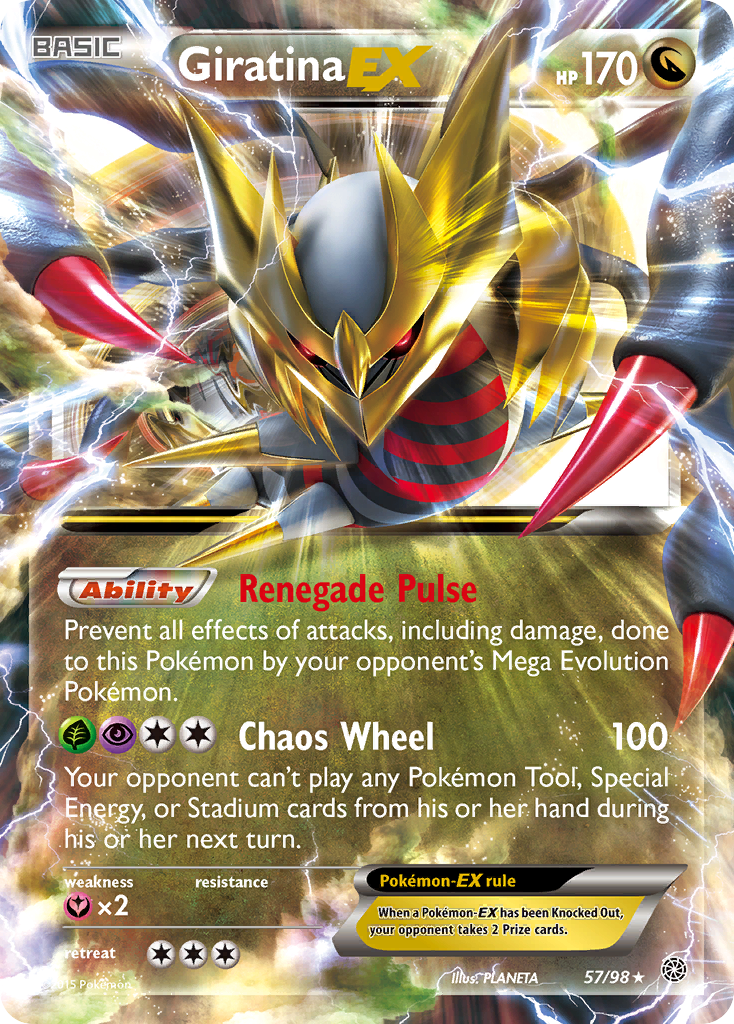
Giratina-EX is kind of a pain for this deck since Chaos Wheel stops you from playing Bursting Balloon, Double Colorless Energy, and Forest of Giant Plants, which you need in order to continue streaming attackers. If Giratina attacks into an already attached balloon, however, he falls within KO range of either of your attackers.
Karen is the bane of this deck. After one use, your Vespiquen become worthless for a few turns. This is why the deck typically runs Shaymin-EX; its unrivaled draw power can help this deck come back from a debilitating Karen. If you see this card in a deck, it will be used in one that actually benefits from having all their discarded Pokemon shuffled back in. M Rayquaza-EX and M Gardevoir-EX are the biggest ones. Those decks are as close to an auto-loss as you can get. Assuming they attack into a balloon, you'll need 13 Pokemon in the discard to KO Gardevoir and 14 to KO Rayquaza - a tough order when both decks run obscene amounts of Shaymin-EX to draw into their Karen or VS Seeker.
The most expensive card in this deck is, unsurprisingly, Yanmega BREAK. Don't get discouraged, though. It's super cheap, at about seven bucks a pop. Octillery is just under that, and Octillery is one of those cards I would get at least two of. Two is all you'll ever need, and some decks (like the next one I'll be talking about) prefer it over Shaymin.
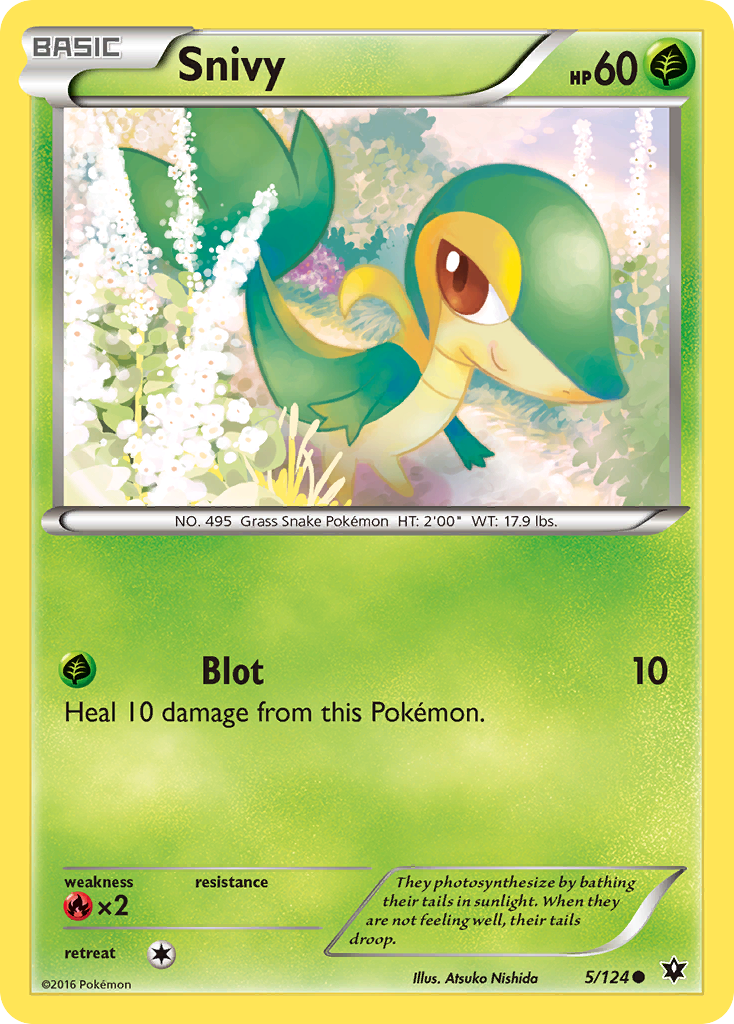
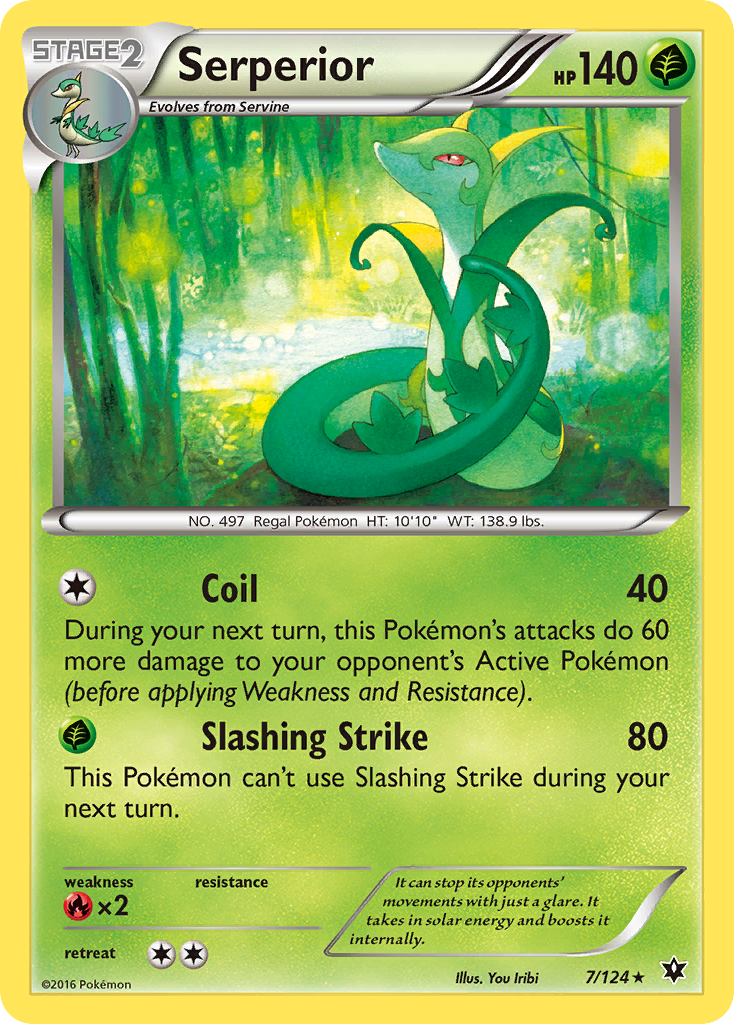
3. Serperior
Ever since the release of Forest of Giant Plants, we've seen an influx of Stage 2 Grass Pokemon with low Energy costs. Serperior is one of the more promising of these Pokemon. (Beedrill, from the upcoming Evolutions set, is another! Look out for it!) Here's a list.
Pokémon (16)
Trainers (36)
- 3x Professor Sycamore (XY #122)
- 3x N (NVI #92)
- 2x Lysandre (FLF #90)
- 1x Giovanni's Scheme (BKT #138)
- 1x Teammates (PRC #141)
- 4x Ultra Ball (DEX #102)
- 4x VS Seeker (PHF #109)
- 4x Bursting Balloon (BKP #97)
- 3x Revitalizer (GEN #70)
- 3x Level Ball (AOR #76)
- 2x Float Stone (BKT #137)
- 1x Super Rod (BKT #149)
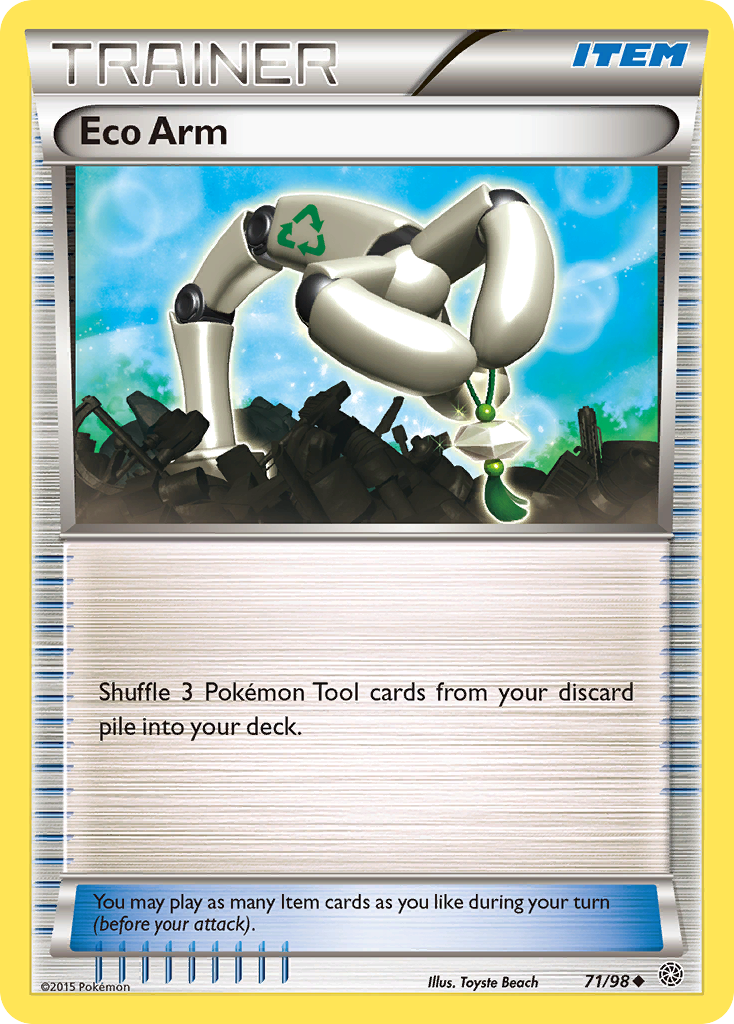
- 1x Eco Arm (AOR #71)
- 4x Forest of Giant Plants (AOR #74)
Energy (8)
- 8x
Grass Energy
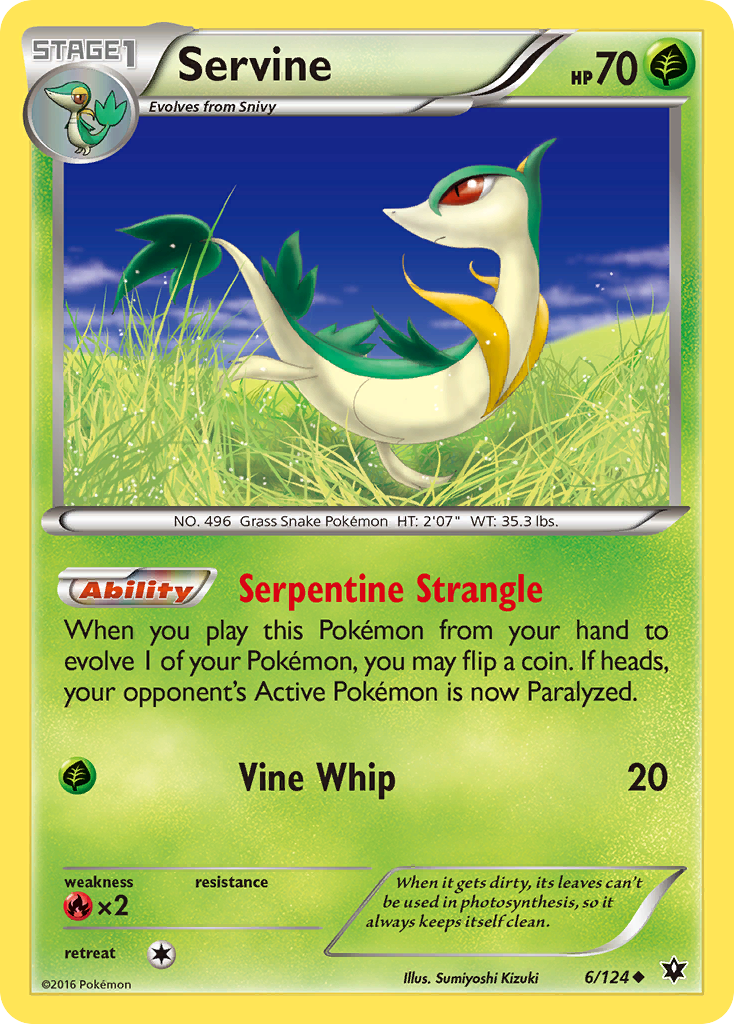
Grass decks like these are fun because you can fly through your deck at light speed, bringing your Stage 2 attackers into play in one turn. It's not at all uncommon to get at least one Serperior in play on your first turn. If you go second, opening the game with a Coil can put your opponent on the back foot as they try to respond to a possible 140-damage attack next turn. If you go first, hitting a heads on Servine's Serpentine Strangle can stop your opponent from attacking on their first turn, essentially removing the advantage they have in going second.
We rely on Bursting Balloon to get KOs: the combination of Bursting Balloon and a Coil-enhanced Slashing Strike does 220 damage, which is just enough to KO all relevant Pokemon in the format. Because we don't want our Pokemon to get shuffled back into the deck by Karen, I've opted for a heavy Revitalizer count, complemented by a single Super Rod that can help retrieve Energy. Eco Arm is added because of the importance of Bursting Balloon to the deck (and making sure we have a Float Stone for Octillery if we have to discard it early, or attach it to the other one in case one goes down). With eight Ball cards to search out our Pokemon, we should have no problem keeping the snakes coming.
This deck is also much cheaper to build than Yanmega BREAK because it doesn't have any ultra rare cards in it - you can get an entire playset (four copies) of Serperior for less than the price of an Octillery! If you're looking to pinch pennies, building Serperior is a fine choice.
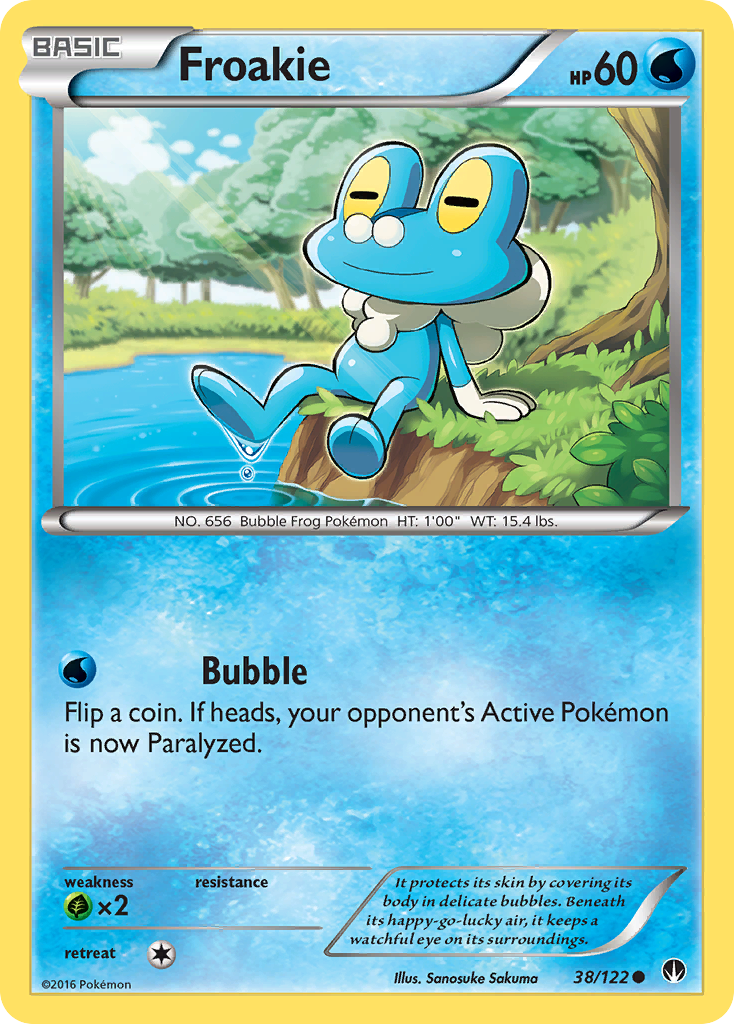
4. Greninja BREAK
It was good last season, it's good this season, and it doesn't run a single Shaymin-EX! If you're wondering about what you can build that can actually get you some wins in the tournament scene, look no further than Greninja BREAK.
Pokémon (18)
Trainers (32)
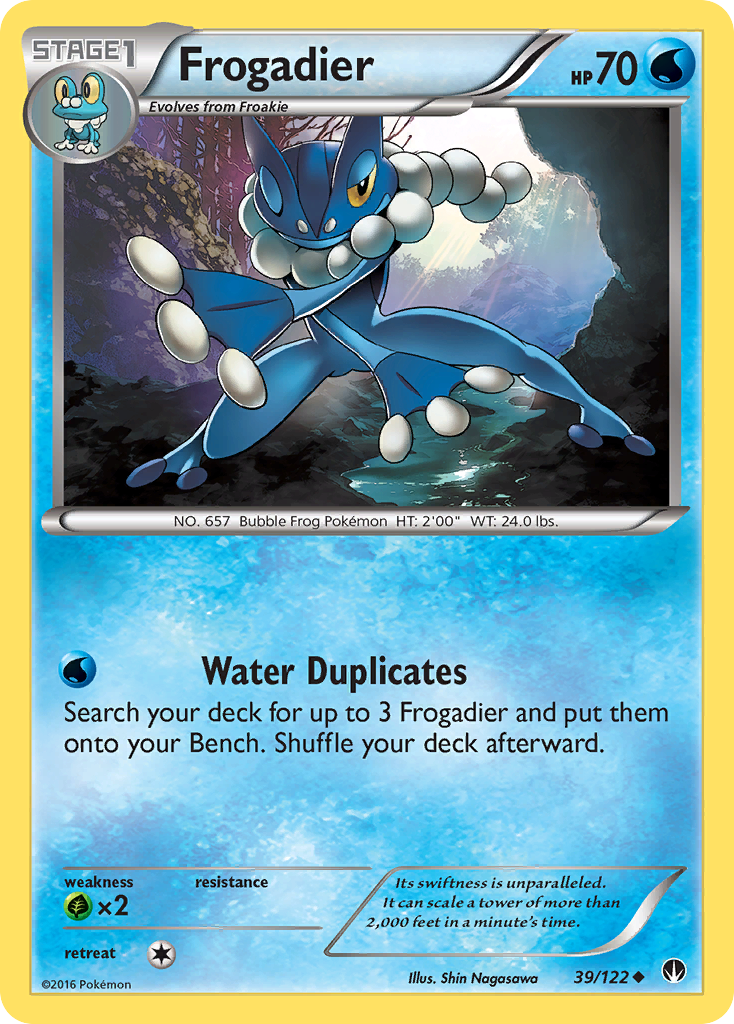
This deck basically only exists because of Frogadier. Its Water Duplicates attack fills your field with as many Frogadier as you have in your deck, allowing you to evolve them all into Greninja on your next turn. To help that setup happen, our starter is Talonflame. We want to start with Talonflame, just like in Typhlosion, so we run a full four count as well as three Froakie.
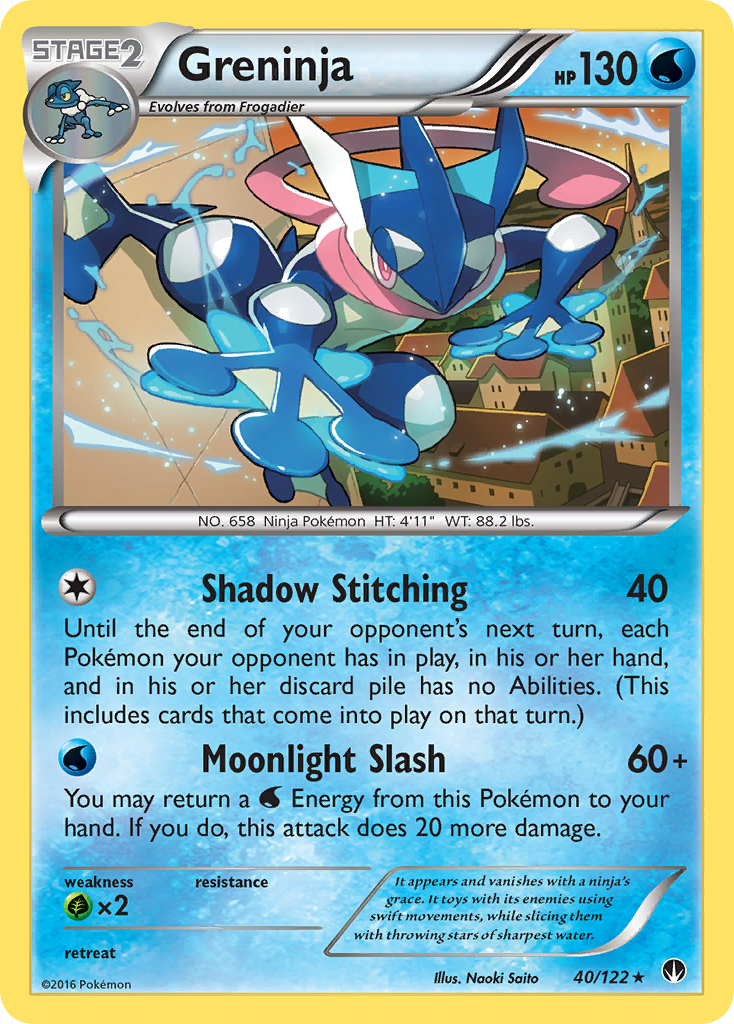
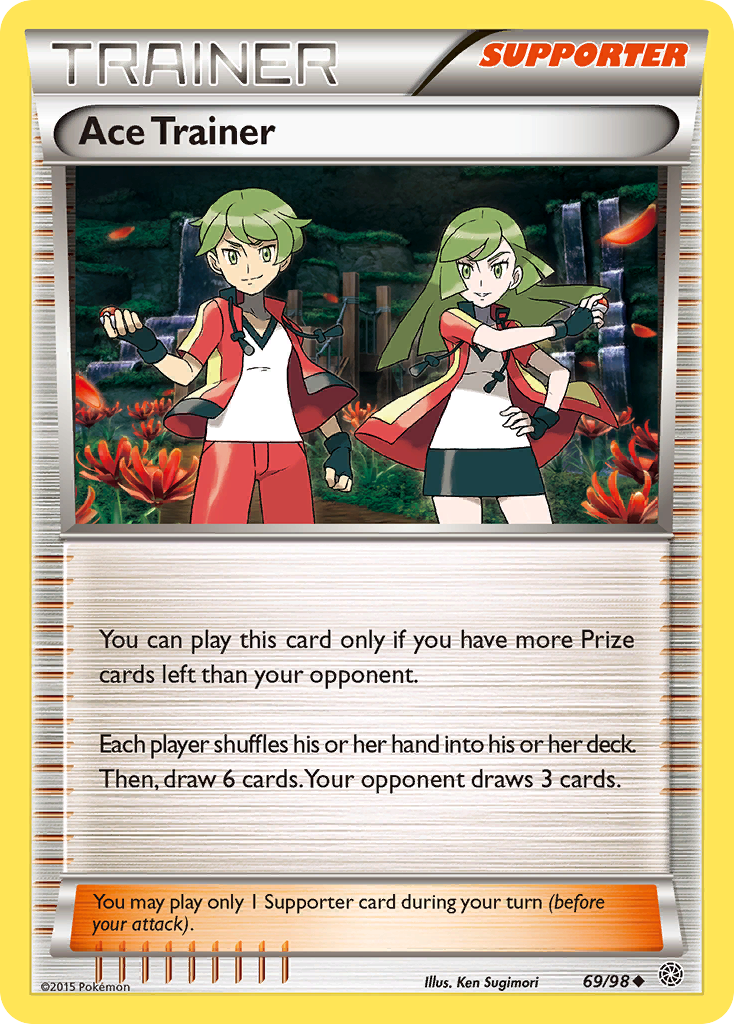
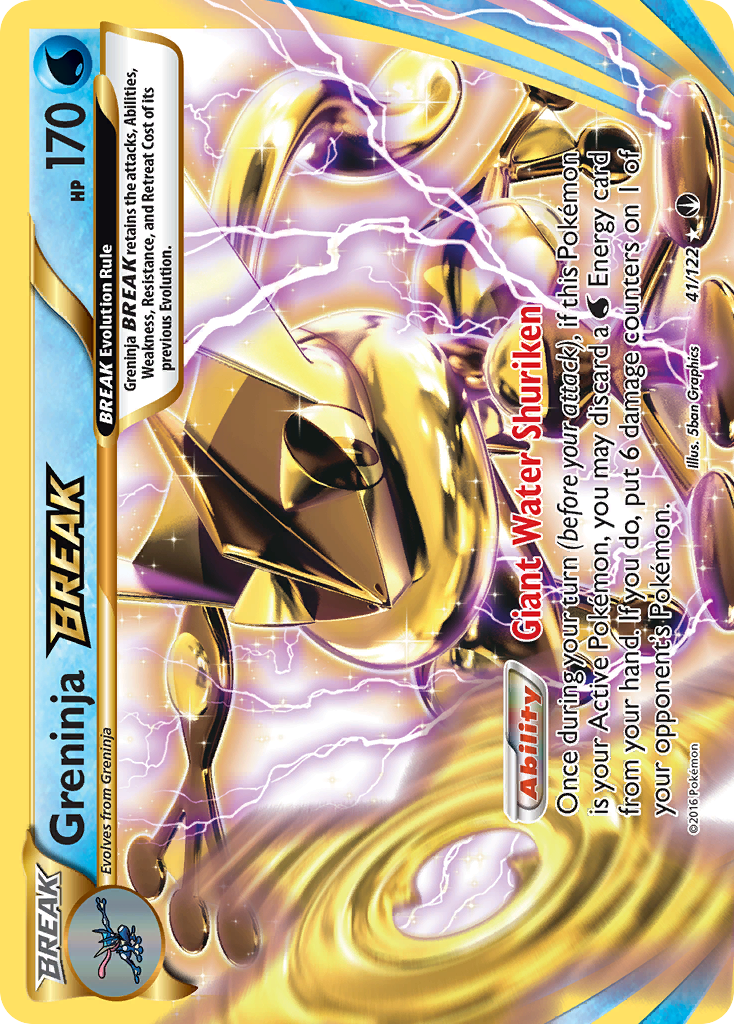
Let's talk Trainers. N and Professor Sycamore are your main draw options. You will likely lose a few Pokemon while you're preparing your board, and that's normal for this deck. This is why I use a heavy N count as well as two Ace Trainer. Once you get two Greninja BREAK in play, it's basically over. Two Giant Water Shurikens plus Moonlight Slash is 200 damage to a single target. Enter Faded Town, the anti-Mega Pokemon Stadium, to give you the extra 20 damage you need to secure the KO. If you're not fighting a Pokemon-EX deck, Greninja BREAK can easily dismantle lesser Pokemon by sharing its Shurikens with two Pokemon; you're still doing 140 damage. Bursting Balloon is icing on the cake; if your opponent attacks into it, that's just freeing up one of your Shurikens for another target.
All of this is ignoring Greninja's stellar first attack, Shadow Stitching. Removing all your opponent's Abilities for one turn can turn the tide of battle. It makes playing the mirror (where you and your opponent are playing the same deck) a real pain, though. A KO from Shadow Stitching can prevent your opponent from using Abilities to try and recover. You know, stuff like Shaymin-EX, Hoopa-EX, and Octillery.
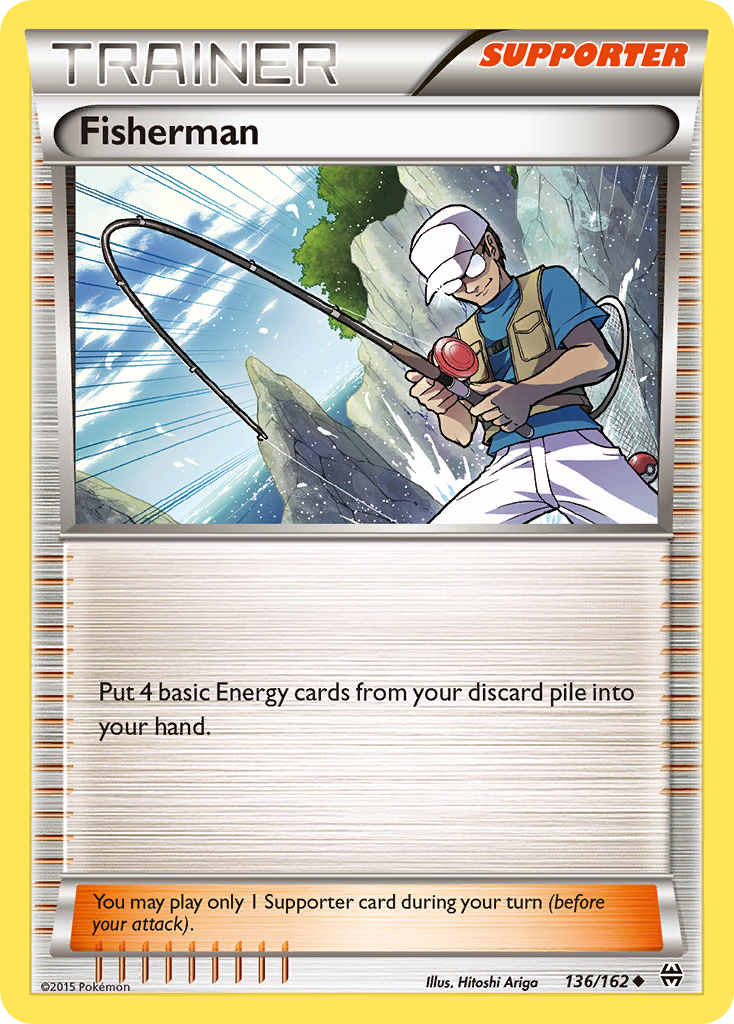
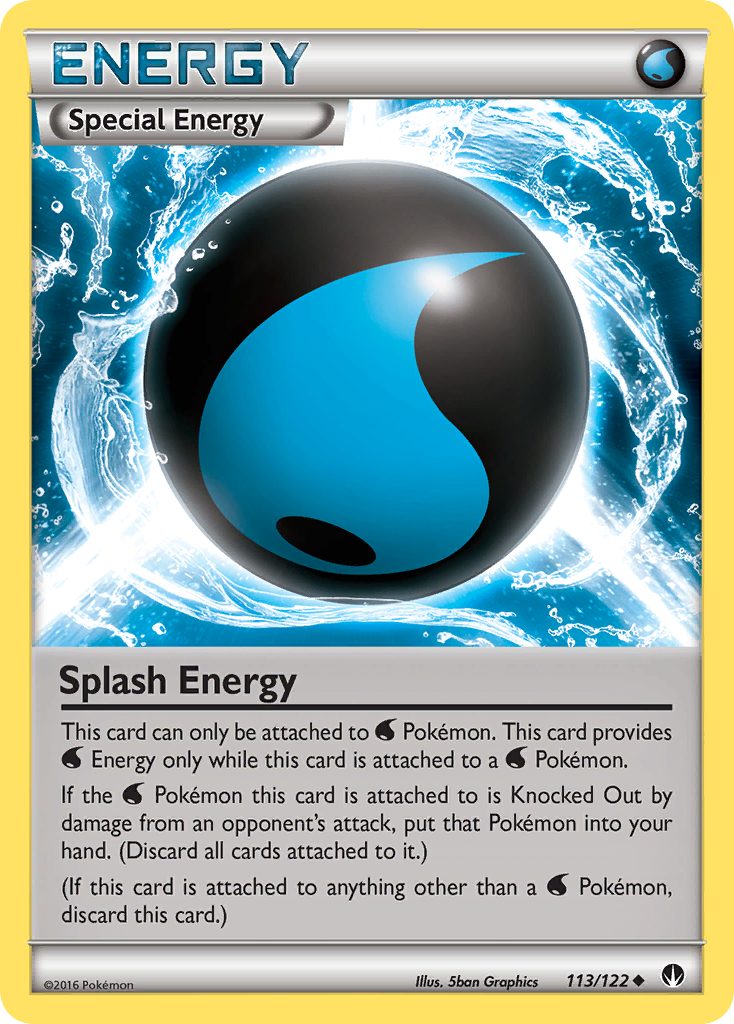
Fisherman is a clutch card that can be used late-game to seal up a victory. Getting four Water Energy from the discard pile ensures that you will be putting 200 damage on your opponent's side of the field. Splash Energy is interesting. Being able to put the entire Greninja BREAK line back into your hand after it goes down (for one Prize) is too good to pass up. I only use one because most of the time you are going to attach for turn and immediately return it to your hand with Moonlight Slash. A good chance to drop it is when you are either going to KO with Shadow Stitching or when the opponent would be KOed by Moonlight Slash without the additional damage. Splash Energy also can't be retrieved with Fisherman or Super Rod; once it's gone, it's gone. This could be enough to argue that you need two, but I think it's more personal preference. You can run two or one, or zero if that's your thing.
You've probably already guessed, but the most expensive card in this deck is Greninja BREAK. You need to have three, and they're about $16 each, so that means you'll be spending somewhere in the neighborhood of $50 for the set. That's more than halfway to a Shaymin. At this point, you'd have to ask yourself if investing in three cards is better than the one Shaymin, especially when you consider that Greninja BREAK is still one of the best decks in format. The rest of the cards in this deck cost nearly nothing, making this top deck a lot easier to make than you might have thought.
Conclusion
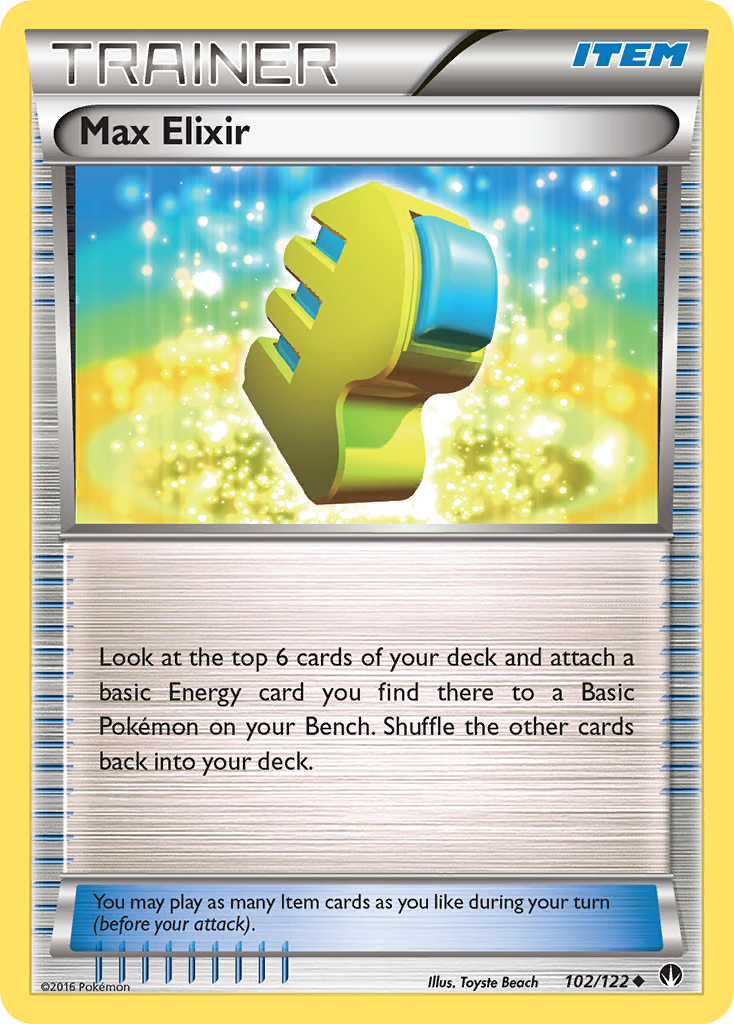
As you can see, there are plenty of choices for the player looking to play on a budget. If you're truly serious about getting into the game, you should snatch up a minimum of two Shaymin-EX as fast as you can, before they get more expensive. Look into getting a playset of all the important Trainers: N, Professor Sycamore, Max Elixir, Ultra Ball, VS Seeker, and Trainers' Mail should all be first on the list. Most Trainers are obtainable for less than a dollar apiece, so you shouldn't have any trouble getting them. The Rayquaza vs Keldeo Battle Arena deck is a great deal if Expanded interests you at all. You get loads of staple Trainers, over a dozen holo Energy, as well as a head start on building two great Expanded decks. It's thirty bucks, so if you have no need for the Pokemon, you should probably pass on it. (It's the only place to get Karen, but you can trade for those singly.)
The decks that you can build once you do manage to obtain two Shaymin are literally endless. That's also the subject of a different article, so I'm going to stop here. Did you get lucky like me and pull your Shaymin, or did you suck it up and buy them? How much did you pay? They were pretty cheap when they first came out! And don't get me started on how annoying it is to get them on PTCGO. Seventy packs??? Get real. Hit me up in the thread and let's talk.
Your pal, PMJ