
Make It or BREAK It — A 2016 State Championships Review
Hello PokeBeach readers! I’m Jimmy Pendarvis and today I’ll be giving you a tournament series review. My last article provided every resource needed to dominate in the City Championships. Today, I will discuss a few of the most popular decks from the State Championships, the reason behind choice cards, potential inclusions, as well as their matchups. I’m also going to give you guys an inside look at a less popular deck that I’ve been playing with that earned me a Top 4 finish at Virginia State Championships. Going into the new format, it’s important to know what decks to expect before jumping right into your next tournament. This article will give you some nice groundwork for your playtesting, as well as provide many solid deck lists to try out or play against.
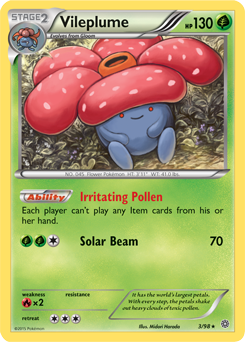
Vespiquen / Vileplume
Card Choices
1x Bunnelby
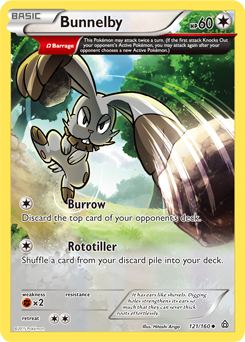
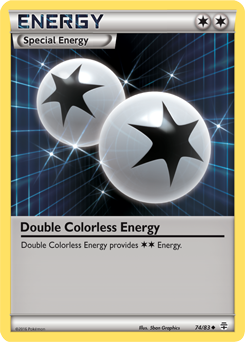
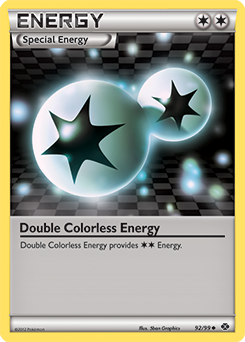
The first turn with this deck is usually pretty chaotic and can sometimes result in discarding resources that you may need throughout the game. This Bunnelby tech can save the day by shuffling in a couple Double Colorless Energy or a few crucial Pokemon. Bunnelby can also come in handy by Burrowing the opponent’s deck away if you find they are running out of resources toward the end of a long game.
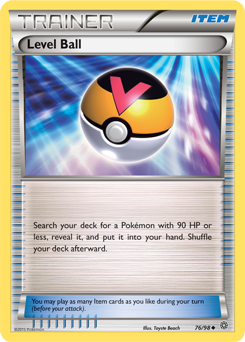
1x Level Ball
Level Ball is definitely a solid choice in this deck; I wish there was room to play more of them. Since this deck relies so heavily on low HP Pokemon, there is a wide variety of choices from the use of your Level Ball. Literally any Pokemon in the list can be found via Level Ball besides Vileplume and Shaymin-EX. Since there is only one copy in this deck, it is useful every time it goes into your hand.
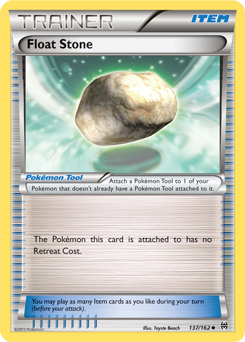
Most deck lists for this build normally run two Level Ball and two Float Stone, but the third Float Stone is more necessary than the second Level Ball. It’s best to have a higher consistency in mobility as compared to the inclusion of a luxury Item card.
Potential Inclusions
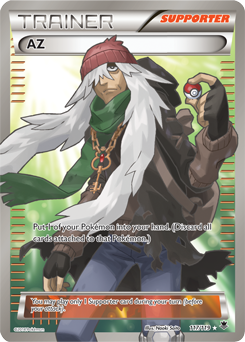
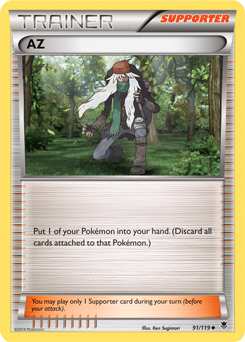
1x AZ
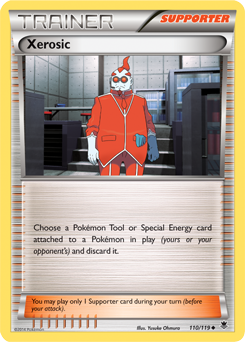
This allows you to have a switch effect with Vileplume. If Float Stone gets knocked off by Xerosic and then Vileplume gets pulled up by Lysandre, you’re normally in quite a pickle. The AZ can bail you out of situations like that. It also serves as a way to remove a Shaymin-EX from the board, making it more difficult for the opponent to take six Prizes. AZ is always a great card to have ready for a contingency plan.
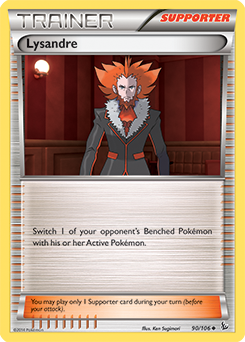
1x Lysandre
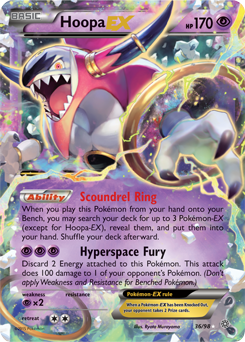
This card is definitely situational in a deck like this. Most people argue that its inclusion isn’t worthwhile due to it being useless during turn one, or because it is often worthless during the time of it being drawn. In a vast majority of decks out there, properly timing a Lysandre is easily obtainable. With the use of VS Seeker, which are in almost every deck list, players are able to choose when to use a Lysandre from the discard. Since there are no VS Seeker in this list, Lysandre can no longer be used once it is discarded. With that said, it’s not a major problem if it does get discarded. However, having the threat of a Lysandre is pretty sick in a deck like this. It can trap something like a Hoopa-EX while you Burrow or Rototiller.
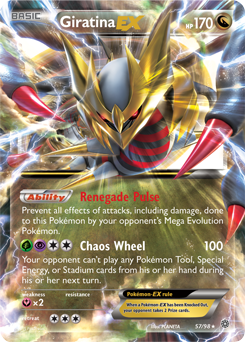
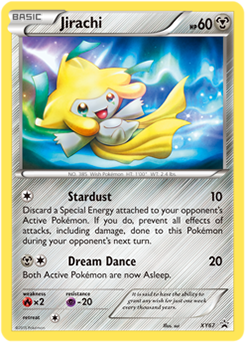
Lysandre is also great for eliminating hard-to-deal-with threats like Giratina-EX or Jirachi. By using Lysandre, you can deal with these threats as soon as they hit the field which is less burdensome than having to deal with them when they are completely powered up.
2nd Level Ball
This would improve the overall consistency. I’ve seen the count in many other lists, and two seems to be the average quantity played in this type of build. A Level Ball is useful almost every time you draw into it. It helps to set up the board quickly during the start of the game and also fuels attackers in the late game.
Matchups
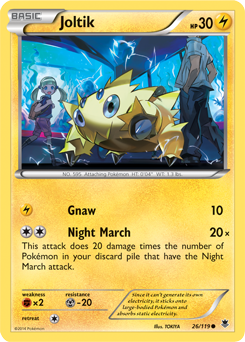
VS. Night March
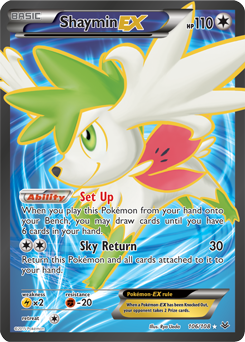
This matchup is pretty favorable, especially if you go first. Going first and getting a turn one Vileplume makes it extremely difficult for the opponent to fight back. However, even if the opponent is given a turn of Item usage, you can generally run them out of Double Colorless Energy by repeatedly using Sky Return on their Joltik. This preserves your resources by protecting the Double Colorless Energy and avoiding the sacrifice of Vespiquen.
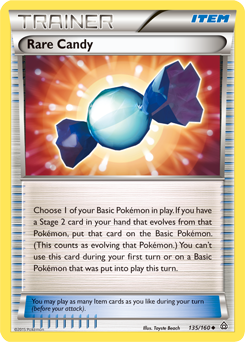
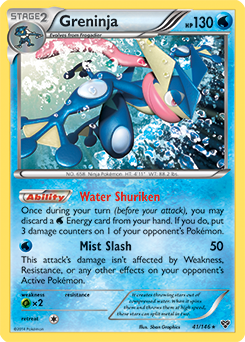
VS. Greninja BREAK
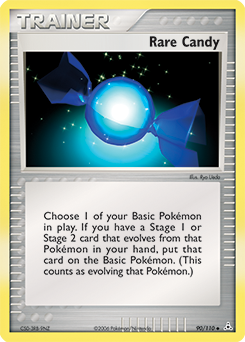
This matchup should never be lost. Vileplume shuts off Rare Candy, making it difficult for the Greninja deck to take Knock Outs early in the game. In addition to this, you OHKO all of their Pokemon with ease due to Greninja’s Grass Weakness.
Jirachican cause some small problems, but in the grand scheme of things, you can afford to pass a couple of turns when attacked by Jirachi.
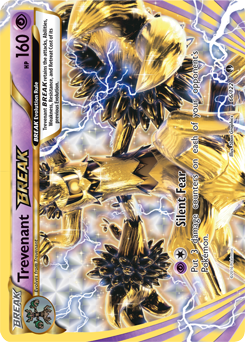
VS. Trevenant BREAK
This is truly about who goes first. One player will essentially be locked out of the game after the first turn. If you get locked out of playing your Items by a turn one Trevenant, the best bet is to use Shaymin-EX‘s Sky Return attack to prevent the opponent from taking Prizes, while slowly killing their Trevenants.
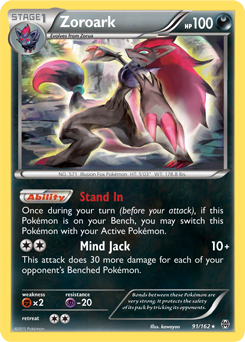
VS. Zoroark BREAK
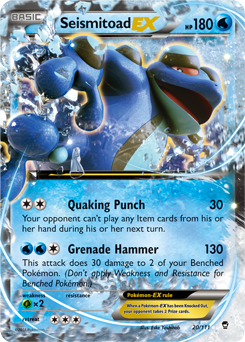
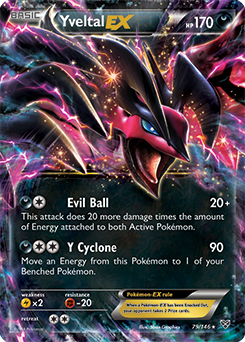
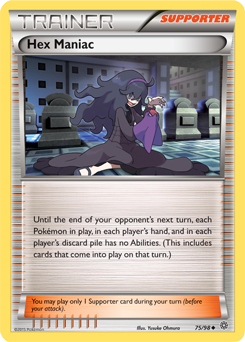
This is about a 50-50 matchup. The new Darkness-type decks that aren’t packed with Pokemon like Seismitoad-EX and Yveltal-EX are able to trade Prizes much easier with you. Their biggest weapon against you is Hex Maniac, which happens to be hard to play around.
The main goal in this matchup is to start off as explosively as possible and take early Prizes to put pressure on the opponent. You just have to hope that the opponent misses a few attacks, otherwise they have a decent chance in the Prize trade because of their large amount of attackers.
Greninja BREAK
Card Choices
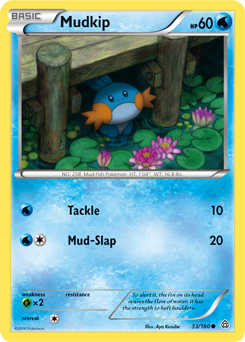
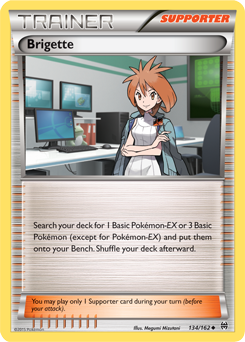
1-1 Swampert Line
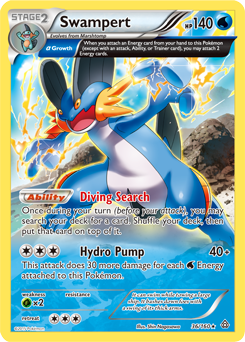
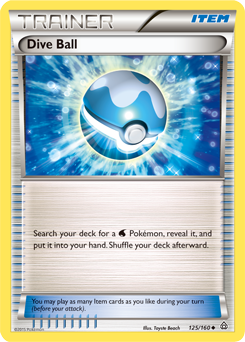
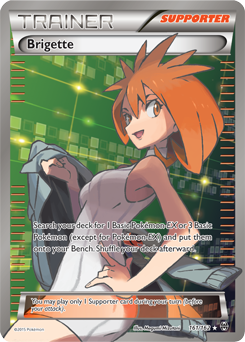
This may only be a 1-1 line, but it’s super easy to setup with a combination of Brigette and Dive Ball. After this bad boy hits the field, you will end up getting every resource you need. An early Swampert provides an excellent start and almost always gives you the advantage. With the use of Diving Search, the board develops quickly while only burning through few resources.
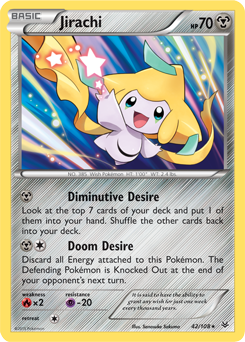
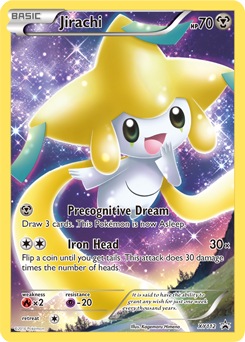
2x Jirachi
Using Greninja BREAK‘s Giant Water Shuriken Ability and its attack together is a sick combo. It makes it extremely easy to setup KOs while simultaneously denying Prizes. The opponent will usually have to pass their turn or spend a few resources digging for a Lysandre. Eventually, the opponent will run out of Lysandre / VS Seeker combos, providing an optimal time to attack with Jirachi to discard a Special Energy attached to the opponent’s Active Pokemon. This basically renders a full turn of immunity.
Jirachi is not useful in every game; however, it provides great comeback potential in many situations, especially since the deck list includes two Ace Trainer and an AZ for a crucial heal or two on Greninja. The incredible advantage that Jirachi provides in select matchups makes the card worth it alone.
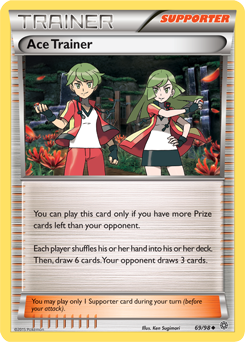
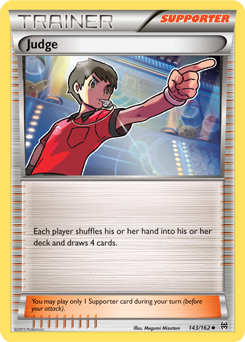
2x Ace Trainer / 0x Judge
Between these two Supporters, Judge is truly only better on the first turn. After the first turn or two, the opponent will almost certainly be ahead in Prizes. Before long, Ace Trainer can be used to draw six cards, while the opponent only draws three. This situation is much better than both you and your opponent drawing four cards, especially considering the frequent slow starts this deck has.
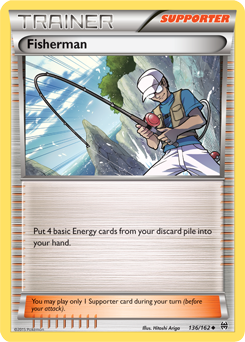
1x Fisherman
Simply including one Fisherman makes it nearly impossible for the deck to run out of Energy because the Supporter can be reused with VS Seeker. The end of the game is typically easier in terms of resource management as a result of this. With four Energy in hand, a significant amount of damage can be dealt via Abilities and an attack.
Potential Inclusions
2nd Fisherman
Fisherman is an extremely helpful Supporter in this deck. With that said, you don’t want too many of them, yet you also need enough of them to be able to use one whenever it’s necessary. Having two Fisherman makes it easier to manage resources, especially when under Item lock. It also provides a more consistent retrieval of Energy.
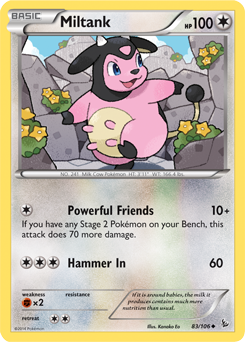
1x Miltank
This backup attacker is a great tech; I am not exactly sure why it isn’t in lists already. Miltank‘s one Energy for 80 damage is solid, especially when combined with the burst damage from Greninja‘s Ability. Attacking with this guy also means that you can keep your Greninja safe on the Bench.
Matchups
VS. Night March
Despite what most players believe, this matchup is not the easiest. All it takes is a consistent use of Hex Maniac from a Night March player for you to run out of steam. Although these decks still trade Prizes one for one, your attackers are Stage 2 which makes it difficult to power up against the explosive Night March deck. Furthermore, Night March decks generally obtain a small Prize lead before Greninja even starts to attack. However, it can easily go the opposite way. Night March can easily struggle to chain Hex Maniac which will let you take multiple Prizes almost every turn, likely winning you the game.
VS. Vespiquen / Vileplume
This matchup isn’t one that I like to play against often, but it’s definitely winnable with the deck list I’ve provided. It’s also similar to the one Azul Garcia Griego used to win the New Hampshire State Championships. The two Jirachi in this list are crucial for pulling off a victory. They allow you to get crafty and potentially run the Vespiquen deck out of Double Colorless Energy. This can be difficult due to the inclusion of Bunnelby in most Vespiquen / Vileplume decks; however, you can simply KO the Bunnelby and go back to the Jirachi strategy after that.
Additionally, Fisherman can assist in making sure you don’t run out of Energy, but you still need to be relatively careful with them. Fisherman will most likely be needed towards the end of the game as well.
VS. Trevenant BREAK
This matchup can be quite difficult if the opponent manages to get out a Trevenant on their first turn. Even if you go first, the first turn is generally spent using Brigette, so the turn of Items won’t help out much.
The goal is to start using Greninja‘s Shadow Stitching attack as soon as possible. This will allow for more Greninja to be setup on the Bench to cause a flooding of damage on the Active Trevenant. Even though the Greninja deck can fall a bit behind as a result of the Item lock, it is possible to make a comeback if a strong board state is developed.
VS. Zoroark BREAK
This is one of the decks’ best matchups, even if the opponent spams you with Hex Maniac. Hex Maniac will not be played on every turn, which means there will be a couple of turns to setup KOs using the Water Shuriken and Giant Water Shuriken Abilities. This makes taking KOs fast and simple in the future because there will be less digging through the deck required.
From the opponents’ perspective, it becomes overwhelming to keep up with the deck once it gets rolling. The opponent, more often than not, will play offensively to try to take a bunch of easy Prizes, as opposed to trying to KO a few Greninja BREAK. This strategy isn’t necessarily bad for you because you can punish this line of play severely with the use of your Ace Trainer. The use of Ace Trainer does a great job at hindering the offense of Zoroark decks.
This concludes the public portion of this article.
If you'd like to continue reading, consider purchasing a PokeBeach premium membership! If you're not completely satisfied with your membership, you can request a full refund within 30 days.
Each week we post high-quality content from some of the game's top players. Our article program isn't a corporate operation, advertising front, or for-profit business. We set our prices so that we can pay the game's top players to write the best content for our subscribers. Each article topic is carefully selected, goes through multiple drafts, and is touched up by our editors. We take great pride in our program!