
Sableye and the Puzzle of Time — How It Works and How to Beat It
What’s up, Beach universe? Steve here and back with another article for all of you, this time talking about one of the most insane decks we’ve seen this season: the BREAKpoint-infused Sableye / Garbodor deck.
Prior to the release of this latest set, many of our current high- and mid-tier decks had a hard time getting around the deadly lock this archetype could initiate. With BREAKpoint entering the format for Florida and Oregon Regionals this upcoming weekend, this deck becomes an absolute monster and it’s important to be prepared for it if you’re going to attend either of these events. So, how has this deck changed with the release of BREAKpoint? What does the new version of the deck do? Also, how can we beat it? We’ll look at Sableye / Garbodor thoroughly and answer all those questions in this article!
Before we look at this frightening new deck though, I’m going to talk briefly about some of the cards from BREAKpoint, including a strong new deck I’ve been testing for the Expanded format: MaxieChomp. BREAKpoint is a neat little set that is sure to change up the metagame with a few extremely powerful cards and some solid archetypes.
BREAKpoint and Garchomp
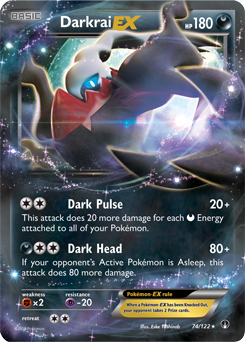
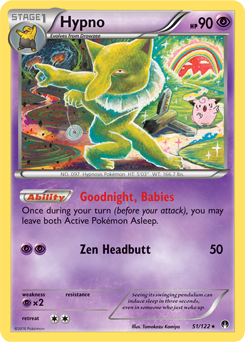
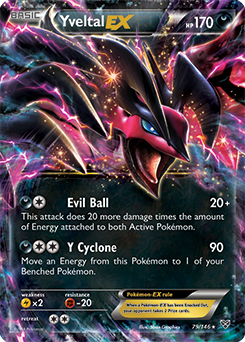
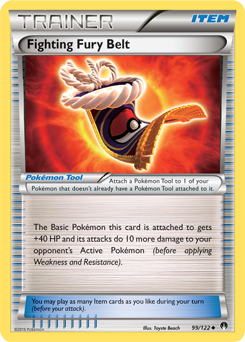
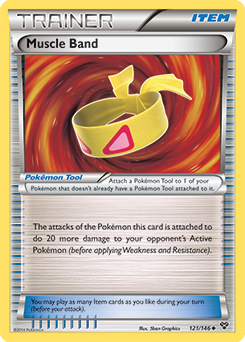
BREAKpoint is a massive set that includes many new cards for existing archetypes as well as its own new archetype in Darkrai-EX / Hypno / All-Night Party. I’m not expecting this new Darkrai-EX deck to make much of a showing in Expanded, although Yveltal-EX players may opt to tech in a single copy for week three. One of the other noteworthy cards is Fighting Fury Belt, which acts as a meeting point between Muscle Band and Assault Vest, granting a Basic Pokemon 40 more HP and making its attacks to 10 more damage.
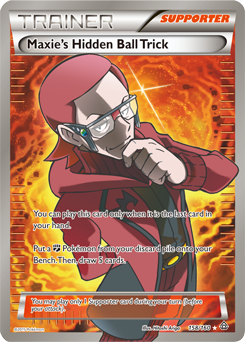
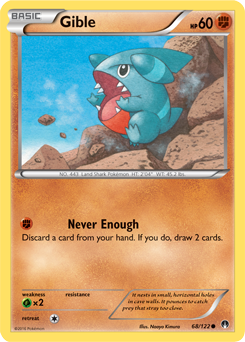
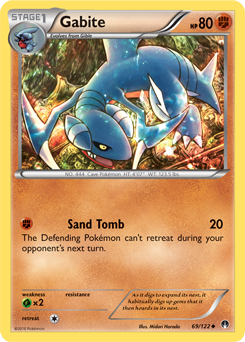
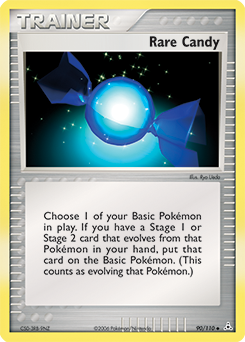
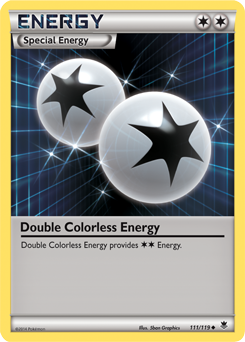
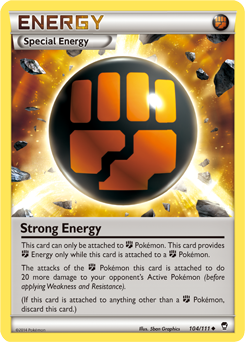
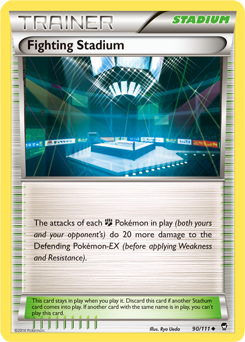
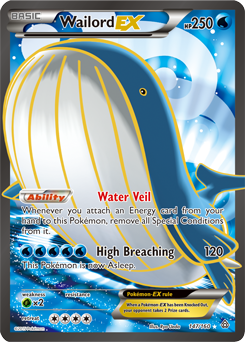
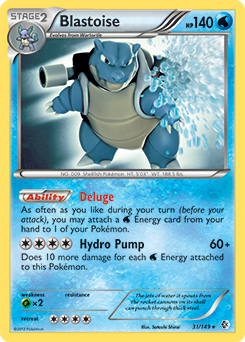
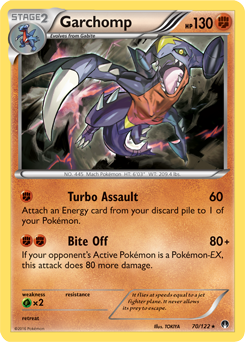
We’ve also gained a nifty new Fighting-type attacker in the form of Garchomp. While Garchomp is a Stage 2 Pokemon, it can be brought into play via Maxie's Hidden Ball Trick if you don’t want to evolve it with Gible and either Gabite or Rare Candy. Due to the popularity of Seismitoad-EX in Expanded, it may be difficult to use Rare Candy effectively here. Either way, Garchomp offers two excellent attacks. The first, Assault Turbo, can accelerate Special Energy cards as well as basic Energy, thus allowing the user repeated access to cards such as Double Colorless Energy or Strong Energy, depending on the deck you’re playing. As for Garchomp’s second attack, Bite Off, you can toss a Muscle Band, Strong Energy, or Fighting Stadium into play and deal 180 damage. With two Strong Energy, a Muscle Band, and a Fighting Stadium, you’ll deal 240 damage! That’s enough to KO any Pokemon-EX besides Wailord-EX, which seems pretty darn good to me. While some players may not be a fan of Garchomp right now, it’s running pretty smoothly in my playtesting. I’d like to quickly go over my Garchomp deck for Expanded, which operates in a similar manner to the Blastoise deck that won Worlds last summer. Here is my current list:
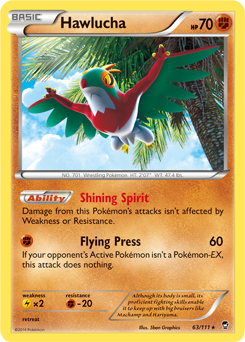
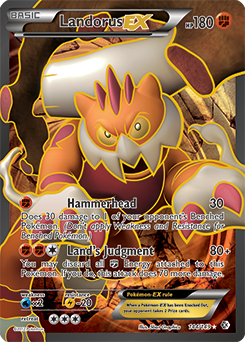
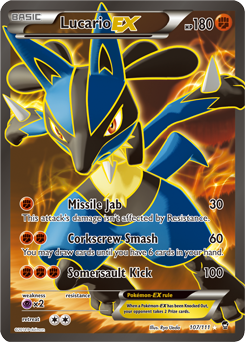
The engine here is similar to that of Archie’s Blastoise, although this deck doesn’t rely nearly as heavily on getting Garchomp into play on the first turn as Archie’s Blastoise decks do with Blastoise. Instead, you can simply attack with Hawlucha, Landorus-EX, or Lucario-EX until you are able to use Maxie's Hidden Ball Trick and bring a Garchomp into play. Another nice thing about this sort of deck is its tendency to condense itself over the first few turns. You’re much less likely to have a dead hand later on in the game.
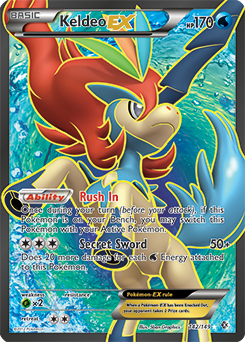
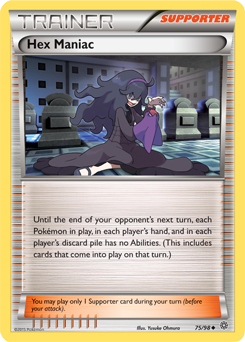
While Blastoise decks can simply load up a Keldeo-EX and take KOs at will, they’re also extremely prone to cards like Garbodor and Hex Maniac, both of which are likely to see a bit of play at Regionals. Meanwhile, Garchomp doesn’t rely on any Abilities as you have other attackers for the early game and only one of this deck’s Abilities will remain useful through the game.
That Ability belongs to Keldeo-EX, of course. Being able to Rush In and then retreat for free via Float Stone can help to get Landorus-EX or Lucario-EX out of a jam if necessary. Otherwise, Garchomp and Hawlucha can simply take advantage of their free Retreat Costs and single-Prize status to control the game while Garchomp continually accelerates Energy across your board. This gives you an army of attackers, all of which can swing for a mere one Fighting Energy. This is a very versatile deck overall, and one that could be a potential dark horse for week three of Regionals this month.
What Does Sableye / Garbodor Do?
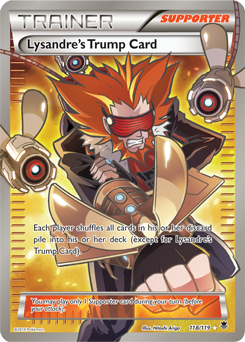
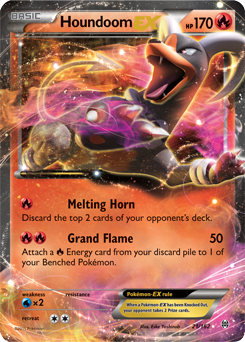
Sableye / Garbodor does something made possible through the banning of Lysandre's Trump Card. We’ve seen players employ successful deck-out strategies since then, such as Enrique Avila’s Wailord-EX deck at last year’s U.S. Nationals as well as various Houndoom-EX / Bunnelby decks that appeared throughout this season’s City Championships. Sableye / Garbodor even saw play at Expanded City Championships as well as Fall Regionals.
So why are we making a big deal about it now? Well, BREAKpoint gave this deck some new toys which make it considerably stronger. The first is a card called Puzzle of Time. Some of you might be thinking “Sableye could already do the same thing with Item cards via its Junk Hunt attack. How much difference can this card really make?”
The answer is a huge difference, and here’s why: Sableye’s Junk Hunt attack can net you any two Item cards from your discard pile while playing two Puzzle of Time at once allows you to grab any two cards from your discard pile. Another key here is the timing of these effects. Using Junk Hunt ends your turn while playing Puzzle of Time does not. You can drop two Puzzle of Time for any two cards you like in your discard pile, continue your turn, and then use Junk Hunt to simply retrieve the two Puzzle of Time for another use next turn. “But aren’t most of my targets going to be Item cards anyway?”
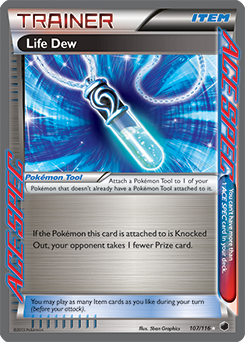
The answer to that question is yes, but that doesn’t mean Sableye and Puzzle of Time do the same thing. The best example of this is Life Dew, the Ace Spec card you’ll be playing in this deck. Life Dew is a key component to your strategy as it denies your opponent a Prize card when he or she takes out your Sableye. Previously a Sableye / Garbodor player would then have to send up a second Sableye and use Junk Hunt to retrieve Life Dew to attach it to another Pokemon on his or her following turn, thus allowing his or her opponent one turn to KO a Sableye and claim a Prize card. However, if your Sableye is KO’d now, simply send up the next one and use Puzzle of Time to retrieve Life Dew. Then you can attach Life Dew to your new Sableye without having to risk giving up a Prize card. This effectively means your opponent cannot draw Prizes!
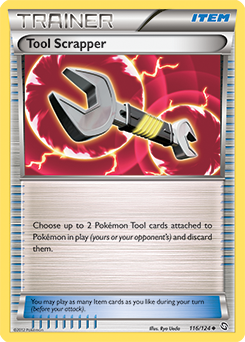
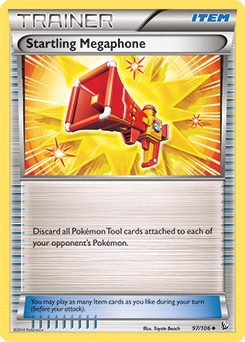
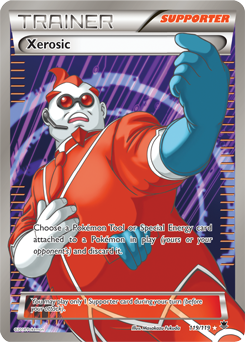
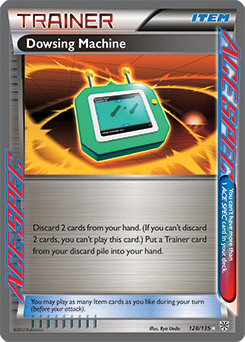
Now you’re probably thinking “a simple Tool Scrapper, Startling Megaphone, or Xerosic changes that,” but these are all single-use effects, and, unless your opponent is running either multiple copies or has chosen Dowsing Machine as his or her Ace Spec, only Xerosic can be used more than once through the use of VS Seeker.
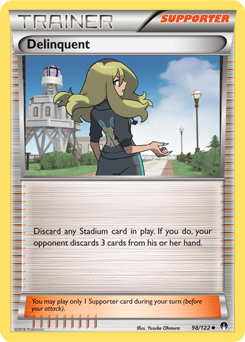
Another new card we’ve gained is Delinquent. Often enough, its effect will force your opponent to discard his or her entire hand, leaving him or her top-decking and hoping for a draw Supporter. It’s important to remember that Delinquent does require a Stadium card to be in play, so you may need to recycle those with Puzzle of Time too in order to use her effect. With the threat of Delinquent returning every turn, your opponent will conserve even more resources and play fewer cards from his or her hand.
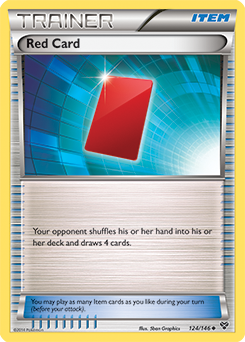
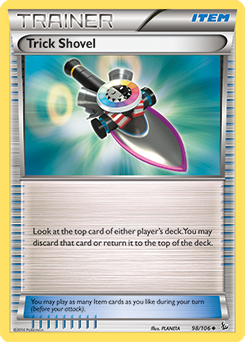
It’s also crucial to note that if they don’t KO your Sableye for even one turn, you can Puzzle of Time for something other than Life Dew or a Supporter. This opens up more plays and possibilities, allowing you access to cards such as Crushing Hammer, Red Card, or Trick Shovel to control your opponent’s plays even more.
After looking at some of these new tricks, let’s check out my BREAKpoint-infused Sableye / Garbodor list:
As you can see, most of our Items are run in pairs. You won’t need more than two copies of most of them since you’re mainly playing out of your discard pile via Sableye and Puzzle of Time. You’re also much less likely to Prize both copies of a card than you are to Prize your only copy of something should you choose to only run a single copy of a chosen card. This is especially vital since we won’t be claiming Prize cards.
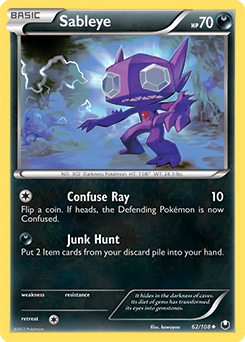
Sableye
Sableye is the heart and soul of the deck, using Junk Hunt to retrieve two Item cards from the discard pile each turn. Your targets will almost always be two copies of Puzzle of Time, but Sableye also offers the versatility to grab a different Item card if you need to. This can often be the case if you’re already holding one Puzzle of Time in hand and simply need a second one to gain the desired effect, effectively allowing you to retrieve a total of three cards instead of two.
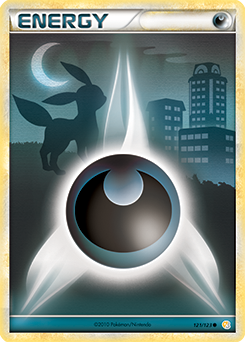
Sableye also requires only one Darkness Energy to attack and has no Weakness either, which is the icing on the cake from here. This makes a first turn KO of Sableye difficult for a lot of decks, which is nice when you consider how difficult it is to get Life Dew into play on the first turn compared to the second. While Puzzle of Time might be stealing the spotlight right now, this deck relies much more on Sableye than it does on the newly-released Item card we’re all enamored with.
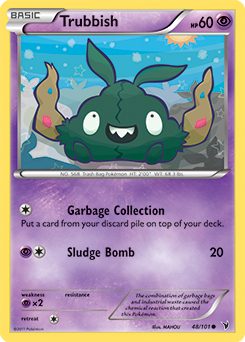
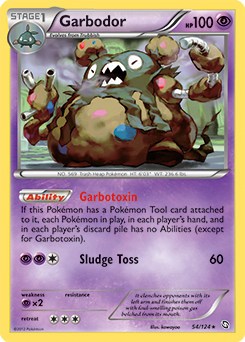
Garbodor
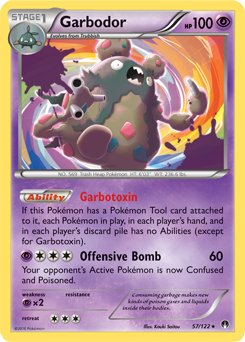
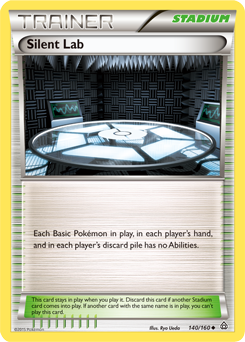
If you look at this deck closely, you may notice that there are lots of Abilities that can take it down a level or two. Enter Garbodor, Sableye‘s stinky best friend. We happen to run three Pokemon Tools in this deck: two copies of Float Stone and a Life Dew. Since Life Dew primarily goes with Sableye, you’re going to want a Float Stone on Garbodor to gain its Ability-locking effect. Despite only running two copies, this isn’t difficult to manage through the use of Battle Compressor and Sableye, allowing us quick and easy access to both Float Stone and our Garbodor line when we need them. You’ll also find that you don’t need Garbodor in every matchup. You can toss them away in some games without having to worry. It even has backup in the form of Silent Lab.
I’d also like to point out why I chose a BREAKpoint Garbodor instead of an older one. This has nothing to do with the difference in their attacks — which happens to be their only difference — but everything to do with shuffling and avoiding warped or bent cards. I’ve noticed that foils from the Black & White era tend to warp much more easily than those from the XY era, likely due to the style of foil used during each series. If you’re going to run a Black-&-White-era Garbodor, however, I’d recommend a reverse holo version or the secret rare variant from Plasma Freeze. Of course, it’s still better to run a regular old Garbodor than it is to leave it out of the deck completely, but I just thought I’d point this out.
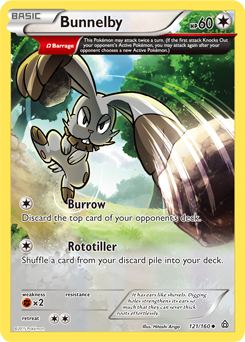
Bunnelby
Bunnelby might not seem necessary in this deck when you consider how it takes a backseat to Sableye, but this little guy is still as useful as ever. On the flipside though, unless you’re really in a pickle, you probably aren’t going to call on Bunnelby until the late game. The thing is, that’s exactly when it shines most by discarding those last few cards off the top of your opponent’s deck in order to end the game. You could certainly make the case for cutting Bunnelby altogether, as Sableye’s infinite loop could eventually deck out your opponent anyway, but Bunnelby serves a huge purpose particularly in the mirror match.
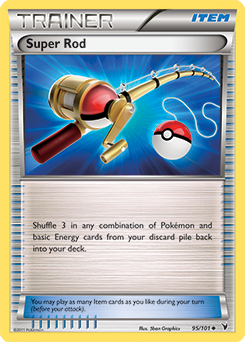
Bunnelby can also help you fight against the clock, which can be a rather pressing issue with deck-out decks such as this. Rototiller can be used in a pinch if you need to retrieve a card, although its uses are vastly inferior to Sableye, Puzzle of Time, or even Super Rod overall.
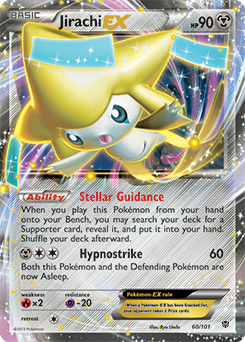
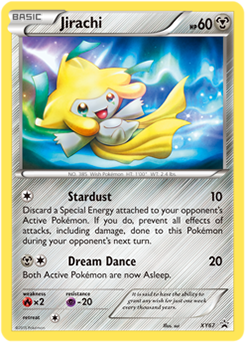
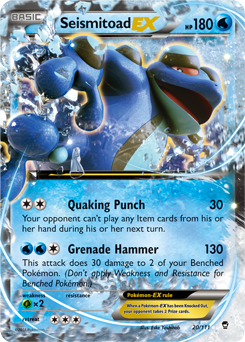
Jirachi
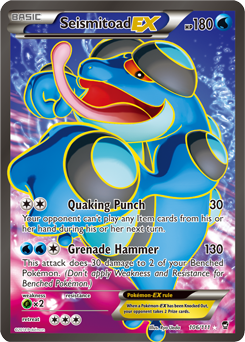
I was recently advised to test out a Jirachi in this deck, which I found to be solid against Seismitoad-EX in particular. Seismitoad tends to give Sableye a frustrating matchup if you’re unable to continually draw into Team Flare Grunt and Xerosic, so Jirachi adds yet another form of denial against their Double Colorless Energy. Jirachi also becomes invulnerable to attacks for a turn, providing it has just discarded a Special Energy card from one of your opponent’s Pokemon. Sure, a Seismitoad player can attach another Double Colorless Energy to use Quaking Punch again, but Jirachi won’t take any damage and will simply discard that Energy too. This often forces them to pass a turn, thus missing a Quaking Punch and breaking their Item lock for a turn. One turn might not seem like much, but you might be surprised how big of a difference this can make.
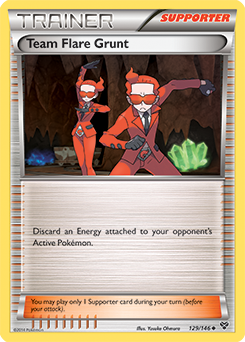
Team Flare Grunt
Much like Jirachi, Team Flare Grunt is primarily used to deal with Seismitoad-EX. This doesn’t mean Team Flare Grunt is useless in other matchups however, as it’s able to discard a basic Energy card without depending on the coin flip Crushing Hammer requires. Being a Supporter isn’t the worst thing in the world, although Sableye’s ability to recycle Items means you can use Crushing Hammer just as repeatedly as this card. There isn’t much more to say about Team Flare Grunt; after all, this card is simple and straightforward. Just remember it only works on your opponent’s Active Pokemon.
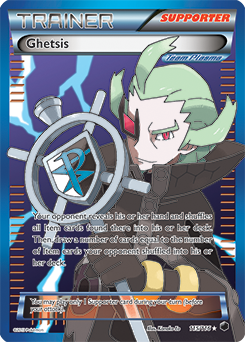
Delinquent
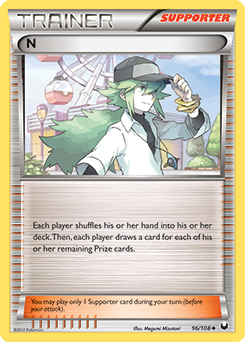
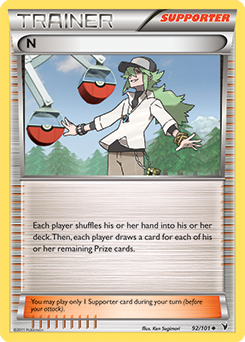
Oh man, this is a crazy card. Thanks to Sableye and Puzzle of Time, we can recycle our Stadium cards in addition to knocking out our opponents’ Stadiums when using this card. Furthermore, how often does a player end his or her turn with three or fewer cards in hand? This happens quite often in my experience, especially with the threat of an N constantly looming in Expanded. Being able to eliminate all of the cards in your opponent’s hand with a single card is brutal, especially when you can recycle it over and over again.
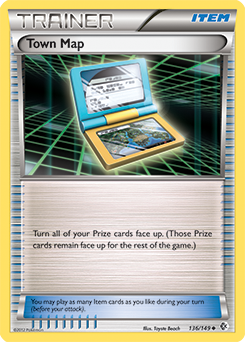
Puzzle of Time
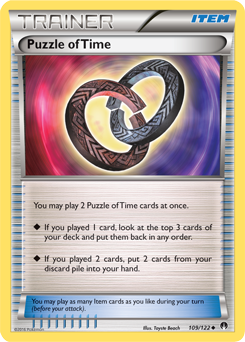
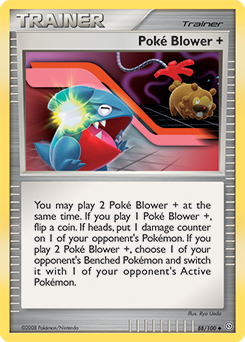
What has Pokemon done with this card? Puzzle of Time is reminiscent of some older Trainer cards such as Poké Drawer + and Poké Blower + from the Diamond & Pearl era, as it offers the option to play two copies of the card at once, gaining a different and far more powerful effect than simply playing one copy. The idea here, as stated above, is to use Sableye to recycle two Puzzle of Time. On your turn, you can use the two Puzzle of Time to recycle any two cards from your discard pile, such as Life Dew, another Sableye or Darkness Energy, or even a Delinquent and a Stadium card. Another nifty concept is that Puzzle of Time can target itself, allowing you to play two copies of Puzzle of Time in order to retrieve one card of choice as well as another Puzzle of Time in your discard pile. Then, if you have yet another Puzzle of Time in hand, you can play two copies of this card again! You can effectively retrieve three or even four cards in a single turn, depending on how many copies of Puzzle of Time you have in your hand.
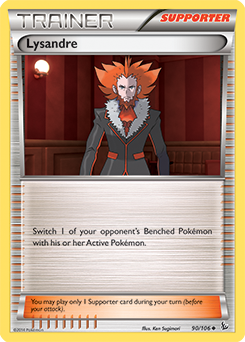
Of course, this offers a huge difference when it comes to the timing of certain cards: Life Dew in particular. Sableye can grant you two Puzzle of Time via its Junk Hunt attack, which can then retrieve the Life Dew from your discard pile if that Sableye is KO’d, allowing you to attach Life Dew to another Sableye, use whichever other card you chose to retrieve, and then fetch the two copies of Puzzle of Time yet again! As long as you can maintain Sableye on your board and one Darkness Energy for each one, you can stream Life Dew in an infinite loop through Puzzle of Time, thus denying your opponent any of his or her Prize cards throughout the course of the game. Just be weary of Lysandre.
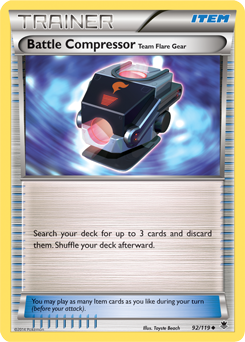
Battle Compressor
Battle Compressor has such a simple effect, and yet it’s one of the most powerful cards in all of Pokemon right now. Discarding three cards from your deck can be helpful in almost any list. You can discard Supporters to retrieve with VS Seeker, certain decks can discard specific cards to increase their damage output, or you can simply discard cards you don’t want to draw in order to thin your deck and improve the odds of drawing something useful.
In this deck, however, you can simply dump any card you want with Battle Compressor so you can get it back with Puzzle of Time. Of course, your ideal first Battle Compressor play consists of Life Dew and two copies of Puzzle of Time — unless you have some of those cards in your hand or discard pile already. From there, Sableye can retrieve the two Puzzle of Time which can in turn net you Life Dew and the Battle Compressor again for reuse. This is a staple for most decks in Expanded as well as Standard, and this deck is no exception.
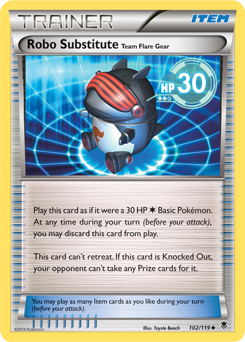
Robo Substitute
Ideally we will be using Junk Hunt every turn and maintaining Life Dew on our Active Sableye at all times. However, things don’t always work out the way we’d like them to. This is where Robo Substitute comes in. It offers a free turn for you to draw into the cards you need while still yielding zero Prizes to your opponent when Robo Substitute is Knocked Out. You can simply discard it out of play if necessary, as you can retrieve it whenever you need to through our precious Puzzle of Time. A Sableye with Life Dew in the Active position and a pair of these on your Bench can really frustrate an opponent looking to take a Prize card off of Lysandre or a bench-sniping attack, for sure.
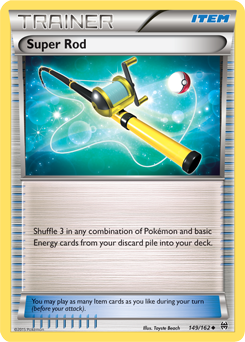
Super Rod
Sometimes we have to go through several cards before we can maintain a consistent setup, and when your goal is to deck your opponent out, you need to make sure you don’t deck yourself out first. That’s where Super Rod comes in. Repeated use of Super Rod can be crucial in the late game to prevent yourself from running out of cards, especially if you run into the dreaded Sableye mirror match where neither player is going to be claiming any Prizes. Just remember to leave one copy of Sableye as well as a single Darkness Energy in your discard pile in the mid-to-late game so you can recover them via Puzzle of Time if necessary.
Sableye / Garbodor in a Nutshell
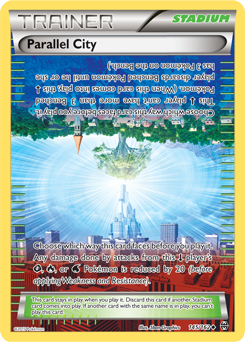
While this deck offers a lot of options, the main goal is to continuously recycle Life Dew via Sableye and Puzzle of Time to deny your opponent of his or her Prize cards. Occasionally this “loop” will break for a turn or two, which is where Robo Substitute comes in handy. The reason it’s so crucial not to yield any Prize cards is because at some point your opponent is likely to claim a Prize or two off of Lysandre or Tool Scrapper, meaning your opponent will usually end up gaining Prize cards through those means. You also need to be careful with Shaymin-EX and Jirachi-EX since they each give up two Prizes if they’re Knocked Out. They are both huge Lysandre targets and both have low HP for Pokemon-EX, meaning they won’t be difficult for most players to OHKO by mid-game. Parallel City can help get these unwanted Pokemon off your Bench to take that opportunity away from your opponent, but you’ll need enough Benched Pokemon to make that possible first. Still, if you can maintain the Sableye / Life Dew loop and control how many Prizes your opponent takes, you can eventually use Bunnelby and Trick Shovel to close out the game and claim a victory. This is the basic concept of how Sableye / Garbodor works, and, while it might be a little slow, it can be very effective in the hands of a good player.
How to Beat Sableye / Garbodor
Now that we’ve created this beast, how are we supposed to beat it? There are quite a few ways to beat Sableye / Garbodor in theory, but making it happen is a little more difficult. Plenty of popular cards can work wonders against this deck. The fact remains, however, that relying on a single card to win a specific matchup isn’t always ideal. Here I’m going to go over some different strategies that can give you a significant advantage against this deck, and how to go about employing them as well. I’ll talk about different cards you can use for each strategy as well as which decks they fit into best.
This concludes the public portion of this article.
If you'd like to continue reading, consider purchasing a PokeBeach premium membership! If you're not completely satisfied with your membership, you can request a full refund within 30 days.
Each week we post high-quality content from some of the game's top players. Our article program isn't a corporate operation, advertising front, or for-profit business. We set our prices so that we can pay the game's top players to write the best content for our subscribers. Each article topic is carefully selected, goes through multiple drafts, and is touched up by our editors. We take great pride in our program!