
A Primer on Successful Drafting in Pokemon Cube
Hi all, my name is Conner LaVelle, and I am an avid Cube player. I played competitively from 2011 to 2018 and wrote for PokeBeach in 2018, but I’ve taken a step back in recent years. I currently run the Pokemon TCG Cube group, which is one of the largest online Pokemon Cube communities. In addition, I organize and participate in the Pokemon TCG Cube League, a monthly online Cube tournament that regularly draws 20 or more players. Cube is my favorite way to experience the Pokemon TCG, and I am always happy to have a conversation about it on social media platforms.
To grant some credibility to my writing, I am also the number one ranked player in the Pokemon TCG Cube League Rankings based on top finishes, I have played in well over 100 Cubes and more than 20 unique ones, and I have also built and balanced many Pokemon Cubes. My goal in stating this is to give you all a solid idea of my background and the perspective from which I write.
Any Cube enthusiast will likely tell you that Cube drafting is among the best ways to experience the Pokemon TCG. The format has gained a tremendous amount of popularity in recent years, largely due to efforts of prominent content creators and article sites. There are abundant resources on how to get into Cube, how to start building a Cube, and the ins and outs of playing the format as a whole. When running the Pokemon TCG Cube League, however, I began to notice the only resources for how to do well in some of the more abstract elements of Cube, namely drafting and deckbuilding, were largely relegated to word of mouth and a very small selection of videos. The community is now in a place where they know what Cube is, but they need a new set of resources on how to improve the skills that bring them success. This article aims to be the first of those resources, beginning with the factors that contribute to a successful deck and moving into ways to improve your drafting with these factors in mind.
A note before diving into things: this article assumes that your goal in any given Cube is to win. If you are trying to build a fun deck or find a cool new combo that has never been tried before (which are both perfectly valid reasons to play Cube), this article will still have plenty of useful advice but may not be universally applicable.
For the purposes of this article, I will use and define advantages as strengths of a deck. Boiled down to the simplest view, a good Cube deck is one that will reliably beat its opponents. Generally, this is done by generating Advantages over your opponents that they cannot mirror or beat with their own Advantages. The four areas that a Cube deck can generate Advantages from are:
- Consistency – The ability to reliably accomplish your game plan for the full duration of a game (taking prizes, decking the opponent out, etc).
- Speed – The ability to win the game faster than your opponent.
- Power – The ability to deal more damage than your opponent.
- Control – The ability to restrict your opponent’s access to their Advantages.
Successful Cube decks will always use one or more of these elements, and the best Cube decks will often incorporate all of them. They can come from many sources, and some are easier than others to bring into a strategy. When drafting, you should always be considering which of these Advantages your deck is trying to use. If you are contemplating a card and cannot see it contributing to any of these, then there is a solid chance it is a poor choice for your deck. A very common example I see is people drafting both the Stage-1 and the Stage-2 of their given type when there is no significant gain from doing so. The Stage-1 may come online a turn earlier, but it takes Energy away from more powerful Stage-2 Pokemon. The worst of these cases is when the Stage-1 for a line does not even offer a significant Speed Advantage over the Stage-2, a case where the Stage-1 requires 3 or 4 energy to meaningfully attack perhaps, and has therefore contributed nothing unique to the deck at all. Of course, there are cases where drafting the Stage-1 and Stage-2 for a Type allows powerful synergies or shores up weaknesses of either line on their own, but it is important to critically examine each specific case when drafting.
Following is a deeper look into each Advantage as well as some of the most common ways to generate them.
Consistency
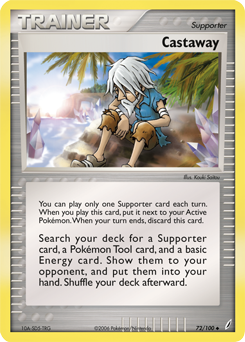
All decks need Consistency to be able to make effective use of any other Advantage. In general, the number I look to as a baseline for Consistency cards is 15, but 20 is a much better place to aim. This includes only Supporters and Items that can search Pokemon or draw cards. Other types of search, examples being Scott or Castaway, can also contribute to a deck’s Consistency, depending on the strategy. For example, Castaway would be a Consistency Supporter if a deck’s Pokemon Tools were integral to its strategy. However, if this were not the case, I would consider it utility. Castaway is going to be a very slow card if your goal is to fill your bench with evolving Basic Pokemon as soon as possible. As a general rule, regardless of the degree to which other Advantages are present in a deck, everything else is irrelevant in the absence of Consistency.
It is also possible to turn Consistency into an Advantage in itself, though not in the most intuitive way. From here on out, when discussing Consistency, I will be assuming that any given deck already has enough Consistency to function unless otherwise stated.
On a basic level, a Consistency Advantage means being able to attack meaningfully every turn with no gaps after being knocked out. Every turn lost when trying to set up a new attacker is a turn your opponent has to do whatever they want, and bringing the number of these turns as low as possible will often give you a serious leg up over other decks.
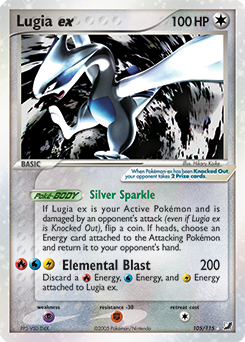
On a more advanced level, Consistency can be weaponized by including cards that allow you to repeatedly utilize your best Pokemon and Trainers every single turn. Pokemon recovery, high Energy counts, Trainer recursion like Item Finder, and a plethora of draw and search cards all contribute to creating this Advantage. Attacking with something as powerful as Lugia ex in back to back turns after it gets knocked out can often win you the game on the spot. Similarly, always using your best Stage-2’s is going to be much more likely to earn a win than attacking with the weaker ones. Most of the time, large portions of your deck will go toward creating Consistency in this way, and balancing Consistency with Power, Speed, and Control is key to making the most successful deck possible. A deck that sets up every time and doesn’t do anything threatening is almost as likely to lose as a deck that cannot reliably set up.
Consistency is also the best way to further the effectiveness of other Advantages. If your deck already has plenty of Power, Speed, Control, or a combination of the three, then padding out Consistency will often be the best direction to continue your draft as you move forward. It is far too common an occurrence for players to continue to draft threats instead of Consistency when their draft pool is already full of threats.
Overall, Consistency is key to any deck, but there is certainly a point where it takes the place of powerful Pokemon or other options. Shoot for that 20 card range and then adjust as needed, and be sure to prioritize your first two recovery cards very highly. Once your strategy is in place and you’re happy with your other Advantages, Consistency is always going to be a safe place to turn to round out your deck count.
Speed
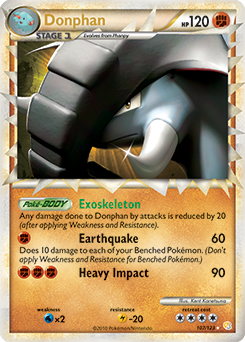
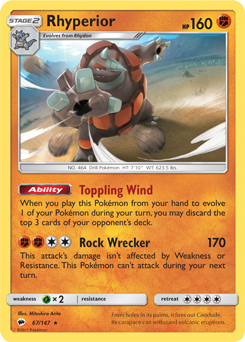
Speed is a deck’s ability to execute its gameplan faster than its opponent. This can mean taking six prizes in fewer turns, removing the opponent’s energy faster than they can attack, locking their abilities before they can make use of them, or anything else that will result in winning the game before your opponent has the same opportunity. Speed and Consistency are often related, but a deck can certainly be fast yet inconsistent or consistent yet slow. In general, speed is the most linear Advantage a deck can have in Cube, and it is often one of the most difficult to generate. Some decks will be inherently faster or slower based on their lines of choice. For example, Donphan Prime is an extremely fast card. It is a Stage-1 that deals a significant amount of damage for a single energy. The person playing Donphan Prime will often be able to attack with it on turn 2 and immediately begin pressuring the opponent. The result of this Speed is that the Donphan player will often be ahead one or more prizes before the opponent begins to respond to it, meaning the opponent has the same amount of ground to make up in less time. Conversely, Rhyperior from Burning Shadows is a very slow card. It is a Stage-2 that requires four Energy to attack, and while it has great damage output as a payoff, the player will still be behind by the time they begin attacking if they are playing against a deck like Donphan Prime.
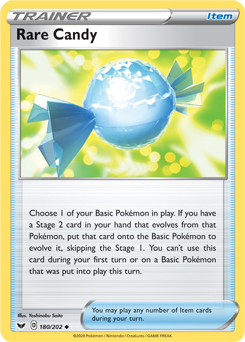
Speed is often gained from playing Basic or Stage-1 attackers with low Energy costs, but Stage-2 and Control decks can be fast as well if they include basics with an attack like Ascension, use Rare Candy and/or Broken Time-Space, cheap attackers, or high counts of disruption cards in the case of Control. A Team Flare Grunt played on turn 1 or 2 is going to be much more likely to prevent an attack than one played on turn three or four.
Interestingly, Speed is one of the weakest Advantages a deck can have when it is not paired with another Advantage, but it is one of the most powerful when it is. Returning to the Donphan Prime versus Rhyperior example, let’s say that the two cards are in decks paired against each other. The Donphan player will take an early lead, but on turn four or five, the Rhyperior player is going to come in with a One-Hit Knockout on the problematic Donphan. If the rest of the Donphan player’s deck is constructed of cards of similar (or often lesser, in the case of the Donphan line) power, they will be in a very bad situation, with Rhyperior taking One-Hit Knock Outs every other turn at worst or every single turn with switching cards. In addition, while the Donphan player chews through Rhyperior’s huge 170 HP, the Rhyperior player will be building up another, likely equally sized attacker on the bench. Even if the Donphan player is up 2-3 prizes before the Rhyperior player attacks, they will almost certainly lose this game.
Now imagine what happens if the Donphan player is setting up their own high-damage attacker on the bench. Or a situation where they use a card like Crushing Hammer or Lysandre to remove or knock out the opponent’s Energy. In the first case, the Donphan player is taking advantage of Power, and in the second case, the Donphan player is taking advantage of Control. In both cases, the Donphan player will cement an early lead and likely have no trouble closing out the game after their opponent attacks with Rhyperior. Even if their opponent is able to match or even beat them on Power, the Speed Advantage they have gained will allow them to take their final few prizes even as their opponent begins to make a comeback.
Overall, Speed is something I prioritize wildly differently based on my draft, a stark contrast to something like Power or Consistency. Speed is one of the easiest weaknesses to cover with other Advantages and one of the hardest to create through techs or micro-level strategy, but it can be devastating when paired with Power or Control.
Power
Power is very simply dealing more damage than your opponent. Power is both the simplest and the strongest Advantage a deck can have. When Cubes are out of balance or have lines that are “broken,” those lines have a major Power Advantage, and often not much else. A Power Advantage can very easily lead to victories on its own, even in the absence of core aspects like Consistency (provided the Power disparity is wide enough and there is some luck involved).
Power can be of varying levels of difficulty to generate depending on the Cube and archetype in use. Some Cubes exclude cards with a high damage output out of hand, making a Power Advantage much more difficult to achieve. Others include a great deal of Power-creating cards in every single line, meaning more or less every deck in the Cube will have the Advantage, thereby weakening it. In a similar vein, some lines will have a hard time developing more Power. An example of this would be a Cube including Lugia ex. Decks that can accelerate Lightning, Water, or Fire Energy will have a much easier time attacking with Lugia ex than decks that do not. That means that a Grass-type line in that Cube, for example, will have less of an ability to generate power, provided there is not some other Lugia ex-like card that Grass can use. This example does not necessarily mean the Cube is out of balance, it just means the Grass line will have to get its Advantages from other sources.
Power in practice can often feel unfair. When an opponent can deal 100 damage with an attack and you’re limited to 70, that matchup can feel unwinnable. This is an example of why Cube balance is critically important, but it also shows why you need to generate other Advantages to have a shot at winning against a Power Advantage. For example, you may be able to boost your Pokemon’s HP or heal them to the point where the deck with greater Power is unable to take knockouts easily, thereby leveling or even flipping the Advantage. You may be able to slow the Power deck down through removing their energy, shutting down their acceleration, or knocking holes in their deck’s engine. You may also be able to outlast them, forcing them to commit resources repeatedly to knock out Pokemon that you can easily reproduce.
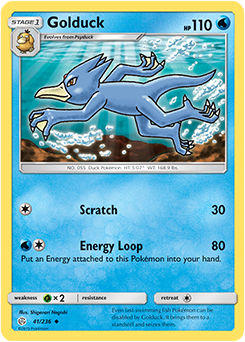
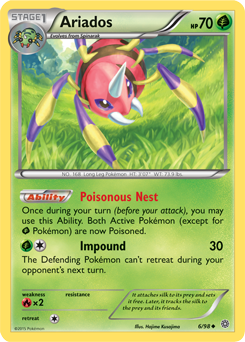
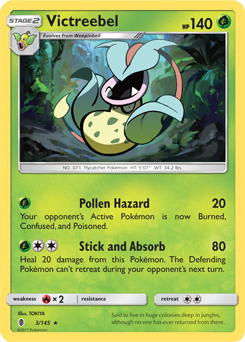
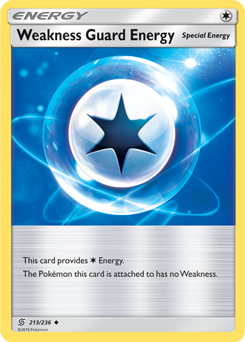
One last source of power is Weakness. Weakness is often the easiest way to bring a source of Power into any deck, and some decks can be built entirely around hitting for Weakness. Common examples of decks like these are Big Basics, Stage-1 Toolbox, and Eeveelution decks. However, nearly any deck can incorporate hitting for Weakness into their strategy. An approach that I use regularly is to run a tech attacker or line to hit into the Weakness of the type that my main line is weak to. In the June Cube league, this meant playing a 1-1 line of Golduck from Cosmic Eclipse in my Ariados from Ancient Origins / Victreebel from Guardians Rising deck. Golduck required only one Water and one Colorless Energy to attack, meaning it would be easy to power up and not too demanding on space or changes to my Energy line. I strongly encourage any single-type deck to cover their weakness somehow, whether it be through diversifying the weaknesses of attackers or including cards like Weakness Policy or Weakness Guard Energy. In doing so, you limit the potential of Power derived from Weakness used against you.
There are plenty of ways to combat Power, but it is highly important to know exactly what those ways are for your deck. If you are midway through your draft and are still unsure as to how you will beat a deck that hits harder than you, you should look to either boost your own damage or find ways to limit theirs, whether that be through reduction or disruption. On the flip side, if you see ways for your deck to bring up its Power that aren’t completely out of line with its main strategy, they can be some of the best avenues to increase your odds of winning any given match.
Control
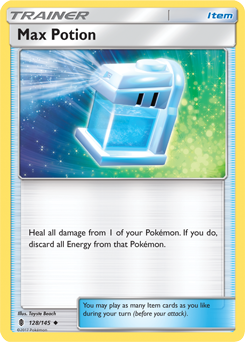
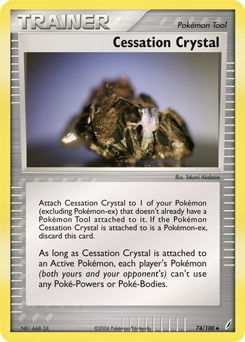
Control, in the broadest definition, is your ability to prevent your opponent from using their Advantages. Control can work on a micro or macro scale and anywhere in between, and many of the strongest Cube decks include Control elements to cement a leading position or facilitate a comeback. Common splashable control cards are Max Potion, Crushing Hammer, Lysandre, and Cessation Crystal. Each of these cards limit the opponent’s Advantages in some way. Max Potion reduces your opponent’s Speed, buying the user turns by forcing the opponent to deal more damage for the same prize. Crushing Hammer can hit any of the three Advantages, making it more difficult to attack with a Power card, requiring extra turns of attachments to attack with something Speedy, and possibly putting your opponent in a situation where they do not have enough Energy in hand to attack, thereby hitting their Consistency. Lysandre can hit all three as well, either by knocking out a Consistency or Power Pokemon or pulling something heavy to stall active and weaken Speed. While Cessation Crystal does not typically influence Power, it can be absolutely devastating to the Speed and Consistency of many decks.
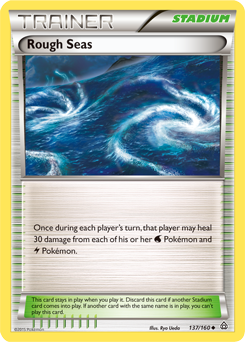
Control cards are not always obvious. While almost everyone would immediately recognize Team Flare Grunt as a Control card, Rough Seas is a less obvious yet possibly more powerful one. The ability to set your opponent back 30 or more damage every turn or bounce their detrimental Stadium with a beneficial one can swing games from heavily out of to heavily into your favor.
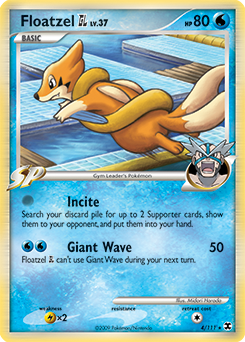
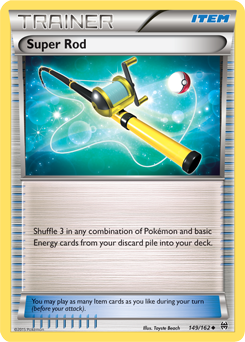
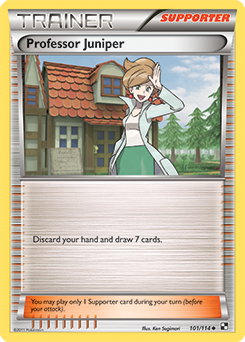
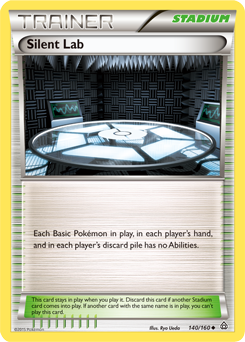
Control does not experience diminishing returns like other Advantages might. In fact, Control cards often become more powerful when used with other Control cards. Plumeria is fine on its own, but it can become debilitating when paired with Floatzel GL, Team Flare Grunt, and Cessation Crystal. On the flip side, there are only so many attackers your deck needs before they become redundant, or so many discard and draw three Supporters you need before you start drawing them instead of cards that you need. This does not mean you should pack as many Control cards as possible into your deck, however. Control cards often have the highest opportunity cost out of any type of card. You are very unlikely to encounter a matchup where a 200 damage attacker, a Super Rod, or a Professor Juniper is a bad card. However, Energy Removal type cards can be nearly useless against decks with acceleration, and Silent Lab is a dead card against a deck with no Abilities on Basic Pokemon. The best Control cards for a non-Control deck are the ones that are going to work against almost everything. These are cards like Max Potion, favorable Stadiums, and Cessation Crystal. The best Control cards for your deck will often vary, so it is important to consider your deck’s strengths and weaknesses before drafting or including a Control card.
Control can also be a way to fill in holes in your deck’s Speed and Power. A lack of Speed can be answered by slowing your opponent down as well. Power attackers are much less useful if they can’t keep enough Energy to attack reliably or get knocked out before they get the chance. Consistency is going to be key no matter what, but limiting your opponent’s resources can be a reasonable response to drafting few strong Supporters in a worst-case scenario.
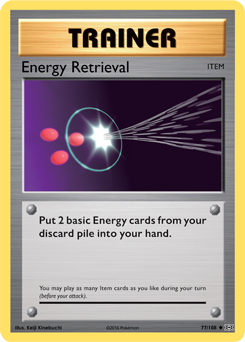
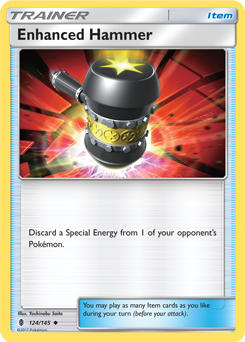
While Control can be very powerful, it is the least necessary Advantage for any given deck. If you have a fast, powerful deck, you may be better off throwing in more Consistency cards than cards that will slow your opponent down. For example, a Rain Dance deck with high-damage attackers is going to benefit much more from an Energy Retrieval, a draw Supporter, or even another Energy than it will from an Enhanced Hammer. Control can be great to have and be backbreaking when used most effectively, but many many successful Cube decks have been built with a complete absence of Control cards. The most important thing to do is to keep in mind what your deck’s gameplan is and take the Control cards that best fit that, whether that be 10 or more or none at all.
Drafting
Now that the concepts behind successful Cube decks have been laid out, let’s break more into actually drafting cards. You have the macro-level knowledge, but a Cube deck is ultimately made up of many micro-level decisions. Here, you can find guidance on what to prioritize, what not to prioritize, and what you can be thinking about when considering each individual pick.
Power Cards
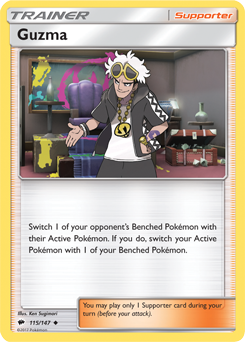
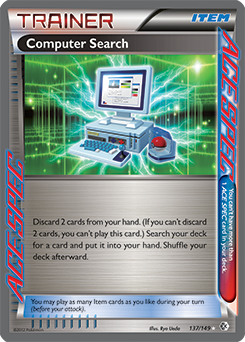
In this case, Power Cards do not refer to cards that generate Power Advantage, but cards that are extremely strong in any deck. These are cards like Guzma, Computer Search, Professor Oak, and Item Finder. Power Cards are generally going to be the best pick in any given pack, provided they are not competing with critical pieces of your strategy. It would be very difficult to make a complete list of all power cards, but here is a good starting point:
Pokemon
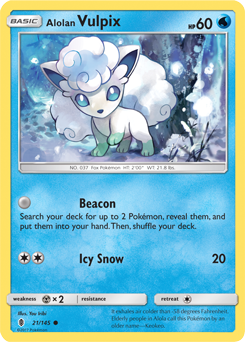
- Alolan Vulpix
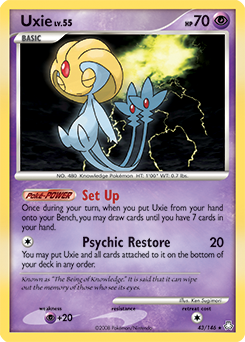
- Uxie from Legends Awakened
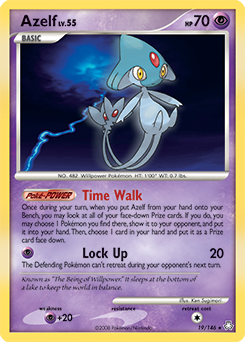
- Azelf from Legends Awakened
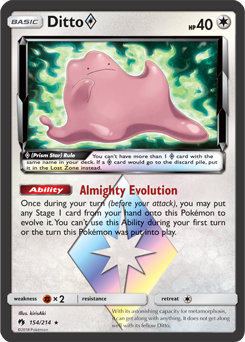
- Ditto Prism Star
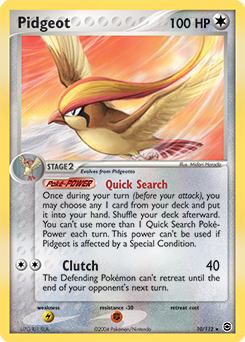
- Pidgeot from EX FireRed and LeafGreen
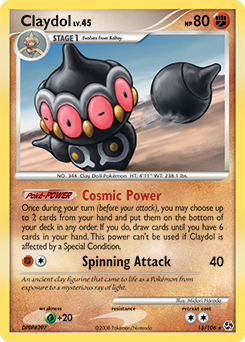
- Claydol from Great Encounters
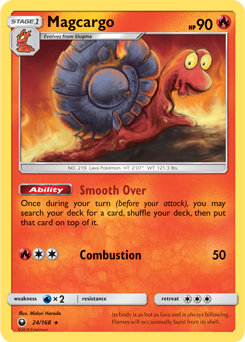
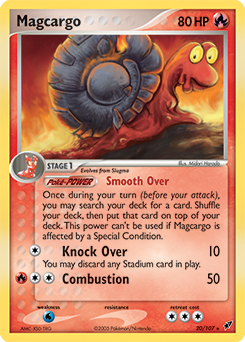
- Magcargo from Celestial Storm or Magcargo from EX Deoxys
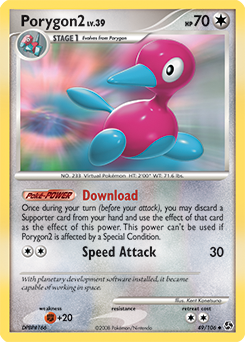
- Porygon2 from EX Delta Species
- Porygon2 from Great Encounters
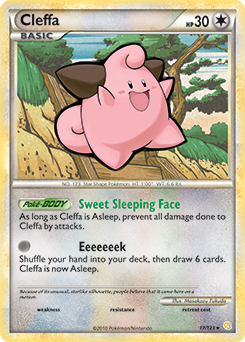
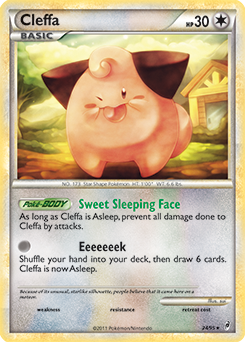
- Cleffa (Neo Genesis)
- Cleffa from HeartGold and SoulSilver or Cleffa from Call of Legends
- Chatot from Majestic Dawn
- Shaymin-EX
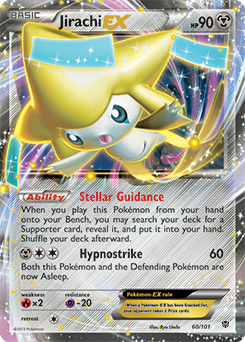
- Jirachi-EX
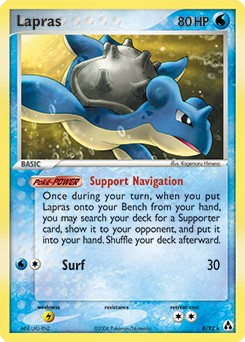
- Lapras from EX Legend Maker
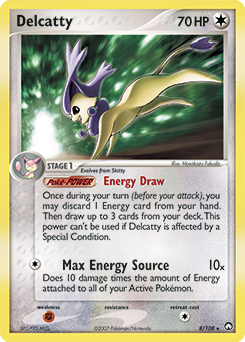
- Delcatty from EX Ruby and Sapphire or Delcatty from EX Power Keepers
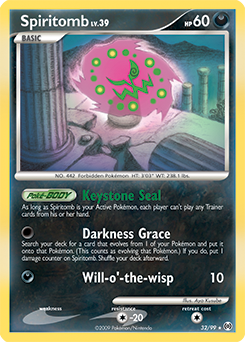
- Spiritomb from Arceus
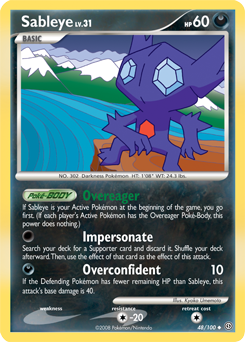
- Sableye from Stormfront
- Ditto (Fossil)
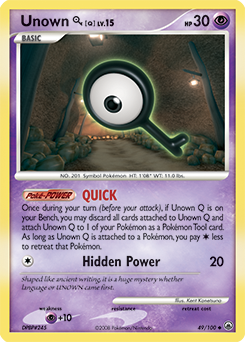
- Unown Q from Majestic Dawn
Trainers
- Lysandre
- Gust of Wind
- Guzma
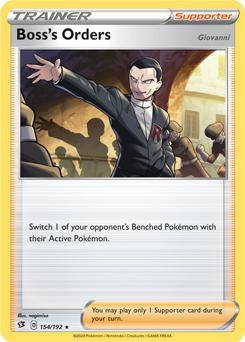
- Boss's Orders
- Computer Search
- Item Finder (Base Set)
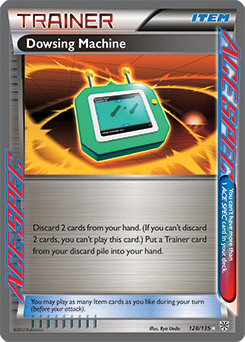
- Dowsing Machine
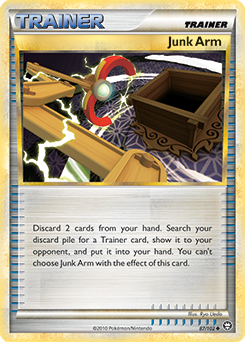
- Junk Arm
- Professor Oak (Base Set)
- Professor Juniper
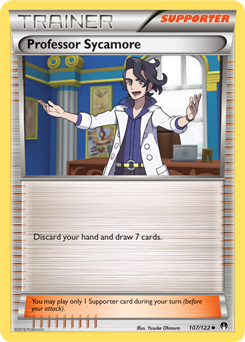
- Professor Sycamore
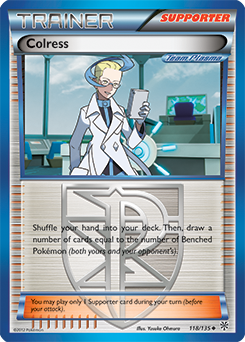
- Colress
- Cessation Crystal
- VS Seeker
- Bill (Base Set)
- Steven's Advice
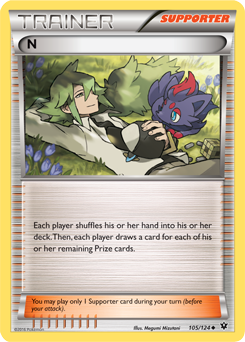
- N
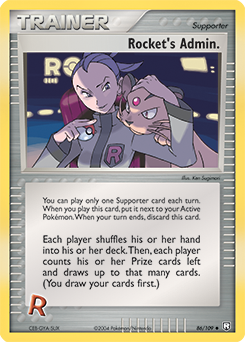
- Rocket's Admin.
- Energy Removal (Base Set)
- Super Energy Removal (Base Set)
- Goop Gas Attack (Team Rocket)
- Rock Guard
- Ultra Ball
- Level Ball
- Master Ball
- Scoop Up Net
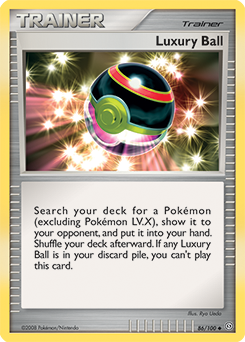
- Luxury Ball
Energy
These cards are going to end up in almost any deck you decide to play, and some of the best cards on the list (like Guzma and Professor Oak) are sometimes worth taking over very powerful Pokemon if you are undecided on your deck (though you should take the Pokemon if it is important for your strategy). Generally, if a card seems insane, it very well may be. Worst case, it ends up being weaker than expected and you’ve learned something for next time, but the best case is that you find a very powerful Cube card. These cards are going to be top tier picks no matter what deck you’re playing (with the exception of some of the Energy, though their use cases are very wide) and will be top priority picks in any pack you see.
Things You Need – Supporters and Recovery
Your deck needs Supporters. And it needs a lot of them. There is no faster way to run a promising Cube deck into the ground than by not drafting enough ways to get and keep that deck moving. As I said earlier, I aim for 15 draw and search Trainers as a minimum (Pokemon with Consistency attacks do not count unless you have high counts of search) with 20 or so as a happy place. Drawing dead will lose you more games of Cube than any other deficiency, and it is one of the easiest risks to minimize. If you find that your Cube decks are often not setting up, you are likely not prioritizing Supporters highly enough when drafting or leaving too many on the cutting room floor.
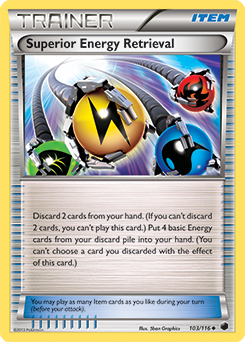
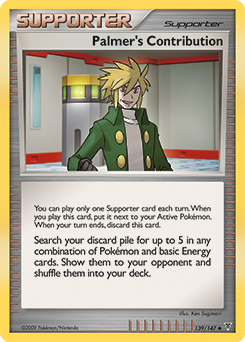
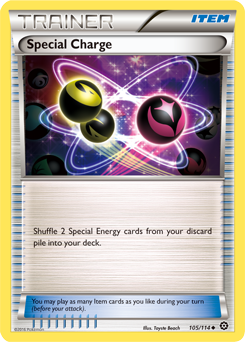
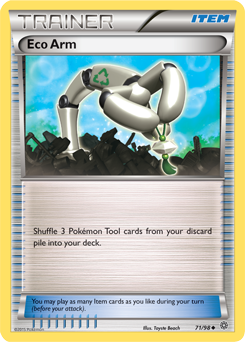
Your deck also needs recovery. These are cards like Rescue Stretcher, Super Rod, Superior Energy Retrieval, and Palmer's Contribution. Cards like Dowsing Machine, Junk Arm, Special Charge, and Eco Arm can also fall into this category if you have highly important Trainers, Special Energy, or Tools. Failing to draft recovery will mean that your deck runs great for the first half of a game but completely falls apart once your opponent has gotten through your attackers the first time. With recovery, there can be a second and even third time for your attackers that propels you to the end, but without, you’re going to have to produce six unique attackers that all have solid effectiveness against your opponent’s deck and the Energy to attack with them.
With your Supporters and recovery in hand, you can move onto other areas, like developing your lines and techs.
Your Main Strategy
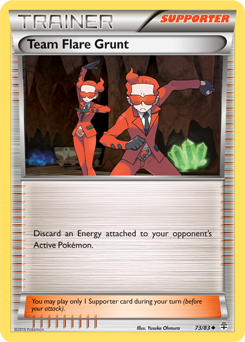
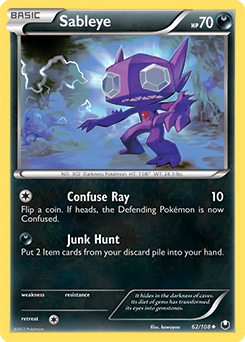
Strategies in Cube can differ greatly, but at the end of the draft your deck needs to come together to do something. That something is either going to be taking 6 prizes, which is the most common strategy, or decking your opponent out, which is a niche Control strategy. Generally, Control is going to be very difficult to draft if you’re newer to Cube and may be best saved for when you have a decent amount of experience. If you’d like to start drafting it, you should look out for Team Flare Grunt, Plumeria, Cessation Crystal, Lysandre, Floatzel GL, and Sableye from Dark Explorers to start out, with cards that make it more difficult for your opponent to attack, retreat, or set up being other priorities as well. For the most part, though, this article will address decks that aim to take prizes.
Within any given cube is going to be a wide breadth of strategies. Most cubes will also not have a “best” strategy, meaning that it is on the drafter to create a strategy that is stronger than the others at the table. Sometimes, that can be as simple as drafting a Stage-2 line with as many Consistency cards as possible. In other cases, however, especially in the most balanced cubes, you will need to mix and match lines from multiple types and strategies to give yourself the best odds of a win. While there are no hard and fast rules for what makes a successful strategy other than one that generates the most Advantages, there are several general frameworks you can use to build your deck.
The Linear Strategy
The Linear Strategy is one in which your deck consists of a single line or a single type and no other attacking options. It does little to nothing to cover its weaknesses and often has autolosses as a result. This kind of strategy can be the best in a poorly balanced cube if there are a small number of lines that are far and away better than others. Generally, though, you want to aim for a Focused Strategy even in those extreme cases.
Linear decks can often win games off of raw Consistency alone, and they may even be able to win full cubes if they dodge their bad matchups or play against opponents with inconsistent or otherwise poor decks. Typically, drafting a Linear deck is better than drafting a Mess, and a Linear deck is the framework most capable of getting by on weak Consistency as well. That said, you should always be looking for ways to level your Linear deck up into a Focused deck with more options for dealing with bad matchups or generating Advantages.
The Focused Strategy
The Focused Strategy usually has a thick line of a primary attacker coupled with options for defeating other powerful or problematic strategies. This can mean incorporating some Control cards, a secondary or tech attacker line that covers your Weakness, or even just slotting in a Weakness Guard Energy or Weakness Policy with a way to retrieve them. A Focused deck is a Linear deck that understands and respects what opponents may try to do, and then it finds ways to make its strategy stronger against them.
Generally, a Focused Strategy is where I aim to be until I get a card or cards that open up other routes. Drafting a thick line lends itself to being a consistent deck, which is something you always want to have, and shoring up that line’s weaknesses with other Pokemon or Trainers can make your worst matchup at the table a 40-60 or better. You’re rarely going to have runaway victories or build something that feels unfair with your Focused deck, but this strategy, on average, yields the most victories. It’s not always exciting, but it is almost always good. To date, Focused decks have won the Cube League four out of the last seven months, with the other three victories taken by Toolbox Strategies. It is the most proportionally successful framework by far, and this is hardly a coincidence. A Focused Strategy is approachable for all levels of Drafter and typically only ends with a negative record when facing very difficult opponents.
The Varied Strategy
The Varied Strategy is a fairly broad framework encompassing decks with two or three main lines. Often, these lines support each other, but in other cases the synergy is less obvious or absent entirely. This strategy varies wildly in power, and newer players are much more likely to end up with an incohesive Varied deck.
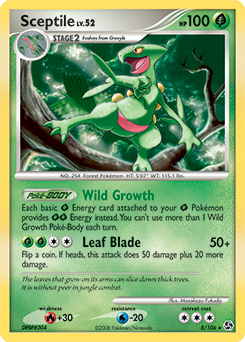
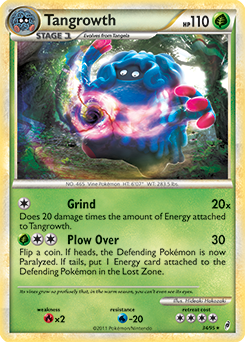
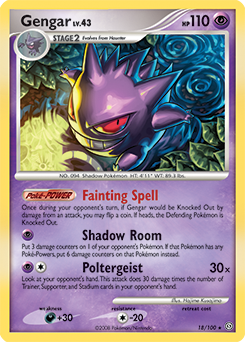
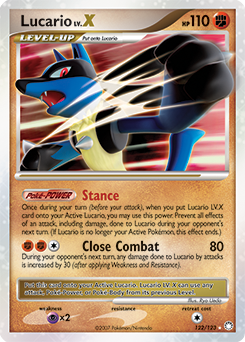
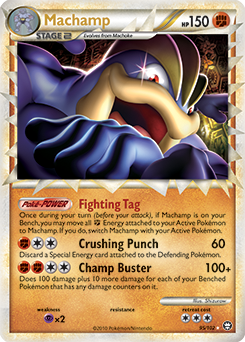
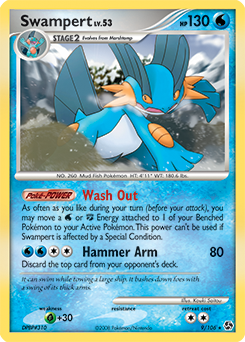
The powerful Varied deck has lines that either supplement each other through direct synergy or cover each other’s weaknesses. An example of the former would be Sceptile / Tangrowth; many Sceptile accelerate Energy while Tangrowth can take advantage of it with Grind and high-cost attacks. An example of the second strategy would be something like Gengar / Lucario LV.X. Here, Lucario is covering for Gengar’s Darkness Weakness, but it does not have an inherent synergy. In addition, these lines can cover other holes in a deck’s strategy. I once won a cube using a Machamp Prime line in a Swampert deck that was focused on moving Energy around and healing to have a high-damage option against immediate threats. In the above Gengar / Lucario example, Lucario can offer significant Speed Advantages that Gengar generally lacks. Reasons for going for a Varied Strategy can differ, but it is important to have a clear reason for it. A very common pitfall of new drafters is to have two Stage-2 lines with no real synergy or covered weaknesses, making their deck slower, less consistent, and weaker than it would have been with just a single Stage-2 (or a Stage-2 and a Stage-1). I generally advocate for a Stage-2 and a Stage-1 line when going for this strategy, but that composition is by no means necessary. It is very possible to have two Stage-1 or two Stage-2 lines that make up a strong Varied Strategy depending on the deck and Cube.
The Toolbox Strategy
The Toolbox Strategy is a strategy with many lines often tied together by a central enabler. The Toolbox toes the line between cohesive deck and The Mess and can often produce stellar results. However, there are many opportunities to end up with a Mess when attempting to draft and build a Toolbox.
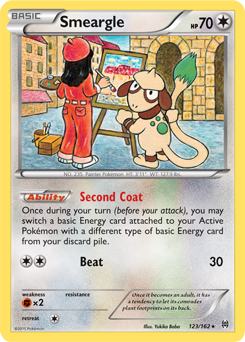
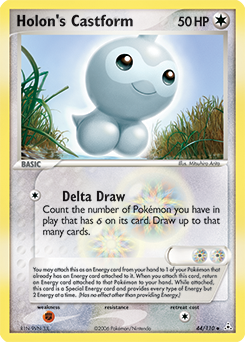
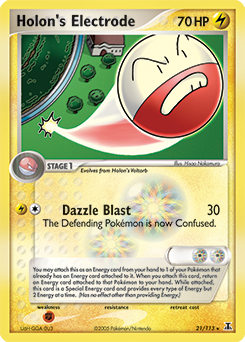
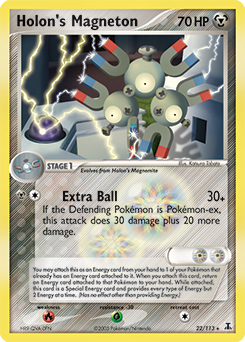
The Toolbox leverages weakness and a variety of a Cube’s most powerful attackers to generate significant Power Advantage in nearly any situation. Two things separate a Toolbox from a Mess. The first is that a successful Toolbox knows when enough is enough, and there is a limit to the number of attackers it includes. Typically, this limit is related to how the Toolbox deck aims to take its six Prizes. Once the deck is well-equipped for any given matchup, or any given threatening matchup, the drafter or deckbuilder stops drafting or adding attackers. This can take a significant amount of thought as it asks the drafter to begin thinking about how their games will play out before the draft has finished, often in more detail than is required for other strategies. Typically, a Toolbox deck only needs one attacker that hits a given matchup for Weakness; the Speed and Power Advantage gained from this is enough to finish the game through the use of their other, less situationally effective attackers. The second layer of separation between a Toolbox and a Mess is the glue. The glue is the Trainer line and, most importantly, the Energy fixing. I reiterate, having the right Energy is the most important part of a successful Toolbox deck. I have seen time and again Toolbox decks with plenty of Supporters and Items that miss attacks and lose because they are unable to find the right Energy. Generally, I recommend that a Toolbox deck have a card or line specifically dedicated to fixing its Energy, something like Bronzong from Stormfront, Smeargle from BREAKthrough, or Porygon2 (Neo Revelation). This is not required, however, if the Toolbox player has enough multicolored Special Energy. Notably, Holon's Castform, Holon's Electrode, and Holon's Magneton are the most powerful of these effects in a Toolbox strategy as they allow the user to return another useful energy and, most importantly, are searchable. A Toolbox deck can get by on three or four Holon Pokemon and no other Special Energy provided they have enough Pokemon search. Regardless of how you try to do it, you need a reliable way to get the right Energy on your Pokemon in a Toolbox deck. Without it, you’re going to have a Mess, though it may still work some of the time if you get lucky.
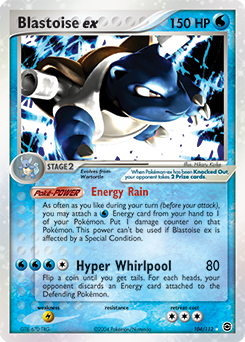
Another possible asset for a Toolbox deck is an enabler at the core of the deck. This can be something like Bronzong on the Energy fixing side, but it can also be a powerful Energy Accelerator. LBS was a famous Tier 1 Toolbox deck that made use of Blastoise ex, basic Water Energy, and multiple copies of Holon Pokemon to power up an array of extremely powerful attackers in a single turn. LBS-style strategies can absolutely be emulated in cube to great effect. Being able to accelerate even one Energy per turn can make a huge difference in terms of Speed and Consistency (specifically being able to attack every turn) and, when combined with a fixer, can be the backbone for some of the most powerful Toolbox decks a drafter can make regardless of the Cube.
If your goal is to build a Toolbox deck, the best way to succeed is to focus on your gameplan and glue. Have a handle on exactly how many attackers you’re taking, how many attackers you’re really going to need, and how you’re going to make sure you actually attack with those attackers every turn. Don’t let your draft get away from you by drafting too many options and not enough glue. Worst case, you’ll be able to pivot your Toolbox deck into something with a narrower focus and a still solid Trainer-base if you take lots of glue, but you’re bound to end up with a mess if you have a deck full of a bunch of lines and not enough to hold it together. There are exceptions to this, the most common example being taking a huge Power attacker (like Lugia ex) over a strong Supporter, but knowing when to rein yourself in and when to expand into more attacking options is the most important part of drafting a Toolbox deck.
The Mess
The Mess can take many different forms, but there is one commonality between them: the Mess doesn’t work. It could be because it’s lacking Consistency, it could be because it’s using multiple lines that don’t benefit each other, or it could be because it’s missing critical pieces of its would-be strategy. Instead of going over the weaknesses of The Mess (there are many), I’ll instead go over how you can avoid your decks falling into the framework.
Not Enough Consistency
Most commonly, the reason for The Mess is this one–a drafter or deckbuilder did not draft or include enough Consistency cards. This cause is the simplest to avoid as the solution is simply to draft more Consistency cards. In a deeper sense, if you find that you end up here often, you are likely not prioritizing Trainers highly enough in the draft. Make a conscious decision to regularly check the number and quality of Draw and Search cards you have in your draft pool, and adjust accordingly. If you are running low (fewer than three per pack can be a good benchmark for newer players), you need to begin taking them more aggressively instead of cards that do not Draw or Search. Alternatively, if you find that you have a very high number (four or more per pack), you can relax slightly and take more potentially powerful Utility or Pokemon cards for your strategy. That said, you should not pass critically important cards for your strategy that are not Consistency-based if you’re running low, but you may need to re-evaluate how necessary you feel some Pokemon are if you are frequently ending up with too little Consistency in your decks. This is one of the more difficult skills to develop in cube and one of the last ones that I got a firm handle on, so it can definitely take some practice. Always question why you lost a game, and chalk it up to luck as little as possible, even in games where you got unlucky.
Using Multiple Lines with Little to no Cohesion
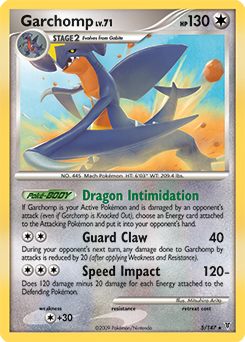
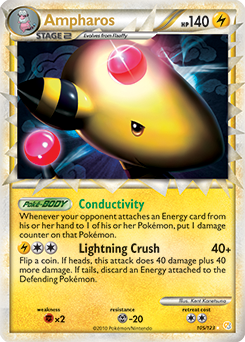
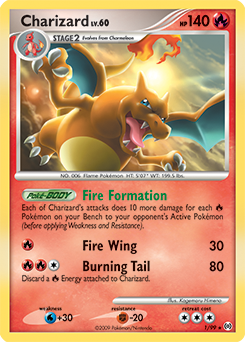
This issue is a bit more difficult to assess because oftentimes lines with no synergy can cover each others’ weaknesses in less obvious ways. The best way to avoid this is by thinking very specifically about what each line offers your deck, how it covers the weaknesses or furthers the strengths of other lines in the deck, and how feasible it is to get it working. For example, Blaine’s Arcanine (Gym Challenge) is not going to be a great card for a non-Fire based Toolbox deck because its second attack cost is extremely demanding. Playing a Garchomp and Ampharos line in the same deck does not further either line or cover either line’s Weaknesses at all. Including an Arcanine ex line in your Charizard deck is very often not going to bring anything more than a single turn of speed, but it is going to flood your deck with even more cards that share the same Weakness. Including multiple Pokemon lines with no synergy or covered Weaknesses will not always result in a Mess, but it will always result in a suboptimal deck.
Missing Critical Pieces
This is the most likely reason a skilled Cube player may end up with a Mess, and it is often the hardest to avoid. Sometimes, you have an extremely promising deck that just ends up missing a few key pieces by the end of the draft. The skills to dodge this situation reliably are some of the most difficult to develop, but there are ways to make this an extreme rarity in your drafts.
Don’t Commit too Early
This is the most common reason I see decks ending up lacking. Players get a strong Stage-2 in Pack 1 and decide that that card is going to end up in their deck right then and there. They then proceed to ignore the cards they see that don’t fit that strategy and signs that someone else may be drafting their line, and they end up with a Mess. The best way to avoid this situation is to understand that taking an archetype-defining card in Pack 1 does not mean you should lock in on that archetype. Sometimes, other archetypes will come your way that offer less competition, and it’s important to stay vigilant to these until you have enough of your archetype that you can safely lock in.
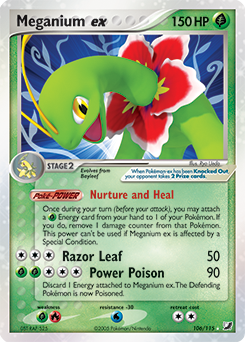
Two strong and differing examples of this are Zak Krekeler’s draft from the July League and my draft from the June League. In Zak’s July draft, he saw a pack with two Meganium ex. Knowing that Meganium was a very strong archetype in the cube, it would’ve been very easy for Zak to take one and lock in. However, he instead took one and watched for the other to come back, drafting more generally in the meantime. If the other did not come back, he would have pivoted off the line completely and had plenty of good cards to go in other directions, avoiding competing for a line that he would have a coin flip’s odds of getting more pieces for. In this case, the second Meganium ex came back, and he had a totally uncontested Meganium draft.
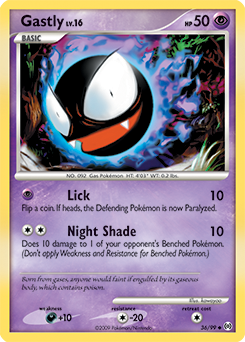
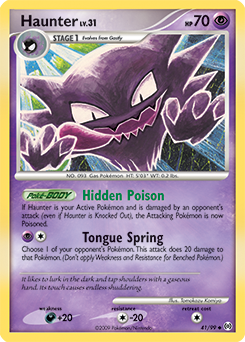
The flipside of this is my June League draft. Pack 1 Pick 1 I took Gengar, making early plans to draft a Gengar deck. I saw several Gastly and Haunter in the first round of packs that were far less desirable than other cards than they competed with. I passed them in favor of taking powerful Trainer cards, and that also gave me the opportunity to gauge if anyone else at the table had opened one or multiple Gengar and was competing for it. Lo and behold, the Basic Pokemon and Stage-1 Pokemon did not come back, so I fully switched off of Gengar. After finishing the draft, I discovered that three separate players at the table had drafted the line, meaning my attempt at a Gengar deck would have been disastrous. This example also relates to the “Watch for signals” point later on, and each of these points are related to at least some degree.
Don’t Commit too Late
Committing too late is a slightly less common pitfall. The solution to this is to be on the lookout for archetype-defining cards and to not be too skittish about drafting them, even if you don’t necessarily have the cards to make them work already drafted. This usually means taking a powerful accelerator or attacker and trying to figure out the best way to use it from there. Generally, if you do not have a strategy coming together by the second half of the draft, you need to be extremely vigilant for anything that might allow you to put together a serviceable deck. You may not always see the cards you want to see in a draft, and, in these cases, serviceable is always going to be better than bad.
Watch for Signals
In my experience, watching for signals is the most difficult aspect of drafting to master. For those unfamiliar with the terminology, signals are any sign of what the other players at the table are doing. This comes in the form of what is and isn’t in each of your packs. For example, if you see an Infernape Pick 6 of Pack 2 or 3, you can be reasonably assured that no one else at the table is drafting Infernape. This expands to other archetypes, as well. Powerful control cards going around can mean no one is playing control, and even something as benign as a high number of basics and Stage-1’s of a certain line going around to the last few picks can mean that no one has seen a Stage-2 of that line yet. Conversely, the absence of cards can be quite telling as well. If it’s pack 4 and you haven’t seen a Gengar, unless you have every single Gastly and Haunter that have gone around, someone else is probably on Gengar.
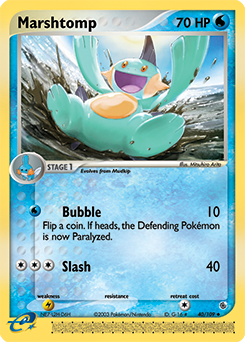
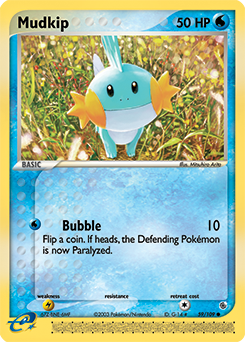
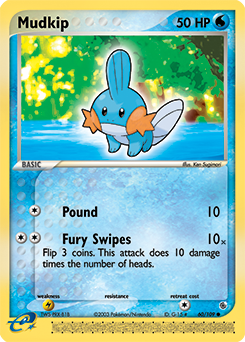
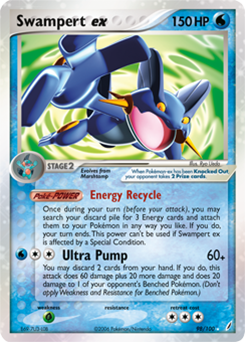
The Gengar example from “Don’t commit too early” is also an example of watching for signals; Haunter and Gengar vanishing from multiple packs showed that Gengar was far from open. Another example is my July League draft. My strategy was slow to form, and I had taken a significant number of Trainers and several generally useful or high power Pokemon up until that point, but nothing defining. I noticed in Pack 2 that four Marshtomp had gone around the table between the first two packs, in addition to a few Mudkip, and they were going to very late picks. This signaled to me that Swampert had not yet been opened, so I began picking up a few Mudkip and Marshtomp in weaker packs in preparation for the multiple Swampert that were likely to come. I got my first Swampert ex at the beginning of Pack 4, and by the end of the draft I had all four of them because no one else could feasibly make the line work at that point. This resulted in a powerful deck that I never would have been able to produce had I not been paying attention to the signals coming from other players.
Send Signals of Your Own
This is much easier to do than observe signals from other players, and it can also have a very powerful effect. I often call this “staking a claim,” taking cards that may not be amazing or super high priority in order to minimize the likelihood of other players at the table drafting your line. This can often mean taking weaker line toppers, even when against stronger cards, to increase the chance of opening your line up for the remainder of the draft. If you have a disadvantage against a particular archetype, taking a couple of the key cards of that line can not only weaken the deck should it be played, but it reduces the odds your opponents will play the deck at all. Conversely, you can leave lines open that you have a strong matchup against, such as lines that are weak to you, to increase the likelihood of a player drafting that line. Signals can be a powerful tool to use and learn from, and mastering them can make your average draft much more successful.
Covering Weaknesses
After you’ve established your main strategy, your next goal is to figure out what kinds of decks can beat it and how you plan to address those decks. A good way to think of bad matchups in Cube is that, against a bad matchup, the total sum of your opponent’s Advantages outweigh the sum of yours. Here, I’ll refer to this as an Advantage Deficit. Following are some ways you can deal with poor matchups depending on where your Deficits lie.
Consistency Deficit
There isn’t a whole lot to say on making up for Consistency Deficits; any deck needs Consistency desperately and decks without it will struggle. The best thing you can do to get around a Consistency Deficit is to try to win the game as fast as possible. Poor Consistency means your deck will fizzle out often, and you need to get ahead of it as well as you possibly can. This is not the case when you have a significant number of Control tools, however, where the opposite can often be the case. If your opponent cannot rush you, you do not have to rush either. Control is the best way to make up for a lack of Consistency in my experience, but Power and Speed will not get you very far if you can’t make good use of either of them.
Power Deficit
In general, the most common bad matchup you will encounter in Cube is decks that hit you for Weakness, giving them a serious Power Advantage. This can be addressed by diversifying Weaknesses in your line toppers, by incorporating other lines into your strategy that hit the predicted poor matchup for Weakness or Resist it, bringing tools into your deck that beat its strategy in some other way, or including Weakness eliminating cards. Weakness is not the only source of Power deficit, however. Sometimes, your opponent’s attacks are just going to deal more damage than yours. In cases like these, you’ll need to leverage your other Advantages to make up for the disparity in Power.
Consistency can make a significant difference in these kinds of matchups. For starters, if your opponent’s deck has poor Consistency, then you have a solid chance of winning from that alone. However, this is not something you can plan for in the draft. Where Consistency can be used to leverage an Advantage over Power is in your ability to continuously attack. If your opponent’s attackers require more resources or setup than yours, you can repeatedly attack your opponent’s Energy, eventually mounting a comeback when they run out of steam. If this is not a viable option, either due to an opponent’s use of Energy Acceleration or otherwise high Consistency, you will need to make up the Deficit elsewhere.
Speed can allow you to close the game before the deck with greater Power is able to fully accomplish their gameplan. This is only sometimes reliable, however. If your bad matchup is a slow Stage-2 deck that needs a lot to get going, Speed can be very effective, but if they only need a single attacker to begin putting on a significant amount of pressure, it can be very difficult to leverage this Advantage to beat Power.
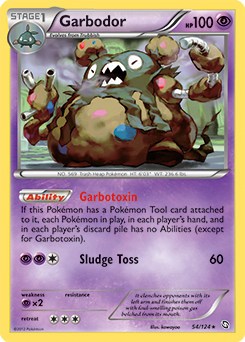
Lastly, and most effectively, is Control. Control as an Advantage is all about limiting the opponent’s ability to use their own Advantages, and it has a plethora of options here as a result. To weaken Power with Control, you need to identify your opponent’s largest vulnerabilities. Do they require the use of Abilities to accelerate Energy or draw cards? Cards like Garbodor or Cessation Crystal can allow you to slow them to a crawl. Do they have to rely on a single attachment every turn to power up more costly attacks? Energy Removal effects can allow you to attack into them while they struggle to do the same to you. Sometimes, full Control can be a pivot strategy for your deck against poor matchups. In April’s Cube League, I played a Control package in a Dark deck including Cyrus's Initiative, Cessation Crystal, Item Finder (Base Set), Plumeria, Team Flare Grunt, and Floatzel GL. Whenever I played against a bad matchup, I played my deck more like a Control deck than the Prize-taking deck it was, limiting their speed while I set up attackers on the bench that could apply pressure once I had slowed them down enough. This is a rather extreme example of a Control package, but the idea can be applied to nearly any deck that has the space to incorporate Control cards. The bottom line is to think about where your opponent’s deck is the weakest and hit that spot as well as you can. If your opponent can’t attack, they can’t use their Power Advantage.
One last way to use Control cards to counteract Power Deficit is through damage reduction. Is your opponent banking on being able to KO your Pokemon in out hit? Playing damage reducers that bring them a few damage counters shy can force them into difficult situations where they don’t have the resources to keep up or finish out the game. This angle is certainly the narrowest, but it can be a strong option for Metal Pokemon in general and Cubes with multiple damage reducers.
Speed Deficit
Speed is a tricky Deficit to counteract, but the odds of your deck having a significant enough Deficit to lose to your opponent outright is low. However, in higher power Cubes, a Speed Deficit can be devastating as games consist of swinging for One-Hit Knockout’s back to back. In general, the best way to counteract a Speed Deficit is to pace up your own deck. Bring in more Item-based search, powerful Supporters, and lower cost attacks. It’s also important to recognize when your deck is asking for too much setup for the payoff. If your deck takes four turns to set up and only swings for 2HKOs, you’re not getting enough value out of the time you’re spending. Decluttering a deck can help you in many ways in Cube, and the Speed Advantage is one of the most notable.
Consistency can turn into Speed in many cases, but there are some less obvious ways a Consistency Advantage can make up for a Speed Deficit. Things like Pokemon recovery can make a tremendous difference against fast decks, allowing you to give up a couple of Pokemon early on while you develop threats on the Bench. Nothing is worse than a fast deck knocking out your important Pokemon with no way to get them back. In addition, Draw Supporters are generally going to be faster than Search, but they may not always be the best options for your deck. In this case, you’ll have to plan according to what you have and what you need for your specific draft.
Power can address a Speed Deficit by more or less ignoring it. If your opponent goes up a couple prizes only for you to start dealing way more damage than them, you will often be able to mount a comeback. The most important thing here is actually in-game play, provided you have the attackers you need to generate the Power Advantage. Your Energy attachments are critical as each turn of poorly placed Energy is another turn to take prizes uncontested for your opponent. Carefully consider where each Energy is going when trying to beat Speed with Power, and you should come out ahead, provided your opponent is not able to match your Power later on or disrupt you in other ways.
Control can be used to combat a Speed Deficit in much the same way it can combat a Power Deficit. Disruption is the name of the game here, with Energy removal and hand disruption effects being excellent options to slow the opponent down. Again, thinking about matchups where Speed Deficits come from may be helpful as it allows you to pick the most effective Control cards for the situation. That said, it is much more difficult to narrow down where a Speed Deficit may come from than a Power Deficit, so this can be difficult.
Control Deficit
A Control Deficit is much less of a thing than the other Deficits as it is not pushing your opponent to victory–it is pushing you farther away. The best thing you can do against a Control Deficit is to push your other Advantages, with a special emphasis on Consistency. Every turn you miss an attack is an opportunity for your opponent to get ahead and stay ahead, and Consistency is the Advantage best suited for reducing the odds of that happening. Draw, Search, and Recovery are going to do more for you against Control-heavy strategies than anything else.
Drafting to Ensure Good Matchups
Your main strategy is solid, your weaknesses are covered, and every single card in your deck is generating some kind of Advantage. You’ve developed and protected your strategy. Now, it’s time to make it as hard as possible for your opponents to do the same. There are two ways to go about this, and as you become more comfortable with them, your win-rate will increase drastically: hate drafting and letting strategies through that you can beat.
Hate Drafting
Hate drafting is the act of deliberately drafting important cards for strategies other than your own so the other players at the table don’t get them. It’s something that people love when they’re doing it and hate when it’s being done to them, but it’s an important and sometimes critical part of drafting. When there is a strategy that you know you can’t reliably beat with techs, the next step is to disrupt that deck before it’s even made. There was a Cube I played with friends many times, and, for a few months, the all-Grass Sceptile / Tangrowth was the strongest deck. The only problem was that there was no real way to deal with Fire. The board space was too tight for tech lines and a one-of Weakness Policy wasn’t going to cut it most of the time. My solution to this was, when drafting Grass, to aggressively hate draft important Fire cards, and, when not drafting Grass, to aggressively hate draft Grass. This succeeded until Grass was nerfed down to a more balanced level later on, and this kind of thinking can be applied to any Cube. If you’re drafting an all-Lightning deck and know you can’t beat Fighting, start taking Fighting line-toppers. If there’s any single card that I know I can’t beat and am reasonably sure is being played, I’ll take that card over almost any other card in the cube provided it won’t terribly cripple my deck. It doesn’t matter if I have that Professor Sycamore if Shaymin LV.X is going to make all my opponent’s Pokemon nearly invincible. This is a particularly extreme case, and it’s usually not correct to hate draft a card instead of taking something very powerful for yourself. Sometimes, though, that’s the only real way for you to have a shot at winning the cube, and you’ve got to go for it. However, and I cannot stress this enough, do not let hate drafting get away from you. It is easy to get too hate draft happy and end up with a Mess, especially when you’re hate drafting cards instead of taking Consistency. Be reasonable and smart with hate drafting, and realize when you still need cards for your own deck to work before you start taking cards from other decks. No matter how much you hate draft, you’re not going to win with a Mess.
Leaving Lines Open
The final topic to address is leaving lines open deliberately, the exact opposite of hate drafting. The reason for doing so is the same reasoning behind hate drafting, though–to give yourself the highest number of favorable matchups. The lines that you should be leaving open deliberately when drafting are lines that constitute a strategy you are very likely to beat. For example, leaving Grass open when drafting Fire. This means you may choose to pass a Stage-2 later in a pack, even when it’s the best card, to increase the odds of someone using it in their deck. As you understand Cube better and better, you’ll be able to pick out more strategies that you can beat outside of the ones you hit for Weakness (like single attachment strategies as Control or Ability-reliant decks as Ability Lock).
Conclusion
Cube is the most complex way to play the Pokemon TCG, but it is also one of the most fun. There’s a tremendous amount to learn, even for the most experienced players, and it’s an ever-evolving experience as a player continues to play more and more cubes. For those who have made it all the way to the end of this article (or those who took it in bits and pieces!), thank you very much for reading! Hopefully this has increased your interest in and understanding of Cube and bettered your game all around. For those interested in joining the Cube Discord or participating in the League, please leave a reply or message me directly! It’s a fantastic time, and an unparalleled way to improve your cube skills.
If you enjoyed this article or have any questions, feel free to reach out in the comments below or on Facebook; I’m always happy to have a conversation on Cube. Lastly, if you’d like to see more articles like this one or more Cube content in general, please say so in the comments! Thanks again for reading, and I look forward to discussing Cube with everyone!
–Conner