
BuzzGarbVile Part 2: The Matchups Explained
It is safe to say that Buzzwole / Garbodor / Weavile / Shrine of Punishment can beat almost anything. In the first part of this piece, I talked about the purpose of each card in this deck. Here, I’ll be delving into the deck’s matchups and completing everything you need to know about the deck and some matchups. Let’s begin!
Matchups
Day One
- R1 – Zoroark-GX / Golisopod-GX • 2-1 • Win
- R2 – Zoroark-GX / Lycanroc-GX • 2-0 • Win
- R3 – Zoroark-GX / Garbodor • 2-0 • Win
- R4 – Magnezone / Dusk Mane Necrozma-GX • 2-0 • Win
- R5 – Malamar / Shining Lugia / Shrine of Punishment • 2-0 • Win
- R6 – Buzzwole / Garbodor / Shrine of Punishment • 2-0 • Win
- R7 – Zoroark-GX / Banette-GX • 1-1 • Tie
- R8 – Vikavolt / Rayquaza-GX • 2-1 • Win
- R9 – Buzzwole / Garbodor / Shrine of Punishment • 2-1 • Win
Day Two
- R10 – Zoroark-GX / Banette-GX • 0-2 • Loss
- R11 – Malamar / Necrozma-GX • 2-0 • Win
- R12 – Zoroark-GX / Lycanroc-GX • 1-1 • Tie
- R13 – Zoroark-GX / Lycanroc-GX • 2-1 • Win
- R14 – Buzzwole / Garbodor / Shrine of Punishment • 2-1 • Win
- R15 – Concession • Loss
- T8 – Zoroark-GX / Lycanroc-GX • 2-0 • Win
- T4 – Zoroark-GX / Banette-GX • 2-1 • Win
- T2 – Malamar / Necrozma-GX • 2-1 • Win
Itemized Matchups
- Buzzwole / Garbodor / Shrine of Punishment 3-0-0
- Magnezone / Dusk Mane Necrozma-GX 1-0-0
- Malamar / Necrozma-GX 2-0-0
- Malamar / Shining Lugia / Shrine of Punishment 1-0-0
- Vikavolt / Rayquaza-GX 1-0-0
- Zoroark-GX / Banette-GX 1-1-1
- Zoroark-GX / Garbodor 1-0-0
- Zoroark-GX / Golisopod-GX 1-0-0
- Zoroark-GX / Lycanroc-GX 3-0-1
Overall 14-2-2 (one Concession for Loss)
Every relevant deck in the format was present and I beat each of the decks at least once, except myself when I conceded for better seeding in Top 8. The most impressive thing is the undefeated record against mirror matches. My record should be seen as an anecdotal testament to the deck’s strength; I want to solidify your opinion with in-depth matchup descriptions. Let’s begin with some general tips on playing the deck.
General Gameplay and Sequencing
Focus on the following steps during your first couple turns:
- Prioritize getting a Buzzwole Active and a Slugma on your Bench.
- You don’t want your support Pokemon to get damaged, a Buzzwole is a nice way to put on some pressure but also soak up damage with little drawback.
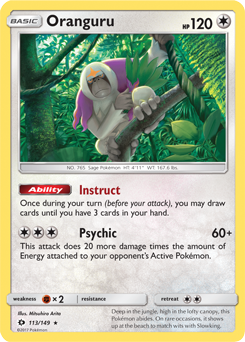
- The more Buzzwole the better, having Oranguru down is nice as well.
- It’s important to have a Buzzwole on your Bench going into the turn where your opponent is sitting on four Prizes, your “Sledgehammer turn”.
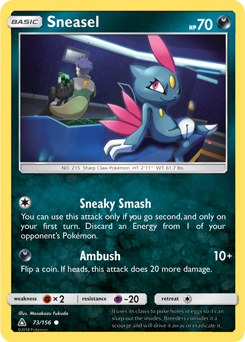
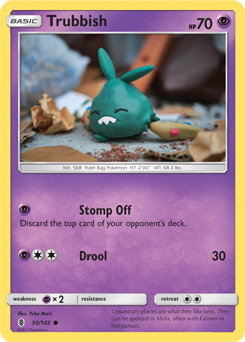
- Worry about techs (Sneasel and Trubbish) later, they’re less important starting off.
- Putting your one-of Sneasel down early is a poor choice, as holding it for a time where your opponent has to deal with a different threat at the same time is optimal.
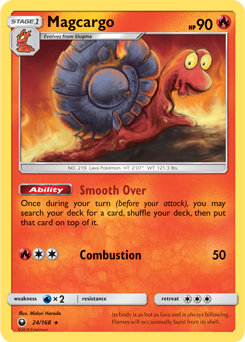
If you’re not heavily favored in the Prize trade, such as Pokemon-GX decks, things become a one-for-one trade where you’ll want to focus on having a backup attacker every time following a Knock Out, like having an extra Buzzwole, Trubbish, etc. Once you lock-in your setup of Magcargo, Oranguru, and a follow up Buzzwole, you’ll be good to go! Optimize your chances of pulling off a powerful Sledgehammer turn and let ‘er rip. Turn towards setting up your tech Pokemon and build a game plan for later; you have so many options to counter whatever way things turn towards.
This concludes the public portion of this article.
If you'd like to continue reading, consider purchasing a PokeBeach premium membership! If you're not completely satisfied with your membership, you can request a full refund within 30 days.
Each week we post high-quality content from some of the game's top players. Our article program isn't a corporate operation, advertising front, or for-profit business. We set our prices so that we can pay the game's top players to write the best content for our subscribers. Each article topic is carefully selected, goes through multiple drafts, and is touched up by our editors. We take great pride in our program!