
Believe in the One-Hit KO — Single Strike in Standard
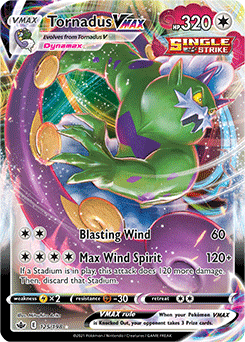
Hello everyone! In today’s article, I’m going to be going over Single Strike, as it is one of my favorite archetypes in the new post-rotation meta. I had dabbled with the Single Strike archetype somewhat during the Chilling Reign format — Tornadus VMAX was one of my go-to decks then — so I was quite happy when Evolving Skies made the archetype a lot stronger! Now, rather than being an off-meta choice, Single Strike has established itself as one of the top decks in Standard.
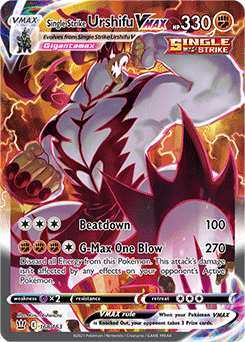
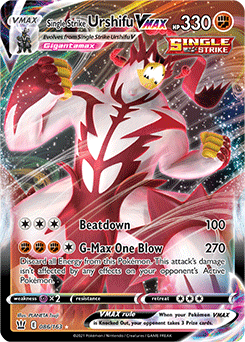
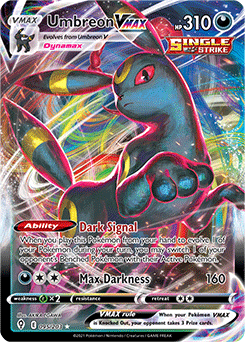
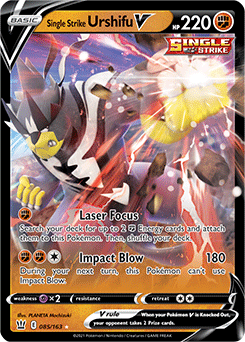
While there are a few different ways to play Single Strike, the deck I’ve found to be the best is also the one that’s seen the most tournament success: Single Strike Urshifu VMAX / Umbreon VMAX / Houndoom. Compared to the other Single Strike decks (Tornadus VMAX, Non-Pokemon V Single Strike Urshifu, and Umbreon VMAX sans Urshifu), this build has been the strongest, mostly thanks to the higher damage of G-Max One Blow. The addition of Umbreon VMAX to this deck has been a game changer — not only does it shore up Single Strike Urshifu VMAX’s Weakness to Psychic-type, but its Ability is one of the strongest in the game, especially for a direct-damage deck like Single Strike Urshifu VMAX.
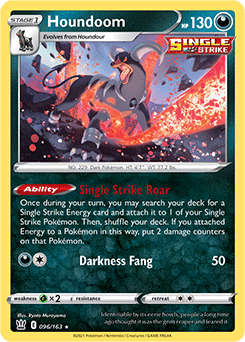
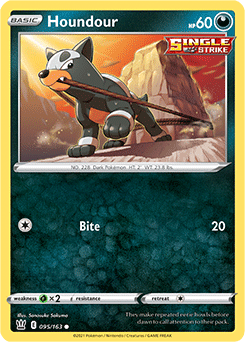
The main plan for Single Strike decks as you might expect, is to get OHKOs. To accomplish this, the archetype uses hard-hitting attackers along with positive damage modifiers, so that no Pokemon is out of OHKO range. In a format where Pokemon VMAX are prevalent, having the ability to deal 320+ damage is a tremendous advantage, and it is this advantage that gives Single Strike Urshifu VMAX its strength. Houndoom’s Single Strike Roar provides consistent Energy acceleration, so that the deck can hit fast and start getting Knock Outs as early as turn 2. Umbreon VMAX makes things even easier with its Dark Signal Ability, ensuring that you can KO the target of your choice. Combine those three Pokemon, and you have a fast, hard-hitting deck, with built in gust support and few weaknesses. If that sounds pretty good, that’s because it is! To start things off, here’s my list for Single Strike Urshifu VMAX:
Decklist and Explanation
My list here admittedly isn’t anything groundbreaking — most lists I’ve seen are within a few cards of this one — but I would consider it optimal in terms of its card counts. Aside from the one Tool Jammer, we don’t have any tech cards; the base strategy is strong enough that we can focus on consistency.
Pokemon
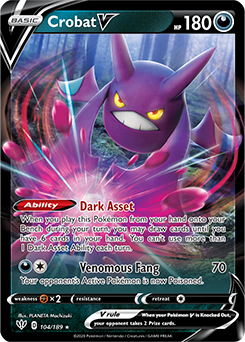
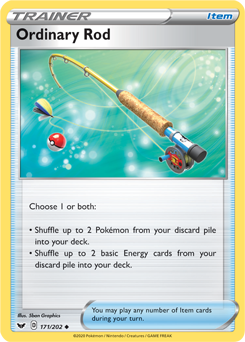
Since Houndoom is critical to the function of our deck, we play a full 4-4 line. While it is pretty rare that we will have more than three Houndoom in play, having four protects us in case one is in the Prize, and makes finding it a bit easier than if we were to only play three. For our attackers, we go a bit thinner with 3-2 lines of each. With no Pokemon recovery, this can be a bit awkward if we’re forced to discard one of our Pokemon VMAX, but you typically won’t use more than one of each Pokemon VMAX so two is sufficient in most cases. One of the keys here, as I’ll be going over in the strategy section, is that you don’t actually need to use your Pokemon VMAX in most cases. While it’s certainly not optimal if you’re forced to discard your only Single Strike Urshifu VMAX, doing so doesn’t mean that you’re out of the game. Some more recent builds have taken this to an even further extreme, and replaced one of the Single Strike Urshifu VMAX with a copy of Ordinary Rod. I haven’t gone that far due to the Prize issues associated with playing a one-of, but it goes to further illustrate the point that you can do quite well with the thinner Pokemon VMAX counts. The one Crobat V serves its typical role as the emergency draw out. You can also use it early to help speed up your setup if you otherwise aren’t finding enough Houndour.
Trainers
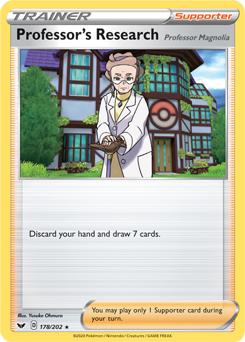
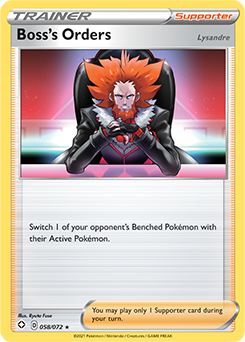
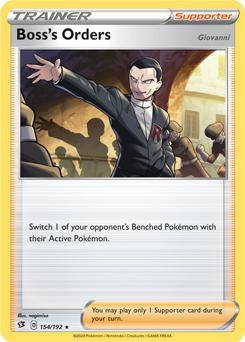
Our Supporter counts are the standard four Marnie and Professor's Research, as they remain the best options in the game. In addition, we also have two Boss's Orders, despite the fact that we play Umbreon VMAX. As nice as it would be, you can’t rely solely on Dark Signal for your gust effects — realistically, you’re likely to only be able to use it once per match. So, we have a few Boss’s Orders to fill that gap. In general, Dark Signal will be used early on, whereas Boss’s Orders will be used in the mid- to late-game.
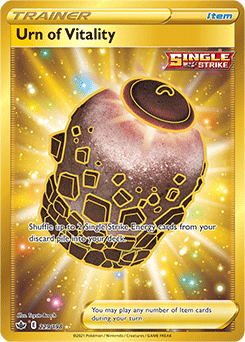
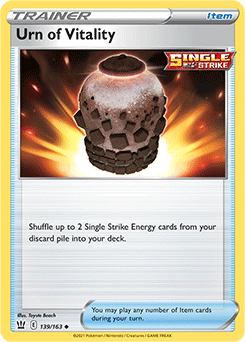
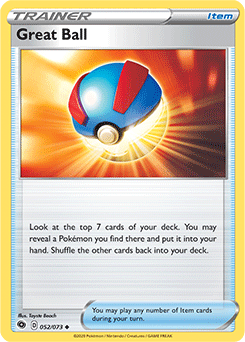
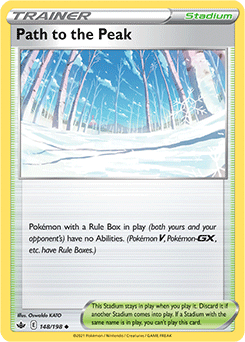
Since this is a deck where we need to find our Pokemon quickly (Houndour and Houndoom, in particular), we likewise want to play as many Pokemon-searching Item cards. If I could play 61 cards, I’d happily fit in a fourth Great Ball, but the rest of our cards are a bit too important to add it in otherwise. While you can theoretically play fewer than four Urn of Vitality or Tower of Darkness, I would not recommend doing so. Urn of Vitality is one of the most important cards in this deck, and you’ll likely use it multiple times in a game. If you don’t have it when you need it, that can mean missing an attack. That’s why we play four copies to maximize our chances of having it in those critical situations. As for Tower of Darkness, this Stadium provides a subtle yet impactful extra draw power, which is useful throughout the game. An extra two cards every turn (or at least most turns) is great, and the deck-thinning effect that Tower of Darkness provides helps you guarantee some extra late-game consistency. A heavy Stadium count also gives you more outs to removing Path to the Peak, which can be a bit obnoxious if you need to use Dark Asset or Dark Signal.
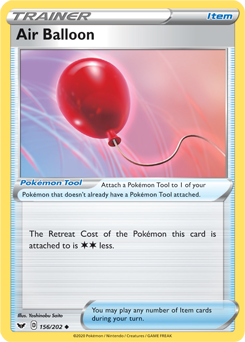
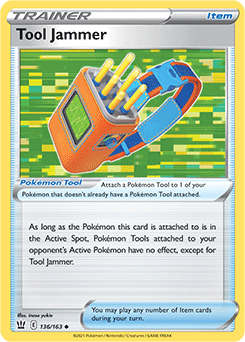
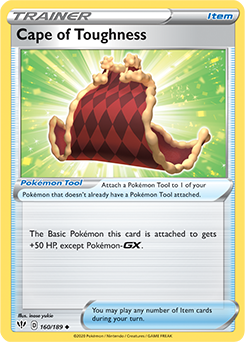
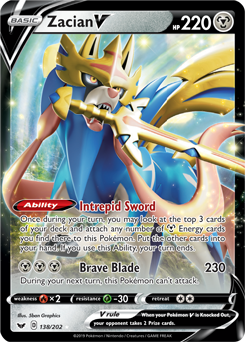
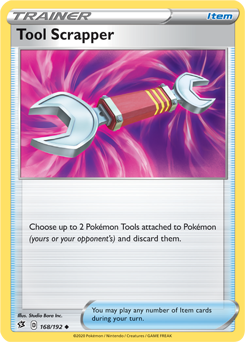
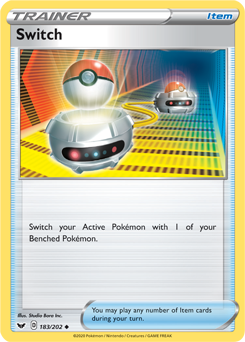
Tool Jammer is in this deck mostly to counter Cape of Toughness, which is seeing play in Turbo Zacian V and a few other Pokemon V archetypes. Without some sort of Tool disruption, Zacian V can escape the OHKO range of Umbreon V / Umbreon VMAX and Single Strike Urshifu V, so you want to have a way around it. While the two are pretty similar in practice, Tool Jammer is slightly more effective than Tool Scrapper, as it can be used to pre-emptively disrupt an opponent using Air Balloon or a damage modifying tool. If you are in a local meta in which Turbo Zacian V (or similar decks) don’t see play, then you can cut this card for a fourth Great Ball or different tech card. But in a wider field, I like having the one-of copy of Tool Jammer. Finally, we have two Air Balloon to give us some switching options; we don’t need to switch out often when playing this deck, but it is nice to have a few options if we start with a non-ideal starting Pokemon (Houndour, for instance). This is another card that can be changed if needed — if you’re running into a lot of Tool Jammer yourself, then you’ll want to swap these out for a pair of Switch. If not, Air Balloon is a touch more useful, since it can give you a free-retreat option to bring up following a KO.
Energy
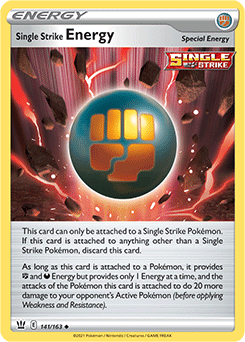
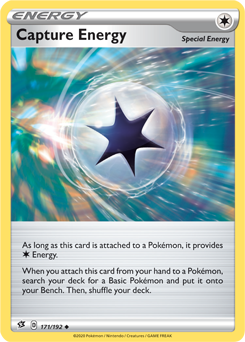
Four Single Strike Energy is a given in this deck, but you do have some options for other Energy cards like Capture Energy. This is the most effective secondary Energy, since it increases your number of early-game Basic Pokemon search cards — this is extremely important given this deck’s reliance on Houndoom. All of our attacks do have at least one Colorless Energy as a requirement, so we can safely play Capture Energy without affecting our attack consistency. The one-of basic Fighting Energy is occasionally useful for using Laser Focus, but most of the time it will just be a ninth Energy to increase your consistency.
This concludes the public portion of this article.
If you'd like to continue reading, consider purchasing a PokeBeach premium membership! If you're not completely satisfied with your membership, you can request a full refund within 30 days.
Each week we post high-quality content from some of the game's top players. Our article program isn't a corporate operation, advertising front, or for-profit business. We set our prices so that we can pay the game's top players to write the best content for our subscribers. Each article topic is carefully selected, goes through multiple drafts, and is touched up by our editors. We take great pride in our program!